
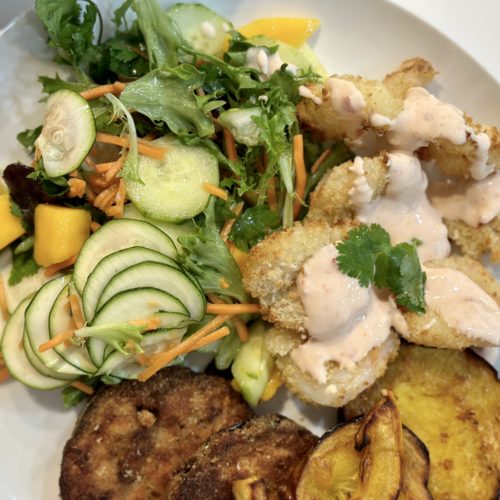
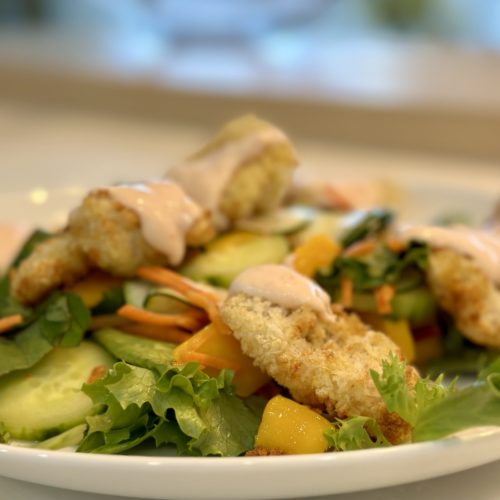
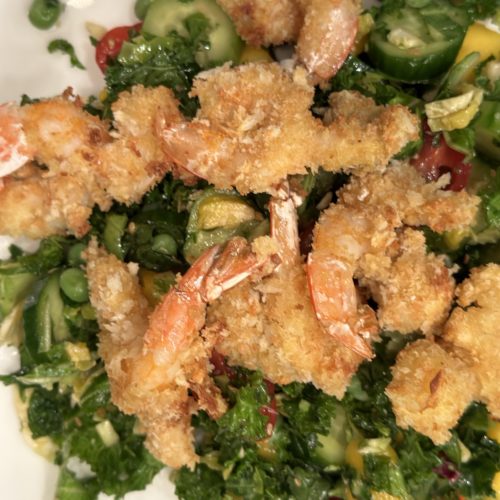
Crispy air fried shrimp, cool yogurt sauce and tart salad – like a symphony in my mouth. Mango, cilantro, blanched carrots shaved zucchini – have fun! This is one of my favorites. Made it for Greg when he was home as it can be GF and DF and again for Rob and I the other night. Sylvie loved it too – I put hers on some simple healthy fried rice and she gobbled it up! So yes, serve with plain rice, seasoned rice, salad like me – any which way.
The air fryer is so easy and I love that I can have crispy food that isn’t sodden with oil. The shrimp are light and crispy. The hard part about this recipe is that you have to make it in batches since it’s hard to fit a lot of shrimp into your air fryer. So I make them all and when time to eat I pop them back into the air fryer for a minute to heat back up. I always make an extra serving so I can eat for lunch the next day.
I found this at I Heart Umami – ChihYu Smith – the chef behind the blog is amazing. She shares healthy Asian recipes that include Palieo, gluten free and low carb so check it out.
I followed her recipe – made it once gluten free for Greg (and followed recipe exactly) and once using regular breadcrumbs for us. Use avocado oil spray as she suggests – or – olive oil spray (I had that and worked great). You will need tapioca starch btw. I made her bang bang sauce for Greg and he liked it. It is gluten free and dairy free. I also made it with Greek yogurt and it was good too!
The second time I made the shrimp I used a different recipe for the bang bang sauce which I liked even more and I will share that with you below (again with yogurt).
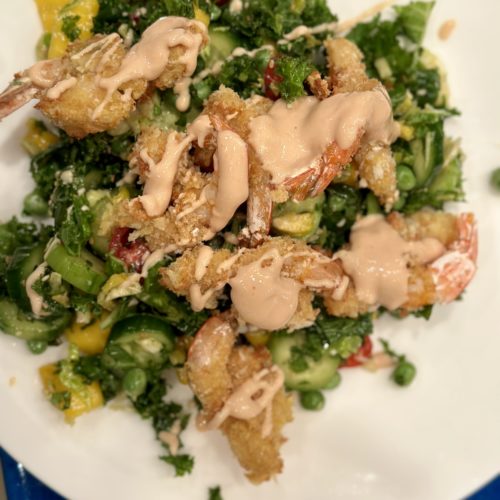
The salad I made has shaved zucchini, cucumber, cilantro, greens, and tomato. I dressed with a simple dressing of white rice vinegar, sesame oil, lime and salt. Feel free to add blanched peas and carrots, yum.
The recipe takes a little time – like a mini assembly line – so turn on some music and relax and enjoy making it. Once I know what I’m doing I turn on my audio book and enjoy the process.
*** Do cut the shrimp lengthwise as ChihYu suggests – and well, really just follow her detailed instructions here.
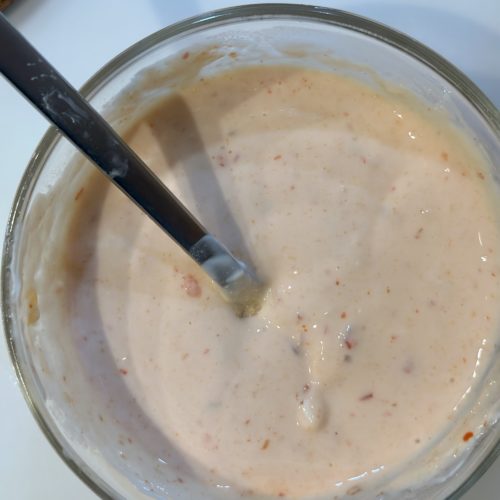
Alternative sauce (skinny bang bang sauce from Trialandeater.com):
1/4 cup plain greek yogurt (use full fat if you can2 tablespoons sweet chili sauce
1-3 teaspoons sriracha sauce or hot sauce (I’m a wimp with spice so you do you)
2 teaspoons rice vinegar
Dash of kosher salt
Mix well and drizzle on the shrimp.
Enjoy this!


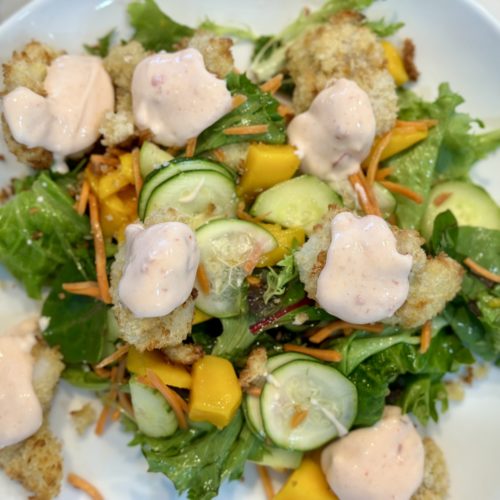
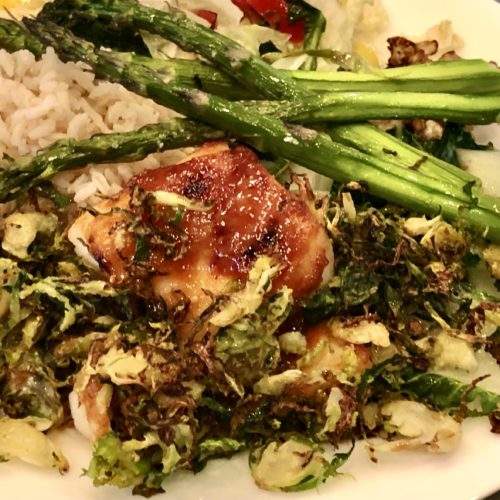
I sent this recipe to Andy and at the end of that very day, he sent me the photo on the right! He went to the store, bought everything and cooked it straight away. He told me how good it was so I made it the next day. We both loved it. Rob loved it – I made it with shrimp for Sylvie and she loved that too. I don’t have a ton more to say about this dish save for the obvious – it looks good, is easy to prep and tastes delicious. Andy added a lot of veggies and scallions and really plated it up well for himself. I can’t eat scallions so just kept it simple with some squash and string beans.
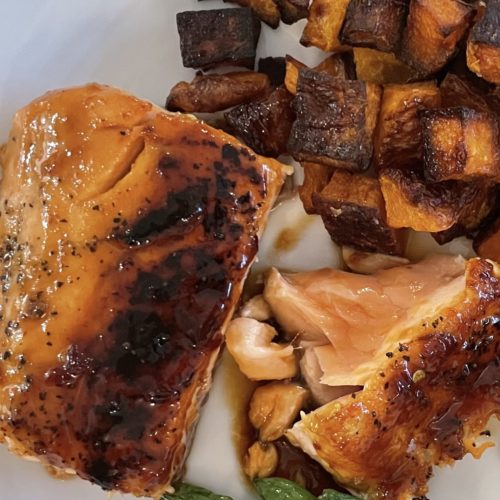
The Tik Tok video of this salmon is what caught my eye. I followed up by looking at the blog Jasmine and Tea for the ingredients and measurements.
I’m taking the lazy lady way out and I’m going to provide the link to the recipe here. Jasmine provides tons of tips and really good instruction. Read through it first. Then take note of of my clarifications below.
To be clear (as I’m not sure it is) remove the veggies from the pan before you add the sauce to the pan. After the sauce has reduced (as instructed), place the salmon back in to the sauce to finish cooking and then add the cooked veggies at the very end (so they don’t get mushy but heat up).
Lastly, I put in half of the recommended amount of chili paste – but if you love the heat, go for it!
Enjoy-


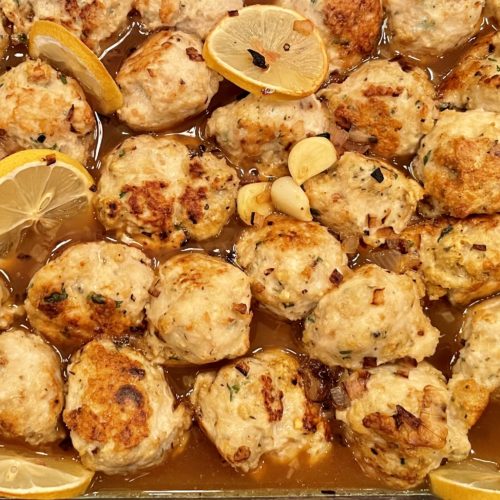
These chicken romano meatballs are delicious. Little balls of chicken, lemon, garlic, herbs, red pepper flakes and cheese (!!). Good. Yummy. Simple. Tasty. Those are the adjectives for today. Serve over rice, spaghetti squash, pasta or simply on a bed of baby spinach. The hot sauce wilts the spinach and it retains its shape and crunch a bit. I happen to love that. When reheating I add some cherry tomatoes too – and what a delightful lunch it makes.
The recipe come from Skinnytaste.com and you know I’m a fan. I have most of Gina’s books and I enjoy her blog. There is nothing tricky about this recipe. Follow it and you shall see. I made the meatballs as instructed – but for the sauce, I put whole garlic cloves in because I find minced garlic is often too strong for me. Getting older – the garlic – indigestion. I also added some Glace De Poulet Gold (very reduced chicken stock) for added flavor and also a bit more salt and pepper than the recipe calls for. So taste and taste again, re-season and serve! You can find the recipe here.
Enjoy –


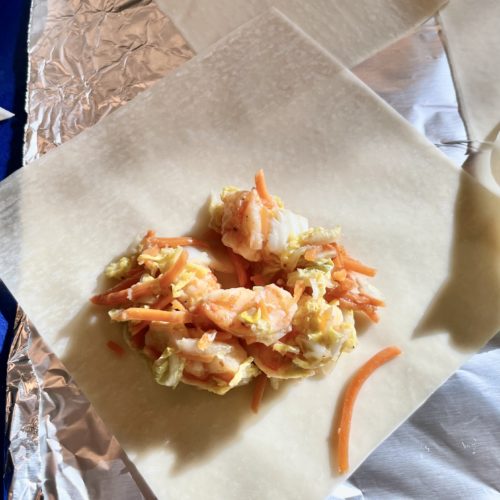

Never thought I’d ever make egg rolls – but I did! And wow – Andy and Sylvie thoroughly enjoyed and I did too. Rob – not a huge fan of cabbage wasn’t exactly over the moon but you can’t please everyone. Although you can add a different vegetable – even a different protein. Maybe next time for him. Yes, I will.
I saw these in Skinnytaste and put them on the top of my list. The recipe hovered there for a bit because 1- was I really going to make egg rolls? 2 – I’d have to find the egg roll wrappers and 3 – they looked like a lot of work.
After a few months delay, I was ready. Yes, I was going to make them! I found the wrappers right where Gina (skinny taste) said they would be (near the tofu and wonton wrappers) and 3 – I was ready to roll and air fry.
These were not much work! The filling comes together in minutes and then you just have to roll the shrimp/cabbage up like a baby and pop em in the air fryer. You can have you kids help to roll and then boom, you are done. Yes, you have to make it batches but that’s ok – you can also make all of them and reheat when it is dinner (or appetizer) time. I made a simple dipping sauce of sweet chili sauce and soy sauce and we were licking our fingers.
Enjoy these (should you choose to go for it). Gina’s recipe is right here. Oh, I doubled the recipe.

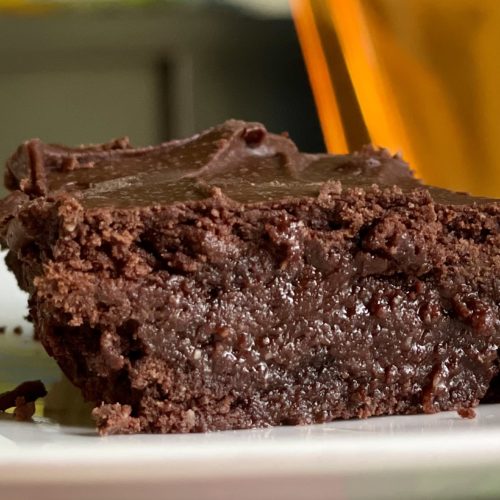

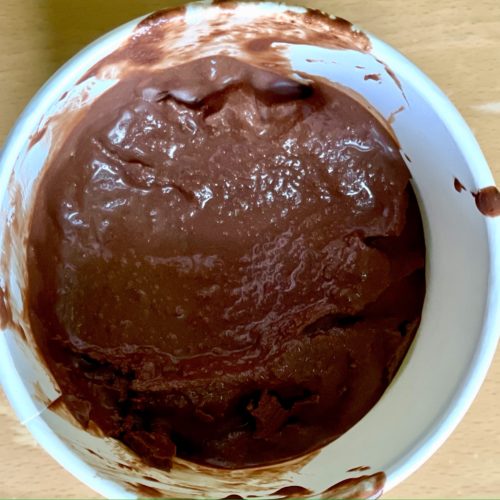
These are silly. Silly good. This is the best gluten-free and dairy-free dessert I have had to date. I must admit that I don’t eat a lot of GF and DF sweets – but I can tell you that when I make these for Greg I’m eating them too! Andy, Rob, Sylvie – all love them – although we are forced to abstain since Greg’s choices are so limited. I made them for my friend Judy and she said a hit with her family too. She then asked for the recipe which is always a good sign.
I found these gems in my Bakerita cookbook written by Rachel Connors. She also has an amazing blog – and these are also featured in the blog. I’ve made her chocolate chip cookies and snickerdoodles and both – well, just delicious. Greg will likely have some vacation time around the holidays so I’ll start looking for some new ideas soon. And likely from this book!
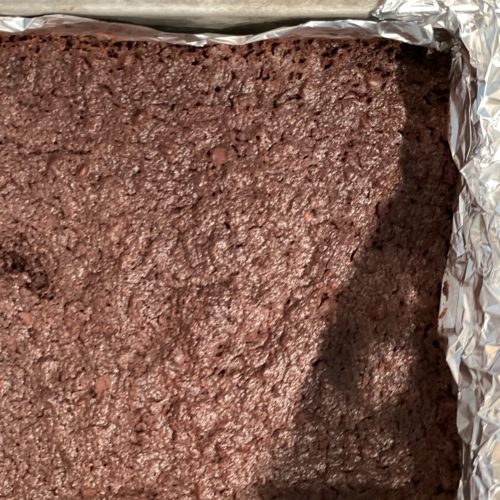
I always double the recipe and bake in a 9×13 pan. The brownies are a little thicker this way and I prefer that. So the timing needs to be fiddled with. They burn easily and it is hard to tell when done so it make take some guess work. I usually underbake a tad but we all like it that way. If you happen to overbake, consider doubling the icing as it is sooooo good and unlikely that anyone would notice your hard brownie. They also freeze well so I’m always ready for Greg and his sweet tooth.
Note: This recipe uses coconut sugar. Although healthier (a non-refined sugar) I use brown sugar instead. For the 3/4 cup of coconut sugar in the recipe I use a packed half cup of brown sugar. You can do either and they will be good either way.
Enjoy these!! Here is a link to the blog post.

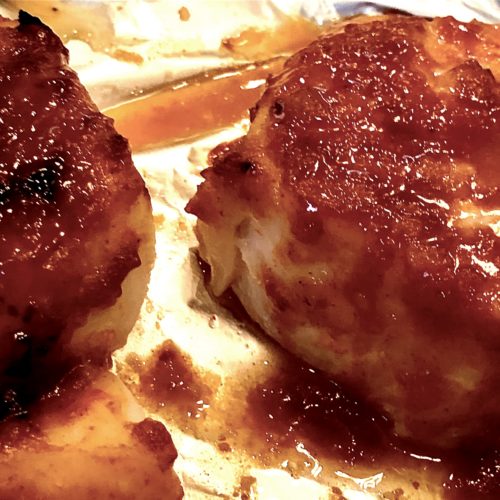
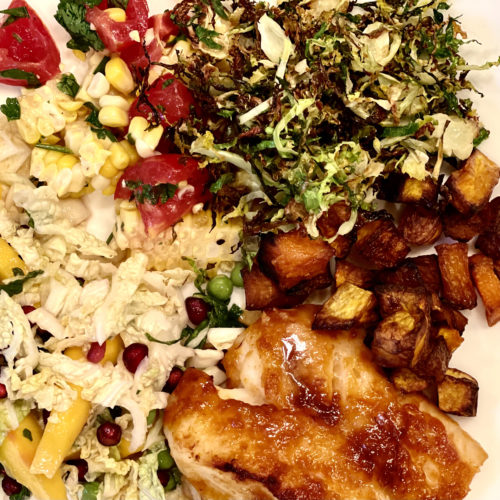
My mother must have exclaimed 23 times throughout the meal that “Lisi, this is DELICICIOUS, seriously Lisi, delicious.” And then about 3 minutes later “this is my kind of taste, Lisi, this is so good!” And then, “Lisi, I need the recipe – please don’t forget to send me the recipe!” And so on… It was hard to actually have a conversation! But I was delighted that she loved it so as she is one tough critic and a terrific cook. Oh and my dad liked it too! I made it again for friends Geoff and Nora and they too said delicious – repeating it only (ha) about 3 times.
I can’t say I did anything but follow the recipe so it is really the blogger of Foodie with Family who deserves the credit. The hardest part is to make sure you cook the fish to just right. Undercooked cod is a real turnoff and overcooked can feel dry (although I honestly don’t mind it). Other than that it’s a breeze to make.
The recipe calls for white miso and gochujang which you can now find at most supermarkets – and also online. If you hit the link for Foodie with Family (above), Rebecca provides resources to find. After you open, refrigerate and both keep for a long time.
If you are someone who likes things saucy then double the sauce – I did one of the times and really coated it. I prefer it that way…but if you like a normal coating then cook with the amount below.
I served this with a delicious napa cabbage/mango/mint/pomegranate slaw that I will write up next. And also a variety of roasted veggies that I had on hand. This would also be great with rice, steamed broccoli, and toasted sesame seeds.
Mix together all of the ingredients and measure out about 2 tablespoons of the sauce. Brush or use a spoon to coat the cod with the two tablespoons.

I wrote this at the end of the summer – but posting now because summer is around the corner. I think we are all in the mood for warmth and sunshine, summer salads and grilled meats, and easy gatherings.
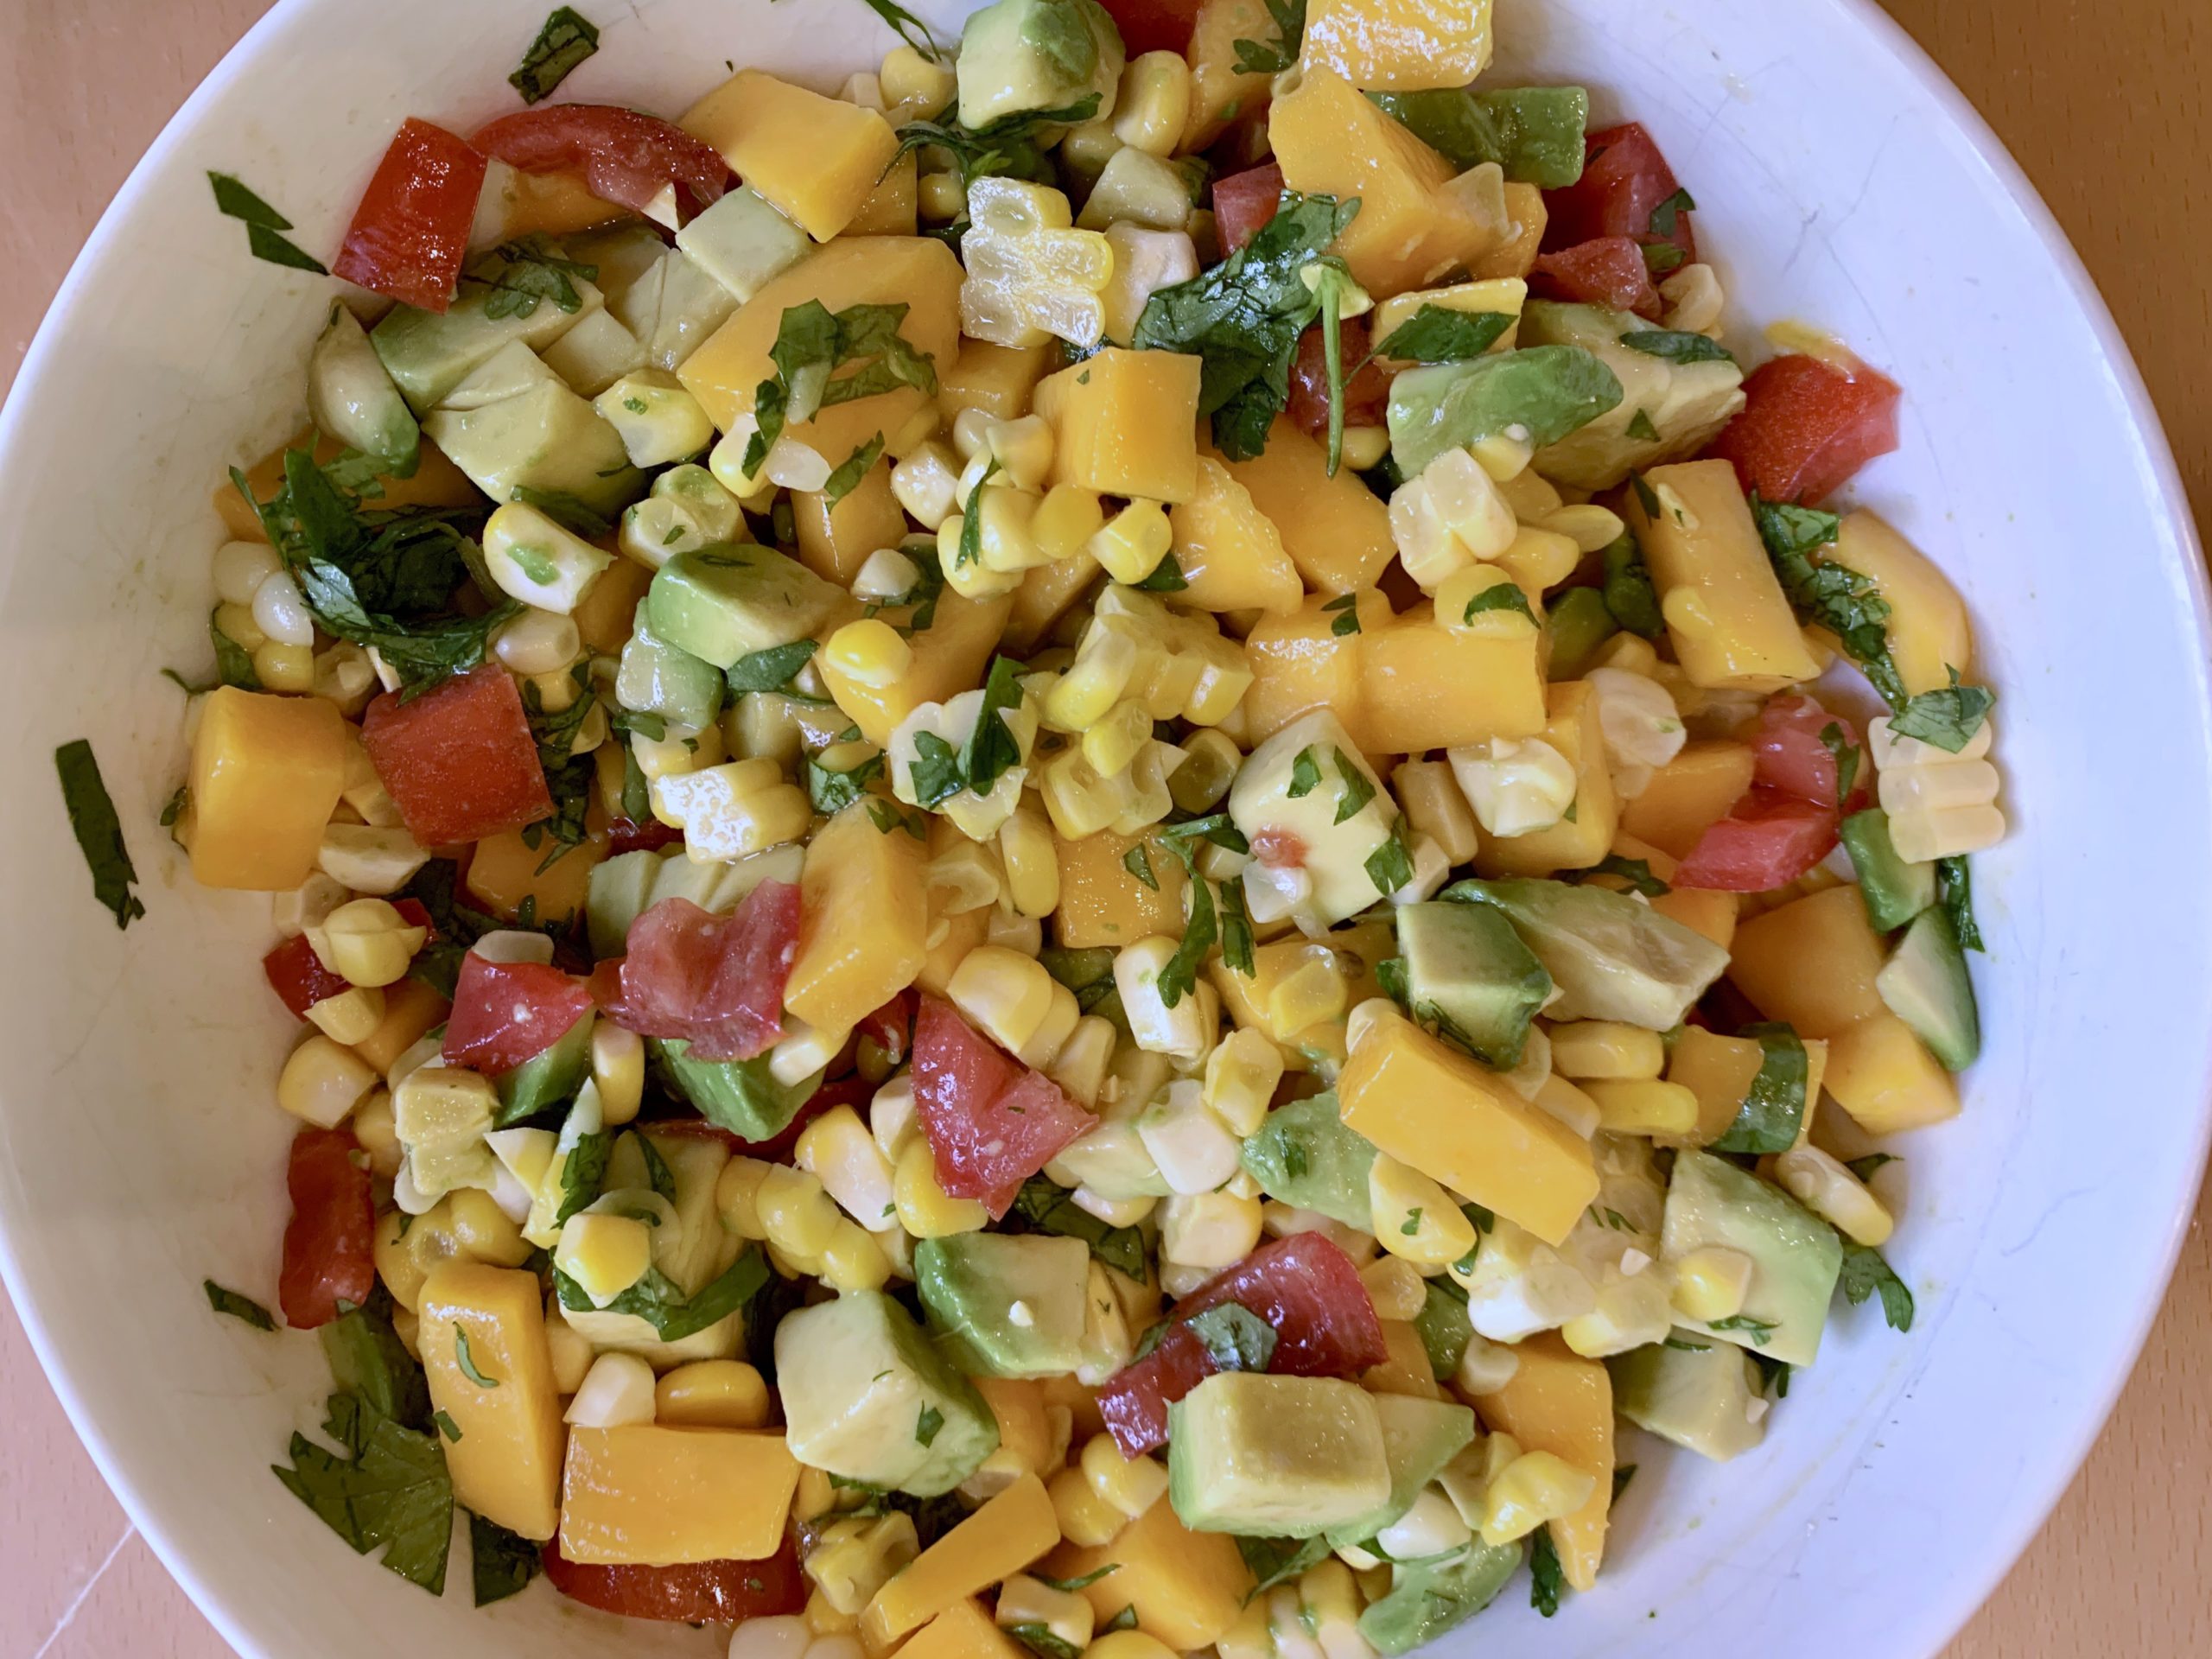
Summer is just about over and it got cool here really fast! But I this week (here) it’s supposed to get up to 78 degrees so you have a moment to squeeze this in with end of summer tomatoes, ripe avocado and sweet summer corn. I served this on simple oven broiled cod and it was so good. Silly good. I ate it the next day on top of arugula and leftover fish. I know most people don’t like leftover fish – especially cold, but for some reason I can do it. A little Maldon Sea salt, fresh lime juice and olive oil and I was content. This would be great in a taco or with tortilla chips – or even added to a store bought salsa to spruce it up. Enjoy.
Like anything you make – adapt to your liking. You can change all the amounts below – I prefer more mango than avocado – but you may prefer it the other way. Most recipes like this have added chopped red onion which is delicious – but it just doesn’t agree with me sadly. But go for it if you can!
Oh, and please remember to look at notes on cilantro to learn how to properly clean.


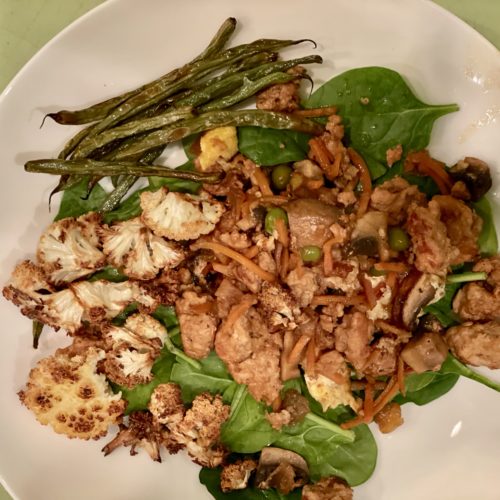
This recipe is soooo easy. Simple. And you can change it up so easily picking a different protein each time. Veggies too. Egg or no egg.
Everyone loves this. Mark loved it, Greg and Sarah asked for the recipe the last time they ate it. Beth said “thumbs up all around. Will add to the rotation!” Sylvie was home this week and asked if I could make a lot so she would have enough for leftovers the following day. I too am a big fan of this dish. Oh and Rob and Andy too! (He makes it frequently at school.)
The recipe calls for coconut aminos which is an alternative to soy sauce for those who can’t tolerate gluten. I find that I like the coconut aminos more (in this recipe) than soy sauce as it is a littler lest pungent or harsh on the tongue. It sounds hard to find, but it is right there next to the soy sauces.
I found this in Juli Bauer’s Paleo Cookbook. I tweaked it a bit and changed the the order of operations and added egg to mine – as well as all the other veggies. Have fun with this – play around and enjoy – if you add a lot a lot of veggies you should probably double the sauce. Additionally – I usually double this recipe for my family – then add a lot of veggies, I then triple the sauce.

I used to kind of scoff at a non-dairy ice cream and I’m sorry about that. (I don’t think I scoffed out loud though.) But now that Greg is here, living with us, I’ve taken on the job of making him delicious gluten and dairy free desserts. He is studying now for a big test so I’m on a mission to find delicious sweets for him – as it is something to look forward to at the end of the day.
Greg had told me about this vegan ice cream cafe called FoMu in Boston that he loved. He said the ice creams were unreal and that he could safely eat so many of them. So I bought the FoMu cookbook before the holidays (at the tail end of 2020) and surprised him with some chocolate pudding ice cream.
He was delighted! And I was too. Simple, cold, chocolatey, and smooth. I’ve made it two more times since then as well as the vanilla which I can write about another time.
I will say that this is best eaten a 4-6 hours after you run it through your ice cream machine. It is soft and oh just so delicious. Once frozen overnight it hardens (more than your ice cream) and it has to sit out a bit before you eat it. And each day it recovers less from the thaw. But this shouldn’t be a problem because you can eat it all right up ASAP. Now you have an excuse to. Also – you can freeze it it smaller portions to avoid re-thawing thawed ice cream. You can purchase pint/quart containers easily online.

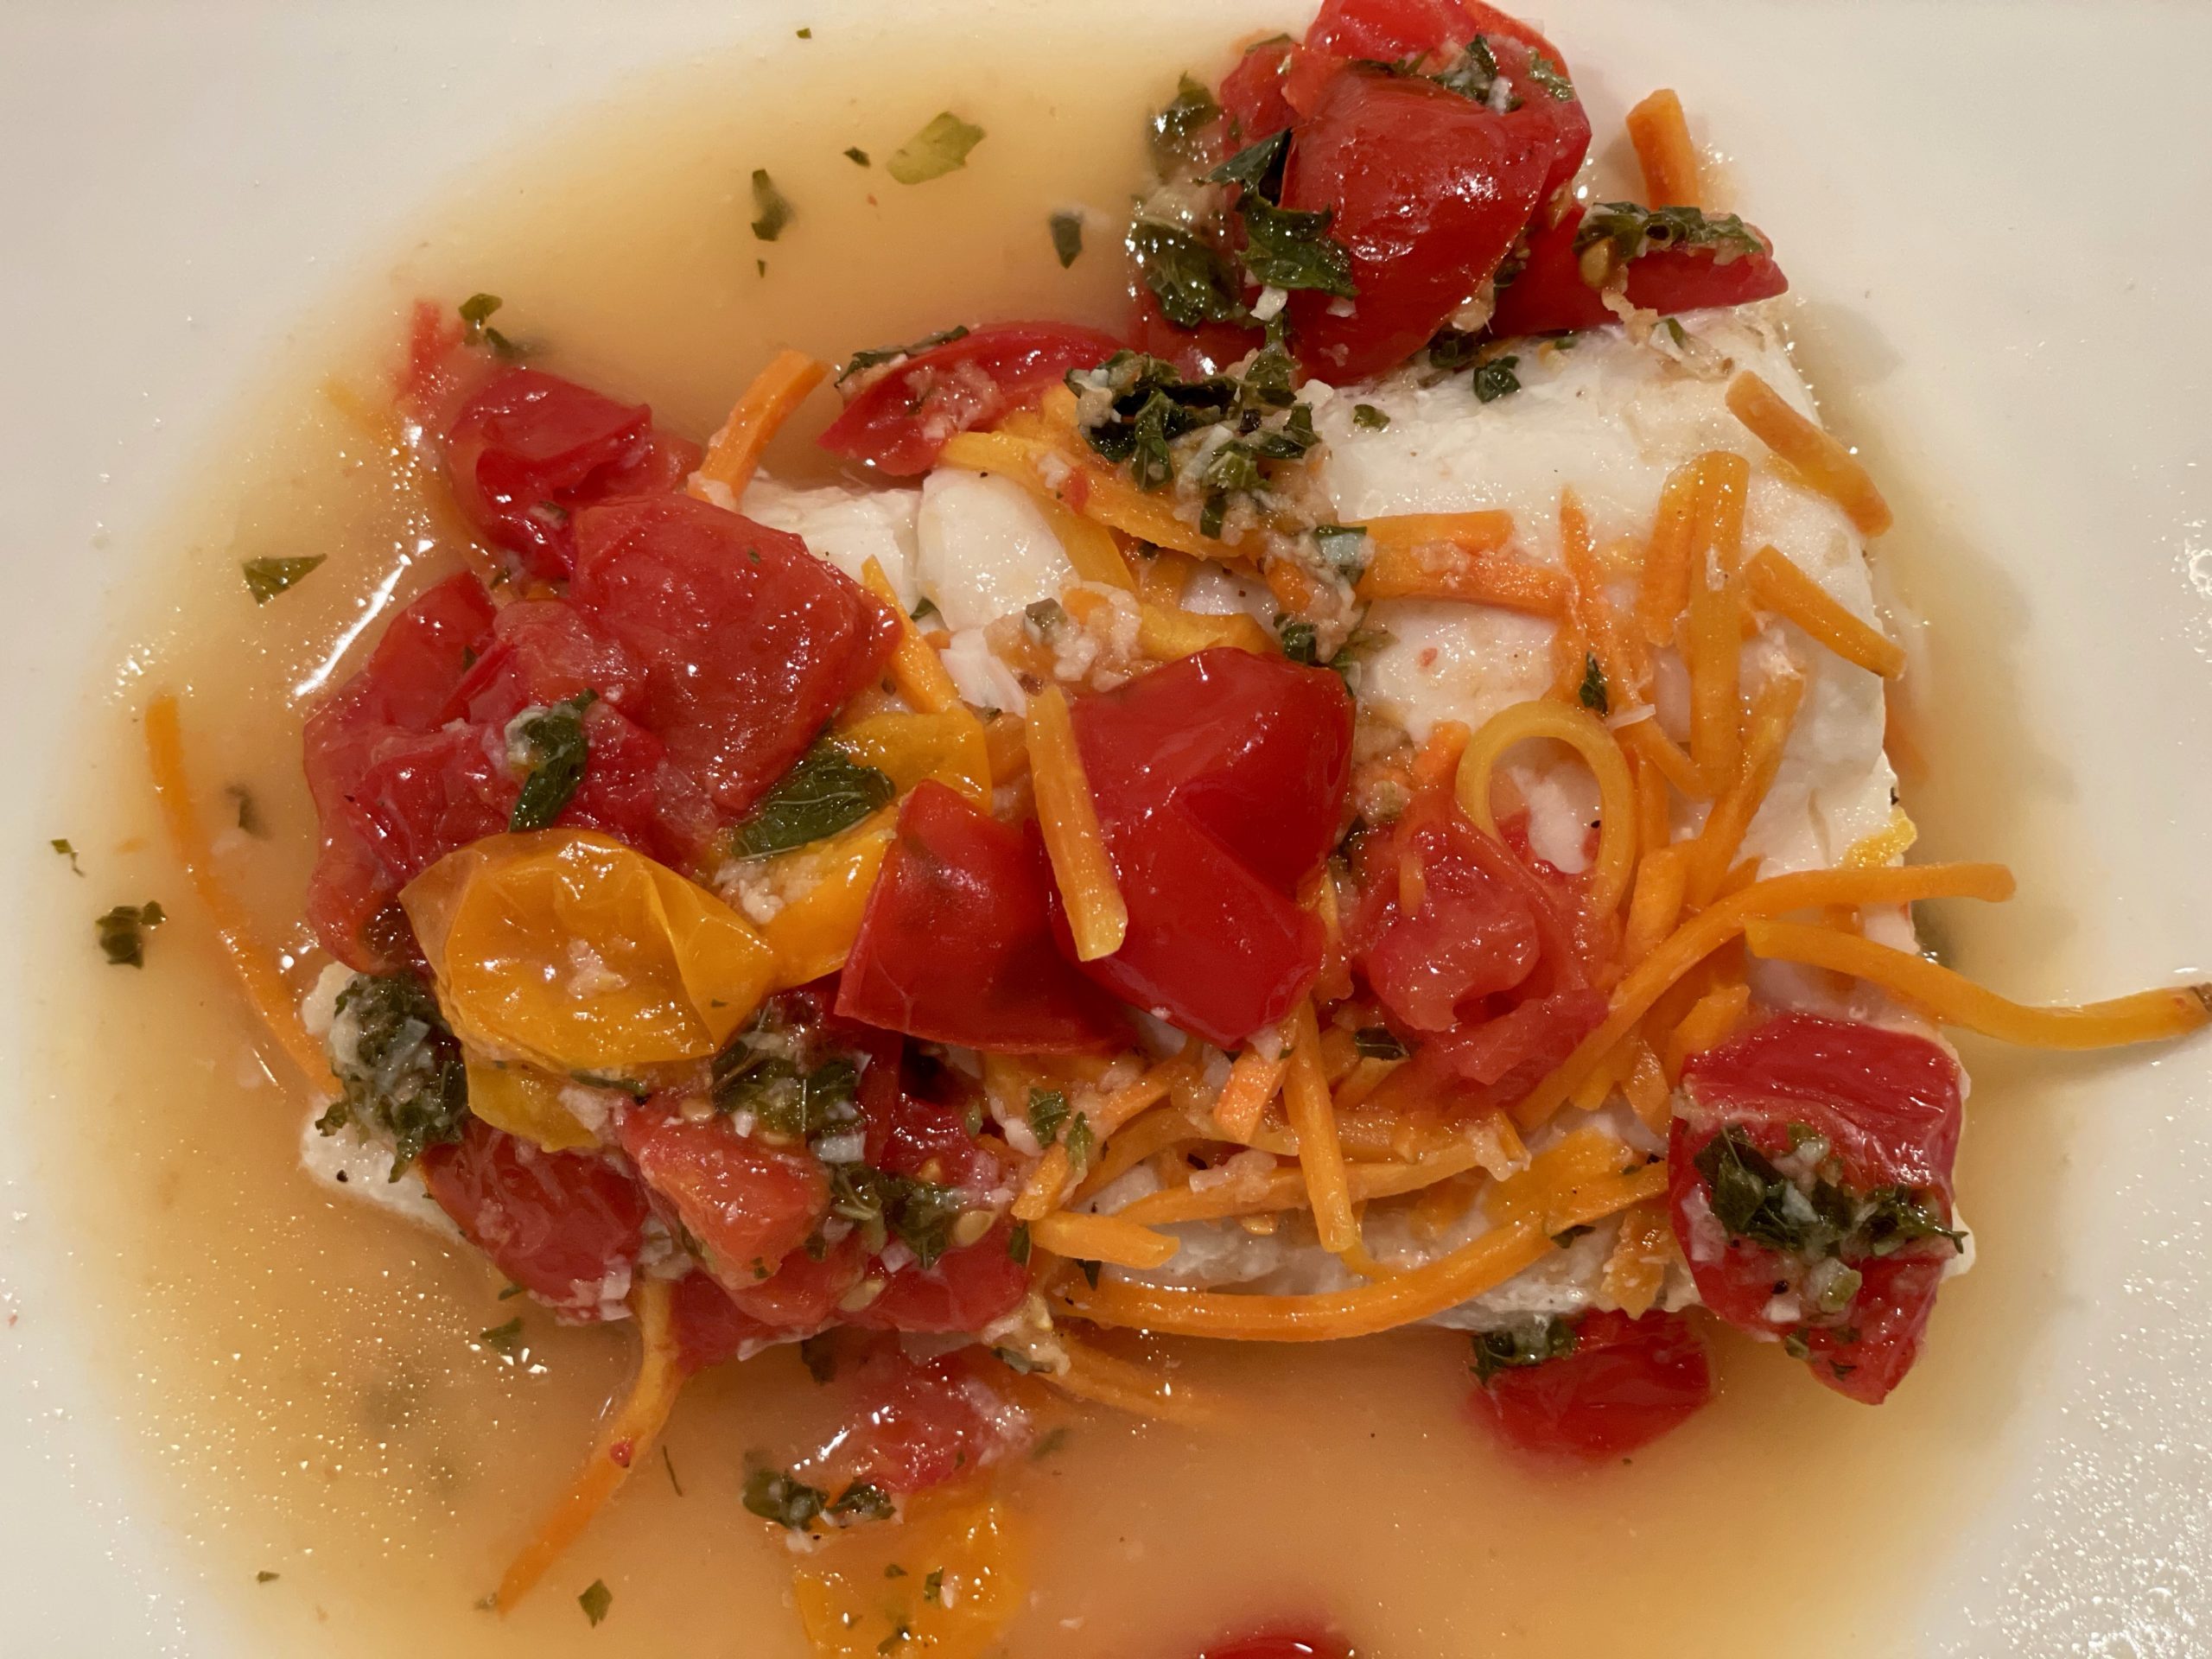
Bursting with flavor this fish dish is my new favorite. I love love love it. It is bold and intense with garlic, ginger, fish sauce and mint. All of these ingredients meld together in and on top of the fish in a little foil packet that you cook for only about 16 minutes. Seriously easy once you have the ingredients in the house. Do not add any salt to the dish as the fish sauce does the trick. And again – please don’t be afraid of fish sauce. But also, maybe don’t smell it from the bottle. Here is some fish sauce brand info. I just learned a lot from the article myself.
I made this recipe with flounder (it fell apart but tasted great!), halibut, cod and haddock. All so so good. Of course the thicker the fish the longer it takes to cook so use 16 minutes only as a guide.
This is delicious with rice although I happen to just like it as it is – I added more tomatoes and carrots because I’m a little veggie crazy. The last time I made this dish I used fresh peas instead of carrots and it was a hit.
This recipe, like the Thai Fish Curry is from my Mediterranean Way cookbook. One day I’ll venture out of the Asian and into one of the Mediterranean dishes. Maybe.
This recipe calls for 6 pieces of fish but feel free to double or cut in half (as I do).
Trying to think if anything else…but I think that is it! Enjoy –
Serves: 6
Prep time: 15 minutes
Cook time: 16-20 minutes
Medium
Preheat oven to 440 degrees.
In a medium bowl, mix together the tomatoes, fish sauce, lemon juice, sesame oil, ginger, garlic mint, sugar and pepper.
Take a decent sized piece of tin foil and make a little boat for the fish. Set the open foil packets on a baking pan. You want plenty of extra foil as you need be able to seal the foil at the end. This may take a few tries. Next time I’ll take a photo of mine.
Put a fish fillet into each packet of foil. Top with the julienned or shredded carrots. Follow with the tomatoes and marinade portioning it equally among the fish.
Cook for 16 minutes. Take a peek inside but be carful as the steam inside the packets is hot. Super hot.
If the fish is thick and looks too opaque, cook a few more minutes. If not, slide the fish and all it’s cooking liquid onto a plate and enjoy.
I do hope you like it as much as I do!