cod in coconut broth with lemongrass and ginger

This is my third attempt preparing a fish dinner (since the kids left) and it is a recipe finally worth writing about.  I added a ton of extra vegetables so it looks more complicated than it needs to be so please don’t be intimidated.  I will give you the basic recipe with the option to add more vegetables.  I love Thai flavors, lime, cilantro, lemongrass, ginger and fish sauce.  This all comes together so nicely – the broth is flavorful and highlights the flakiness of the cod.  I found this recipe in Foolproof Fish – America’s Test Kitchen – a cookbook that my mother suggested when I mentioned how little I know about preparing fish.  The book is beautiful and filled with recipes as well as substitutions and tips on cooking methods.  So give it a try if you think you might fancy it.  I don’t get payment btw!

I used a lemongrass puree that I found in the vegetable aisle of my local supermarket because I couldn’t find fresh lemongrass.  

Fish sauce is sold at most supermarkets these days – if you can’t find you can easily order online. 

You can use light coconut milk, but the broth will be noticeably thinner and less rich.  

This recipe serves 4 and you can substitute black sea bass, haddock, hake or pollock.


Ingredients

  • 1 tablespoon oil – I used avocado oil, the author writes vegetable oil, but I think most oils work ok
  • 1 leek, white and light green parts only, halved lengthwise, sliced thin, and washed thoroughly
  • 1.5 teaspoon kosher salt 
  • 4 cloves garlic, minced
  • 1 tablespoon fresh grated ginger
  • 1 cup water
  • 2 carrots, peeled and cut into 2 inch long matchsticks
  • 1 (10inch) lemon grass stalk, trimmed to bottom 6 inches and bruised with back of knife (or use the lemongrass puree I used about a dollop the size of a quarter)
  • 4 (6-8) ounces skinless cod fillets – about 1 inch thick – or a little thicker is fine – 
  • 1/4 teaspoon pepper – or to taste
  • 1/3 cup canned coconut milk (well shaken)
  • 1 tablespoon lime juice plus more for serving
  • 1 teaspoon fish sauce
  • 2 tablespoons chopped dry roasted peanuts (if you like!)
  • 2 tablespoons fresh cilantro leaves (find info here for a note on cilantro)
  • 1 serrano chile, stemmed and sliced thin (or less depending on your taste) If you don’t have serrano chile substitute with a red Fresno chile if possible.  Otherwise, improvise for some heat – I used dry serrano chile and minced.
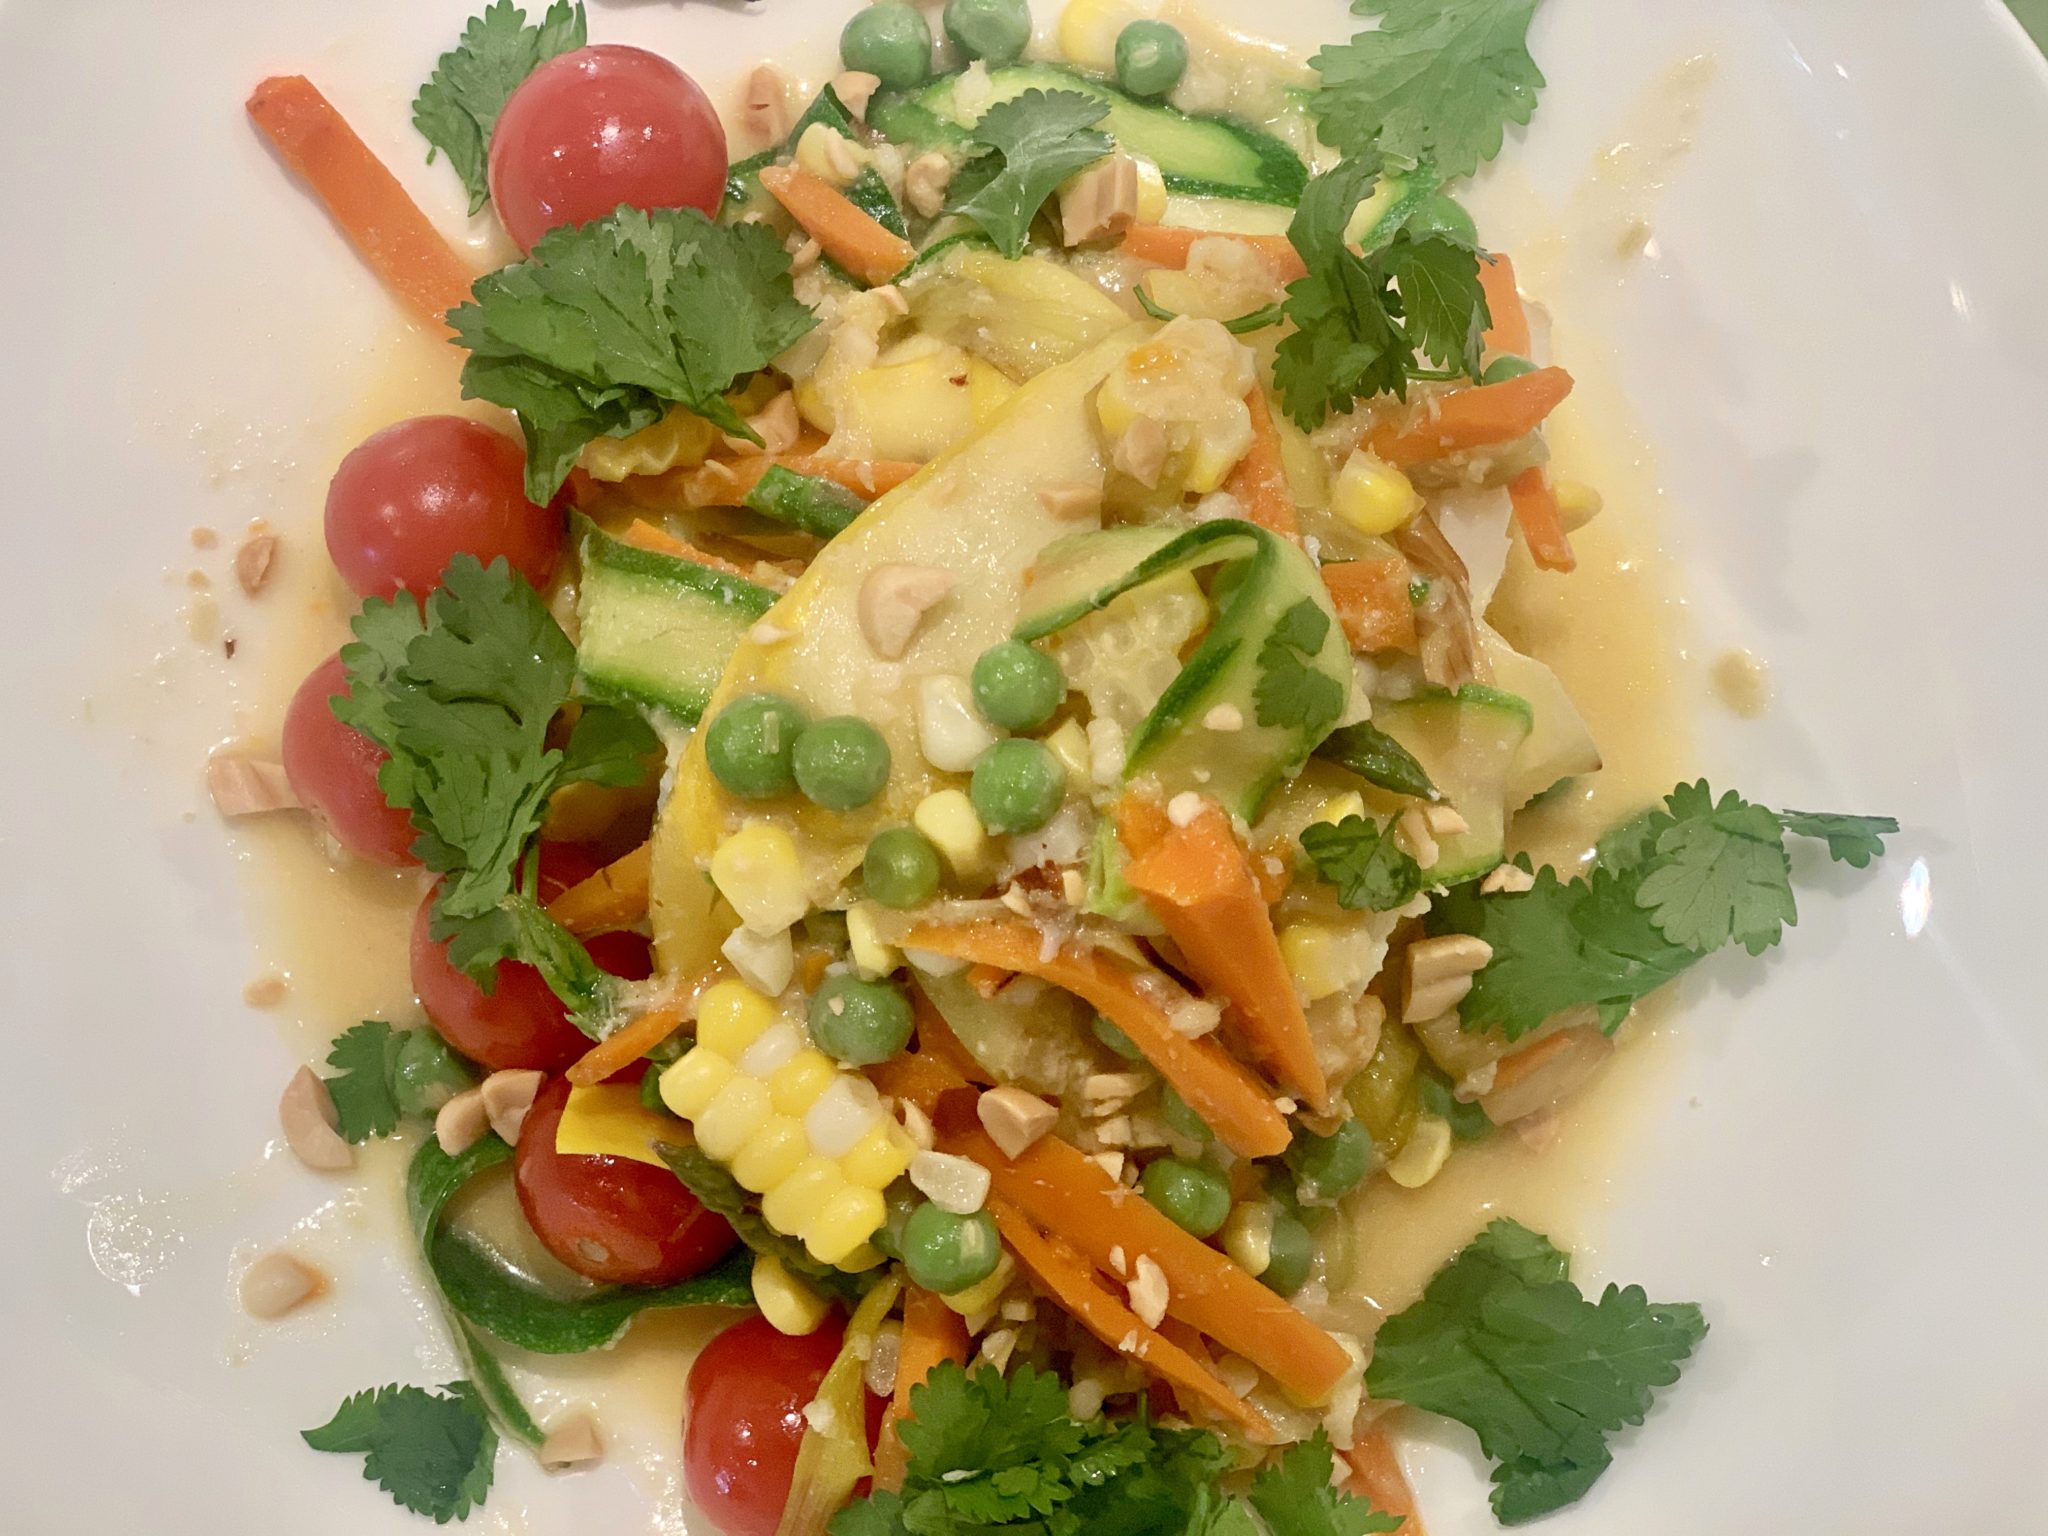
  • As you can see in the photo, I added cooked corn, zucchini and squash ribbons, peas and tomatoes.  But completely unnecessary.  If interested though, I cooked the corn first and then I sautéed these vegetables a bit before I added them to the broth.  Maybe 5 minutes…really depends on the veggies you add.

Directions

Set up your mis-en-place (ingredients):

Clean and slice leeks, mince garlic, peel and grate the ginger, wash, peel and cut carrots, bruise the lemon grass, squeeze the lime, crush the peanuts, wash the cilantro, cut the chile

  • Heat oil in a 12 inch non stick skillet over medium heat until shimmering. 
  • Add leek and a bit of the salt and cook, stirring occasionally, until lightly browned about 5-7 minutes. 
  • Stir in garlic and cook for 30 seconds (don’t let it burn it will taste bitter).
  • Stir in water, carrots, and lemon grass and bring to simmer.
  • Pat cod dry with a paper towel and sprinkle with remaining salt and pepper.  
  •  Nestle the fish into the skillet and spoon some cooking liquid over the top and bring to a summer.  
  • Cover, reduce heat to low, and cook until fish flakes apart when gently prodded with a paring knife or registers 135 degrees, this should take 8-12 minutes depending on the thickness of your cod.  Cook longer if fish still looks opaque.  
  • If adding extra sautéed vegetables, you can add them to the skillet at this point.  
  • Transfer fish to individual shallow bowls, discard the lemon grass and divide leeks and carrots (and extra veggies if you used) evenly among the bowls.
  • Off heat whisk in the coconut milk, lime juice and fish sauce and season with kosher salt and pepper to taste
  • Ladle broth over fish and sprinkle with cilantro, peanuts and Chile.  Serve with lime wedges.  So good! I’d like it right now!

coconut macaroons

It’s been a long time.  Too long.  Pain in my feet is the root of my inactivity and although it persists I am just going to bake, donate and blog because I miss it!

Made delicious little golden nuggets of coconut filled joy yesterday.  These little gems were so good – so flavorful, moist, and EASY.  Andy is almost done eating sweets – he is often reluctant to try and craves real food more than desserts.  But he came home from his first day of school yesterday and started popping these in his mouth and said “these are really good mom” and “can I have some more?”  When I told him I donated the rest he was so glum.  I quickly made another batch for him right then and there (although I only had unsweetened coconut which wasn’t as good in these cookies btw) but he was happy.  And so was I.  These came from my newish cookbook The Splendid Table’s How To Eat Supper.  I’ve cooked meals from it several times but this is my first dessert from the book, and I’m psyched that they were so good.

Enjoy-

coconut macaroons (from Lynne Rossetto Kasper and Sally Swifts “How To Eat Supper”):

2 large eggs, well beaten (room temp if you remember)
1/2 cup sugar
generous pinch of salt
1 teaspoon vanilla extract (use almond if you prefer)
3 cups sweetened shredded coconut

chocolate chip option – add about 1/2 cup to the mixture.

Preheat the oven to 350.  Line sheet pans with parchment paper.

In a large bowl, mix together the eggs, sugar, salt and vanilla extract.  Add the coconut and mix to incorporate.

Drop by generous teaspoons onto the baking sheet. I used my smallest cookie scoop and pressed the mixture in it.  If you don’t have one, try to smoosh coconut into a small spoon and drop the dough out onto the pan.

Bake for 20-30 minutes – until they are golden around the edges and a little golden on top.  If you bake each pan one at a time, they will need closer to 20 m in the oven.  If you put 2 pans in together, you should switch racks halfway through and they will likely take a bit longer to cook.


caramel apple jam

Thanks mom for sending me this recipe!

MMMMmmmm….so delicious and warm and soothing and inviting.  Funny for a “jam” to be all that but it is!  Caramel, vanilla, and apples delightfully and simply combined.  Warm this up and pour over some vanilla ice cream and you have a winner.  Equally good on the savory side if you serve as a sweet side relish for pork or chicken.  Alison Roman, the creator of this apple jam, also suggests ice cream (like me) – but topped with crushed Nilla wafers.  And I say, sounds great, but make home made vanilla wafers (coming next)  and add a little whipped cream.

Use a variety of apples, makes for a more interesting outcome because different apples break down differently and this will provide texture and fun!

apple jam (from Bon Appetite Oct 24th):

Original recipe and write up are here.

1 cup sugar
3 pounds apples, use a variety if you can, peeled, cored and cubed about 3/4 inch thick.
1/2 vanilla bean (scraped)
1 tablespoon lemon juice
cinnamon stick or powder
kosher salt

Place 3 tablespoons water in a large saucepan.  Add the sugar and mix.  Heat on medium high and boil – and continue to cook until the sugar caramelizes.  It will turn a dark amber color – but be careful as it all happens very fast, and it is HOT.  Seriously hot.

Add the apples and the vanilla seeds and bean to the pot and cook on medium heat.  The caramel may seize up at the start (because the apples cool it down) but soon it will dissolve again.  Add a 1/2 cinnamon stick (if you don’t have a stick, wait and add some ground cinnamon to taste at the end.)

Continue to cook for about 20-25 m, stirring occasionally until some of the apples are translucent and some still have their shape, and most of the liquid is dissolved.  You can keep cooking btw, if you like your apples super soft, or remove them earlier if you like them super chunky.

Remove from heat.  Add lemon juice and a pinch of kosher salt.  Store in a glass jar or container for up to a month in fridge.


NOEMA chocolate

This chocolate is made without peanut, tree nuts, dairy, egg, soy, wheat, fish and shellfish, as well as sesame.  NOEMA stands for None Of the Eight Major Allergens.  You can be worry free if you or your family suffers with allergies.  The equipment is brand new and has never touched any of the ingredients above.

Check out their website here!

coconut mounds (the best ever) (dairy and gluten free btw)

Loved these!  We all did – even those of us who don’t love coconut (including me, although I think I may have moved over into the like category.)  Judy and Marco really enjoyed – and she is a true coconut aficionado.  Alice Medrich calls these New Classic Coconut Macaroons because she recreated the recipe with unsweetened dried  coconut flakes (not sweetened, shredded and artificially preserved.)  Maybe that is why I like them so.  The cookie consistency is chewy and soft inside, and crispy on the outside and so very flavorful and quite pretty to look at.  (Long run-on, I’m aware.)  I threw some bittersweet chocolate shavings into some and wow — even better!  In others, I added dried cherries, and that too was another nice alternative.  Make these soon and make a lot!  They last 4-5 days in an airtight container.  Enjoy –

coconut mounds (from Chewy, Gooey, Crispy Crunchy by Alice Medrich):

makes about 22 cookies

4 large egg whites
3 1/2 cups (5.25 oz.) unsweetened dried coconut flakes (also called coconut chips)
3/4 cup (5.25 oz.) sugar
2 teaspoons pure vanilla extract
slightly rounded 1/4 teaspoon kosher salt

Combine all the ingredients in a stainless steel bowl.  Set the bowl over a sauce pan filled with an inch of barely simmering water (the bowl should be on top of the sauce pan, it should not fit inside the sauce pan.)

Mix the ingredients with a rubber spatula over the heated water until the mixture becomes more opaque and less translucent.  This should take about 5-7 minutes.  The mixture will get hot – which you want, but you don’t want to cook the egg whites.

Set batter aside for 30 minutes to fully absorb the coconut flavor.

Preheat the oven to 350 degrees.  Place 2 tablespoons of batter for each cookie onto a parchment lined baking sheet.  Bake for about 5 – 7 minutes (rotating pans).  You want the coconut tips to just start to color.  Reduce the oven temp to 325 and continue to cook for 10-15 minutes (again, rotating your pans) until the cookies are a beautiful cream color with golden brown edges.

If the coconut tips are browning too fast, you can reduce the oven temp to 300.

Let cool on pans, and oh, best to enjoy day one as they are gooey and soft on the inside and crispy on the outside.  Yum.

pancakes (protein packed and gluten and dairy free!)

Yummy yummy yum!  I’m so happy these came out great the second time I made them.  Andy, Sylvie and Rob fight over these little guys and I love it because they are filled with goodness.  No flour, no dairy, low sugar, and packed with protein these are perfect if you (or your family or guests) suffer from Celiacs Disease or have gluten or lactose sensitivities.  Regardless, they are a hit with us and so healthy that I’m ridiculously happy to make them over and over again.  The first time I made these they had a pretty bad aftertaste and John my gluten free tester commented that they were fine but his mom’s gluten free pancakes from the box were better.  Well, that was tough to hear and a blow to my ego so I tried again this time using fresh almond meal (I think the first one was probably rancid – gross, I know!)  And I used agave nectar as recommended in the recipe and well, they were much much better.  Well, really tasty!  I made these with added cinnamon and tried one with raspberries which were actually the best.  I imagine blueberries would be delicious too.  But as usual, the kids like them with chocolate chips most.

Best to buy agave nectar in bulk from the health food store or online.  Amazon makes it easy.  You can find arrowroot powder at the supermarket but also great to buy in bulk at Penzeys.com or Amazon.  Lastly – you can find grapeseed oil at the supermarket.

Enjoy –

power packed pancakes (from The Gluten-Free Almond Flour cookbook by Elana Amsterdam):

I double this recipe as it yields only 12 smallish pancakes

2 large eggs
1/4 cup agave nectar
1 tablespoon vanilla extract
1/4 cup water
1 1/2 cup blanched almond flour (almond meal)
1/2 teaspoon kosher or sea salt
1/2 teaspoon baking soda
1 teaspoon cinnamon (or more or less to taste)
1 tablespoon arrowroot powder
chocolate chips, blueberries or raspberries to taste and as desired
2 tablespoons grapeseed oil (for the pan)

In a bowl, whisk together the almond flour, salt, baking soda, arrowroot powder and cinnamon. Set aside.

In a blender, combine the eggs, agave nectar, vanilla extract and water.  Process on high for about a minute.

Add the dry ingredients to the blender and process again until thoroughly combined.

I like to use two skillets.  Pour a tablespoon of grapeseed oil into each pan and heat at medium low to eventually low.  Ladle 1 heaping tablespoon of  batter onto the skillet (then add a few chips or berries to each if desired) and cook until small bubbles appear.  Then turn over (this can be a little tricky) and gently cook the other side – being careful not to burn.

Repeat with remaining batter and serve 🙂

nutella fudge mini-cupcakes

Splendid little nuggets of goodness.  I mean ri-dic-u-lous!  If you are a Nutella fan then these are for you!!  Sylvie and I ate these right up.  I’m hoping Nutella fan Cousin Daniel did too (sent him a package).  If you are Nutella lover, try this recipe!  Nutella, eggs, flour and salt make Nutella flavored magic.  I paired these with caramelized bananas and some delicious ice cream and wow!!!  I don’t have much else to say about these.  They take only about 5 minutes to prepare, 10 minutes to cook and you’ve got a delicious treat.  No mess, no fuss…these are truly a winner.  Enjoy –

I doubled the batter to make 24 mini cupcakes.  Below is just for 12.  I imagine that they freeze well.  Do not over bake!  Oh, and if you do over bake, follow my friend Nora’s advice – she frosted the slightly overcooked cupcake with Nutella to add a little extra wetness and sprinkled with confectioners’ sugar.  Pretty and a good idea regardless…

nutella fudge mini-cupcakes (barely adapted from Fine Cooking Cookies 2010 Magazine):

1/2 cup Nutella spread
1 large egg
5 tablespoons all purpose flour (look at baking tips for flour measuring)
1/8 teaspoon kosher salt, or a pinch
1/8th – 1/4 cup toasted hazelnuts (optional)

Nutella – to frost (optional)

*again, this makes only 12 mini muffins.  double the batter to make 24.

Preheat the oven to 350 degrees and place the rack in the center of the oven.  Line mini-muffin pans with paper liners.

In a medium bowl, whisk together the Nutella and the egg until smooth.  Add the the flour and salt and mix until blended.

Spoon the batter into the prepped pans about 3/4’s full and then sprinkle with the toasted nuts if you are using.

Bake until a toothpick comes out with crumbs (wet and a little gooey) – about 8-12 minutes.  Really try not to over bake.  The beauty is in their wetness which will dry out if overcooked.

Let cool in pan for 5 minutes then remove and let cool on a rack.  These are great served warm or room temp later on in the day.

Enjoy-

(very moist) orange cake

100 percent happiness – we all LOVED this orange flavored cake.  Really a new favorite in our house!  As I nibbled and watched my family enjoying… sighing, smiling, making mmm noises, and Sylvie licking the crumbs off her plate…well, life seemed very good and simple that moment.  When I saw that this cake featured olive oil, I was curious but also slightly worried that it wouldn’t be “blog-worthy” or that the olive oil would overwhelm the flavor.  But no worries, the oil added an amazing dimention –  it was so tasty and so incredibly moist.  My family and neighbors Ali and Jonathan had no idea that there was olive oil in the cake (although I tasted it – and enjoyed it!)  The orange syrup finished the cake with even more orange flavor.  Not much more to say, save that it is nice there is no butter in this recipe, it is fairly easy to make and you will most likely have most of the ingredients on hand.  This is perfect for everyday and company too.  I mean it.  Try it.

(very moist) orange cake (slightly adapted from The Modern Baker by Nick Malgieri):
4 navel oranges
3 large eggs (room temp)
2 1/2 cups sugar
1 1/2 cups olive oil (I used extra virgin, but you can also use pure olive oil – use an olive oil that you like, that is high in quality)
1 1/2 cups milk (pull to room temp if you can)
2 1/2 cups all purpose flour (look to baking tips and measuring flour so that you don’t add too much)
1/2 teaspoon baking powder
1/2 teaspoon baking soda
1 teaspoon kosher salt

syrup
1/4 cup freshly squeezed orange juice
6 tablespoons sugar

Rub 2, 9 inch cake pans with a little bit of canola oil.  Line bottom of pans with parchment rounds.  (These might be nice in a muffin shape too.  Just adjust baking time.)

Preheat oven to 350 degrees.  Place rack in middle of oven.

Wash the oranges.  Grate the zest from the oranges – being careful to grate only the orange part of the orange – do not grate the pith (the white bitter part).  You can segment the oranges with a grapefruit knife and eat for a snack :))

Juice enough of the oranges to reserve 1/4 cup for the syrup.  Set aside zest and juice (separately).

In a medium sized bowl, whisk together the eggs and orange zest.  Whisk in 1 cup of the sugar and whisk for about a minute.  I did this by hand – vigorously. Then once lighter, whisk in oil and milk.

In a small bowl, stir together the remaining 1 1/2 cups sugar, flour, baking powder, baking soda, and salt.

Whisk the dry mixture into the egg mixture in three additions — whisking until smooth.  But don’t over mix.

Divide and pour batter into prepared pans.  Bake the cakes until they are a golden, and firm when you press in the center.  It should take from 50-55 minutes.

Cool the cake for 5 minutes, then run a knife around the edges (if needed), invert, and un-mold.  Then turn right side up again.  Repeat with other cake.

Make the syrup while the cake is cooling.  Bring the 1/4 cup juice and sugar to a boil.  And simmer for a minute or so.

Once cake is inverted poke little holes all over the cakes with a toothpick.  Then brush the warm syrup all over the cakes and repeat until you have used it all.

Let cool.  Delicious.  Once cool, you can wrap and freeze the cake as well.

Enjoy-