holiday brownies

So my mom texted this AM, asking which brownie recipe to make for my dad because he needs to put on weight.  I immediately thought of these goodies.  Looking at the blog, I realize that I had yet to finish the write up.  And when I looked closer at my draft, I realized that my parents actually tried and like them when they were here last.  Kind of funny.

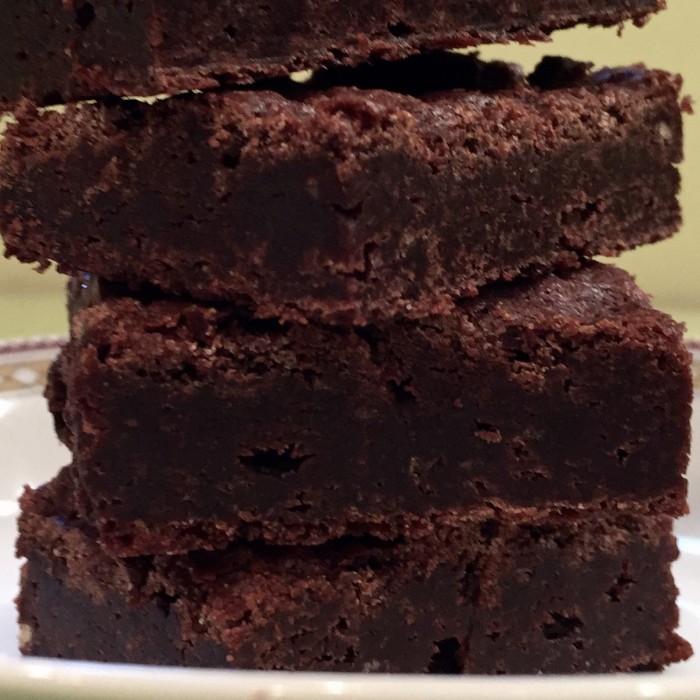
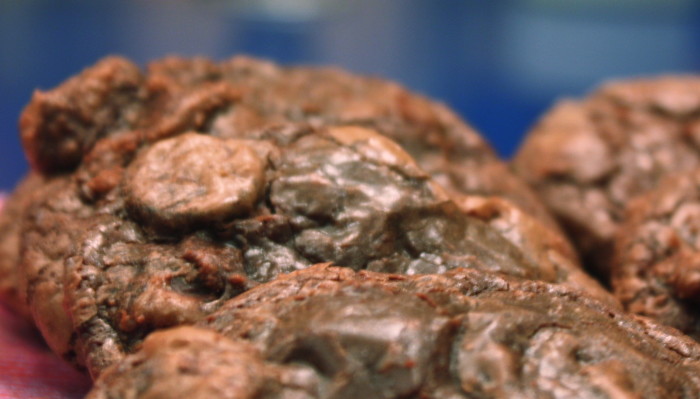
Rob said these are the BEST brownies to date.  This is an extremely compelling reason to try them because Rob is a tough crowd.  And yes, I know there is no crowd in one, but he can feel like a crowd with his chocolate thoughts and opinions.  Andy, Sylvie, my mom, my dad – whoever came by that week truly enjoyed.  These are chewy and chocolatey, and not as rich as my regular fudge brownies.  The brownies have a lovely sheen on top and yummy crisp edges.  It’s a really good brownie.  I called them holiday brownies only because I’m embarrassed to write “brownies again” 🙂  Try them!

I love this cookbook btw – it is filled with terrific, thoughtful, healthy and quick dinner recipes and a few dessert goodies at the end — this being one of them.

holiday brownies (from The Mom 100 Cookbook by Katie Workman) 

1 cup (2 sticks) unsalted butter
3 ounces unsweetened chocolate|
1/2 cup unsweetened dutch processed cocoa powder
2 1/2 cups sugar
1/2 teaspoon kosher salt (if using table salt, cut in half)
1 tablespoon vanilla extract
3 large eggs
1 1/2 cups all-purpose flour
chocolate chips (optional)
toasted nuts (optional)

Preheat the oven to 350 degrees.  Line a 13×9 inch baking pan with foil or parchment or use butter or cooking spray.

Place the butter in a medium sauce pan and over low heat, start to melt it.  Add the unsweetened chocolate by placing on top of the butter and slowly melt the two together.  Do not burn the chocolate or cook it.  If you are too worried doing it this way,  just use a double boiler or a makeshift one (metal bowl on top of a saucepan with an inch of barely simmering water).

Stir in the cocoa powder, sugar, and salt.  Then blend in the vanilla.  Beat in the eggs, one at a time and stir quickly after each one is added.  Then beat again once all incorporated.  Fold in the flour and chocolate chips and nuts if using.  I used chocolate chips.  I always do.  I usually use a darker semi sweet or a bitter-sweet (esp for Rob).

Bake for about 24-30 minutes…check them after 20 minutes.  Bake until the edges start to pull from the sides a tad, and a toothpick comes out just clean.

Let cool and enjoy!


coconut macaroons

It’s been a long time.  Too long.  Pain in my feet is the root of my inactivity and although it persists I am just going to bake, donate and blog because I miss it!

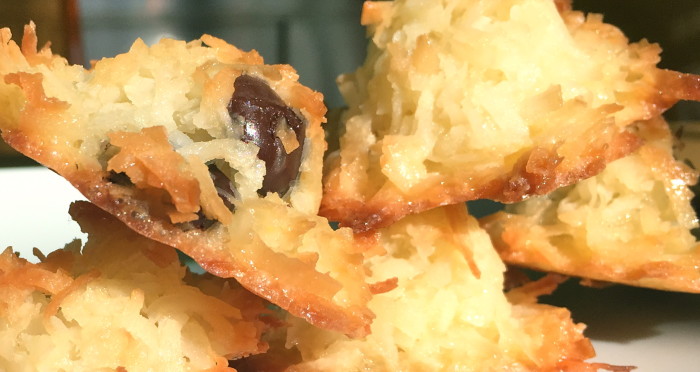
Made delicious little golden nuggets of coconut filled joy yesterday.  These little gems were so good – so flavorful, moist, and EASY.  Andy is almost done eating sweets – he is often reluctant to try and craves real food more than desserts.  But he came home from his first day of school yesterday and started popping these in his mouth and said “these are really good mom” and “can I have some more?”  When I told him I donated the rest he was so glum.  I quickly made another batch for him right then and there (although I only had unsweetened coconut which wasn’t as good in these cookies btw) but he was happy.  And so was I.  These came from my newish cookbook The Splendid Table’s How To Eat Supper.  I’ve cooked meals from it several times but this is my first dessert from the book, and I’m psyched that they were so good.

Enjoy-

coconut macaroons (from Lynne Rossetto Kasper and Sally Swifts “How To Eat Supper”):

2 large eggs, well beaten (room temp if you remember)
1/2 cup sugar
generous pinch of salt
1 teaspoon vanilla extract (use almond if you prefer)
3 cups sweetened shredded coconut

chocolate chip option – add about 1/2 cup to the mixture.

Preheat the oven to 350.  Line sheet pans with parchment paper.

In a large bowl, mix together the eggs, sugar, salt and vanilla extract.  Add the coconut and mix to incorporate.

Drop by generous teaspoons onto the baking sheet. I used my smallest cookie scoop and pressed the mixture in it.  If you don’t have one, try to smoosh coconut into a small spoon and drop the dough out onto the pan.

Bake for 20-30 minutes – until they are golden around the edges and a little golden on top.  If you bake each pan one at a time, they will need closer to 20 m in the oven.  If you put 2 pans in together, you should switch racks halfway through and they will likely take a bit longer to cook.


brown butter brownies

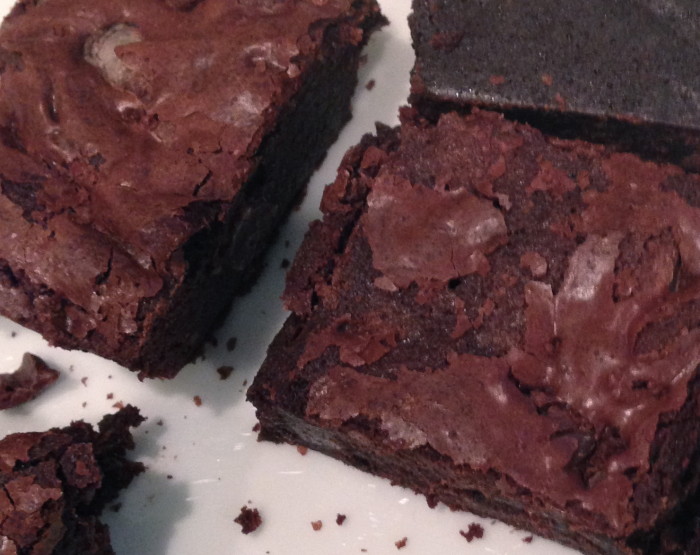
Baked these brownies for a charity and they wrote to say how much they looooovvved them!  The mattress delivery men were eyeing the brownies as they went up and down the stairs…and were happy to leave with their goodie bags.  They said best brownie they ever had.  Wow.  (Although these are very good, I’m thinking they were hungry).  But it is amazing what a little treat can do for someone.  That is prob my favorite part of baking.  The delight (my own, and others).  My family prefers the “favorite fudge brownies” and although I too love those, they can be a bit rich at times.  These are chewier and have a shiny top which is fun for some reason.  If you can, add the walnuts because the texture and taste is definitely heightened and you can get a good dose of omega-3 fats too (making them healthy?!)  🙂

You will need a little muscle for this recipe.

brown butter brownies (from Alice Medrich’s Sinfully Easy Delicious Desserts):

10 tablespoons unsalted butter
1 1/4 cups sugar
3/4 cup (2.4 ounces) unsweetened cocoa powder, preferably natural
rounded 1/4 teaspoon salt
2 teaspoons water
1 teaspoon vanilla extract
2 cold large eggs
1/3 cup plus 1 tablespoon (1.78 ounces) all purpose flour
1 cup (3.5 ounces) walnut pieces
chocolate chips (optional)

Toast your walnuts if you have time – 350 degree oven for about 10 min – plus or minus — basically until fragrant.  Set aside to cool.

Preheat oven to 325 degrees.

Line the bottom and sides of an 8 inch square baking pan with tin foil and spray with  a non stick spray or rub some butter on it.

(In case you don’t remember the easiest way to line the pan, turn the pan upside-down and place the foil on top gently folding around the edges and sides.  Turn pan right side up and now you have a “mold” so to speak that you can easily push into the pan to prevent the foil from tearing.)

Melt the butter in a medium saucepan and cook until it melts, and then turns golden brown.  Then quickly remote pan from heat and add the sugar, cocoa powder, salt and vanilla extract.  This will stop the butter from burning.  Mix well and let cool for 5 minutes or so.

Add the eggs, one at a time and beat very well after each addition.  Add the flour and mix well again.  Once the flour is incorporated, beat the mixture with a wooden spoon – about 50 times.  Yup.  Hard, fast and vigorously  — you want the mixture to get good and shiny.

Fold in the nuts and if  you are using chocolate chips, add as well.

Pour into the foil lined pan and bake until done.   A toothpick should come out just clean.  Alice says 20-25 m – but check before and after.  I just learned that my oven is off by 25 degrees – and yours might be too, so bake them until you think done, not the timer.

Let cool.  Then remove brownies by carrying them with the foil onto a cutting board and slice.  You can also invert them and gently peel off the foil first as it will be sticky.

Enjoy –


cranberry cookies

Greg’s friend from school joined us for Thanksgiving.  We urged him to come having found out that he was on campus with out a turkey plan.  We had a terrific meal and a great variety of desserts.  I made these little gems, but I don’t think anyone in Rob’s family tried them.  So they sat there and I thought that I would still post them, because I loved them…and that was enough.  But lucky for me, I found another white chocolate cranberry cookie lover in Jay!  When asked what his favorite dessert was for a goody bag he quickly replied with “those cranberry cookies!”  Well, I was delighted (seems too strong of a word, but I was).  When home and a box of cookies went to Ali’s house…she texted saying “cranberry cookie one of my new faves.”   Make them if you are willing!

cranberry cookies (slightly adapted from A Taste Of Home)

1  cup unsalted butter (2 sticks), softened
1 1/2 cups sugar
2 eggs
1 teaspoon pure vanilla extract
2 cups all purpose flour
1 teaspoon baking powder
1/2 teaspoon kosher salt
1/4 teaspoon baking soda
2 cups rolled oats
1 cup raisins
1 cup fresh or frozen cranberries, chopped
2 teaspoons grated orange zest
8-10 ounces good quality white chocolate chunks or chips
pecans would be nice in here too if you like

Preheat oven to 375 degrees.

With paddle attachment of your mixer (or with hand held beaters) cream the butter and sugar together on medium speed until light and fluffy.  About 5 minutes.

Continue on medium speed, and add the eggs one at a time and then the vanilla.

Whisk together the flour, baking powder, baking soda, salt and oats and add to the mixture.  Mix on the lowest speed until just combined.

Remove from mixer and mix in raisins, cranberries, zest and white chocolate.  (I used my clean hands).

Line baking sheet with parchment.  Bake from 8-14 minutes depending on the size of your cookies.  I made big ones…you do what you like!

Enjoy-


triple chocolate chip cookie

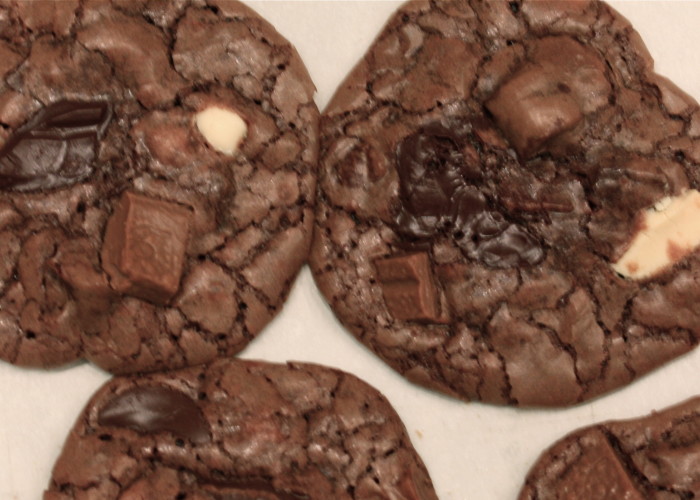
I really really really like these cookies.  A lot a lot a lot.  Right up my alley with milk, white and semisweet chocolate – these, in my vanilla ice cream…well, my mouth is watering right now as I think about it.  I’m not sure what the others thought because honestly, I wasn’t listening because I was eating.  Hard sometimes to do at the same time.  If you are opposed to white and milk chips, then obviously you can just put in your semi – but I do think these are special as they are and will round out a cookie platter very nicely.   Try not to over bake these — it can be hard with chocolate cookies but do your best.  Enjoy-

triple chocolate chip cookie (A Baker’s Field Guide to Chocolate Chip Cookies by Dede Wilson):

1/4 cup all purpose flour
1/4 baking powder
1/2 teaspoon salt
6 ounces semisweet chocolate, finely chopped
2 ounces unsweetened chocolate, finely chopped
6 tablespoons (3/4 stick) unsalted butter, softened
3/4 cup sugar
2 large eggs
1 1/2 teaspoons vanilla extract
2 cups semisweet or bittersweet chocolate chunks
3/4 cup milk chocolate chunks
3/4 cup white chocolate chunks

Preheat oven to 350 degrees.  Whisk together the dry ingredients.

Melt chopped semisweet and unsweetened chocolates and butter together in a non reactive bowl over a sauce pan of barely simmering water.  Let cool to room temp.

With the paddle attachment, beat sugar, eggs, and vanilla together on high speed until light and fluffy – 4-5 minutes.  Remove from mixer and gently fold in chocolate mixture and then gently fold in the flour until just incorporated.

Toss all the chocolate chunks together in a bowl, then set aside about one quarter of the mixture into another bowl (to place on top of cookies).  Fold the large portion of chunks into the batter.

Drop by generously rounded tablespoons onto parchment lined cookie sheets.  Take the leftover chips and place one of each kind on top of each cookie to show off the flavors.

Bake until cookies look a littler dryer on top – a little crusty on the sides, but still very moist inside.  (This can be tricky).  Somewhere around 10 m – but really can be more or less.  Remember to rotate your sheet pans and know it will take longer if you put a couple of pans in the oven.  The trick with baking is to figure out when to pull your cookies and cakes and this takes practice.

Enjoy-


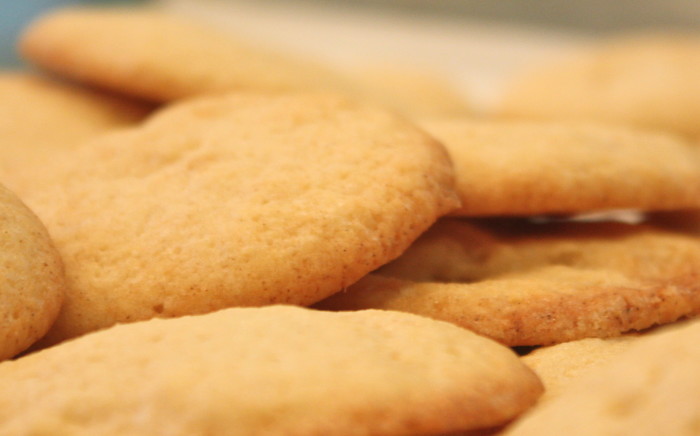
vanilla wafers

LOVE these little gems.  Who knew that a vanilla wafer cookie could be so yummy.  Crisp, vanilla-y and so addictive you will likely need to double the recipe.  (Luckily I did.)   I must admit that my kids looked uninterested when they saw them on the counter – but as soon as they tasted them (I had to make them!), they said, yup, really good cookie!  And yes mom, blogworthy.  Andy asked if I could make them for his class at school 🙂  Eat these alone or mix with ice cream (per my usual), or make little ice cream sandwiches filled with different kinds of ice cream.  Perfect for the upcoming holidays.  You can also grind and make into a tasty buttery pie/tart crust to fill.   Enjoy –

By the way, I love Lauren Chattman’s book.  It is filled with super fun and easy recipes that you can whip up easily.  I don’t know her — so know that I’m not pushing a purchase…but just thought I’d mention.

homemade vanilla wafers (from Mom’s Big Book of Baking by Lauren Chattman):

3/4 cup all purpose flour
1/2 cup cake flour (not self rising)
1 teaspoon baking powder
1/4 teaspoon kosher salt
1/2 cup (1 stick) unsalted butter, softened
3/4 cup sugar
1 large egg plus 2 large egg yolks (save the whites for meringues)
2 tablespoons pure vanilla extract (a lot I know!)

Preheat the oven to 400 degrees.

Whisk together the 2 types of flour, baking powder and salt.

With the paddle attachment of your mixer, cream the butter and sugar together on medium speed until light and fluffy.  about 3-5 minutes.  Scrape down bowl, and mix again to incorporate.

Add the whole egg,  yolks and the vanilla and beat until nice and smooth.

Remove from mixer and fold in dry ingredients until just combined.

Place the bowl in the fridge for at least 20 minutes (you can also let it sit overnight – or whenever you want to bake off)

Drop batter by rounded teaspoonfuls onto parchment lined cookie sheets.

Bake until the edges have browned and the tops of the cookie are set 6-10 minutes (and maybe longer if you are filling your oven with more than one rack at a time.  Just keep checking.

Enjoy!

bittersweet decadence cookies

“This is the most amazing cookie I’ve ever had.”
“Lisi, you are the best” (obi my favorite comment :))
“The chocolate!”
“I’ve never had anything so delicious.”
“Lisi – please make these again.”
“Mom, where did all the cookies go?”
“Oh My God!”
“No more cookies???”

Do I need to say more?  I mean – seriously no other cookie quite like it.  Every now and then I get a ripped out piece of newspaper on my desk and as I get closer I see that Rob has pulled something from somewhere that I’m thinking he might want me to make!  This scrap of paper has been on my desk since May 10 – so I guess not that long – but my intention was to make them much much sooner.  And boy – were they worth the wait!

Please make with good high quality chocolate!

I didn’t add the nuts because my kids have become a bit nut averse – but they would be good I bet.

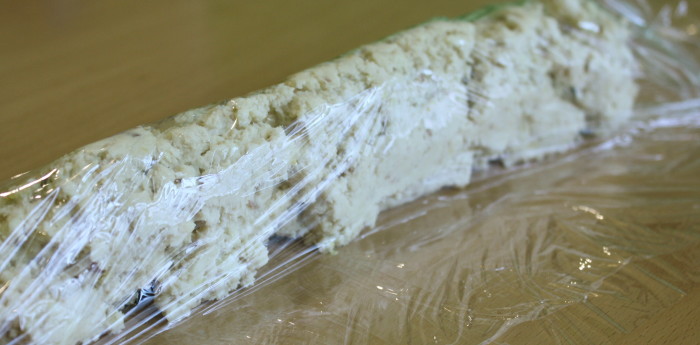
The first time I doubled this recipe.  The second time I quadrupled!  I put the extra dough in the freezer (rolled up first in saran) for slice and bake at a later date.

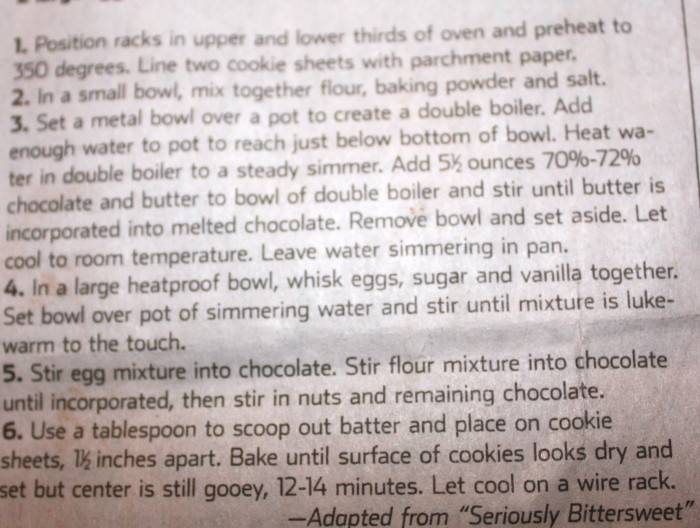
bittersweet decadence cookies (from The Wall Street Journal May 10, 2014 – adapted from Seriously Bittersweet” by Alice Medrich):

1/4 cup all purpose flour
1/4 teaspoon baking powder
1/4 teaspoon kosher salt
5 1/2 ounces of 70-72 percent chocolate
3 tablespoons unsalted butter
2 eggs
3/4 cup sugar
1 teaspoon vanilla extract
2 cups walnuts or pecans broken into pieces (optional – see note above)
6 ounces 54 – 72 percent chocolate, chopped into chunks.  I used all different percentages – some intensely bitter (72) and some less so 60 – and I threw in some regular old semi sweets as well.

IMG_7403


super s’more crisps

Sweet, marshmallowy, graham crackery and full of rich milk chocolate – these are quite good!  I found myself muttering “ridiculous, ridiculous”  as I kept going back for another bite and another.  I could not stop.  Obviously not a hit with Rob – my bittersweet chocolate loving spouse – but everyone else in the house loved them.  Lot’s of mmmmms and aaaahhhs from Connor, Matt, Colin, Rachel and Katherine.  I will say that they are super sweet – you know, that almost sweet that puts you over the edge, but I like that edge.  Figure if you like s’mores and can usually eat more than one – you will be good.  I love the way the marshmallows melt and create chewy, clear and caramelized edges.  Yum!  

I suggest you use really nice quality milk chocolate.  I used Guittard baking discs.  Enjoy –

super s’more crisps (slightly adapted from bigfatcookies by Elinor Klivans):

3/4 cup (1 1/2 sticks) unsalted butter, room temp
1/2 cup sugar
1 egg
1 teaspoon vanilla extract
3 cups graham cracker crumbs
1/4 cup flour
1/2 teaspoon kosher salt
1 1/2 cups (about 8.5 ounces) good quality milk choc chips
2 cups mini marshmallows
vanilla ice cream

Preheat oven to 325.  Line pans with parchment.

With paddle attachment of mixer (or hand held) beat the butter and sugar until blended.  Scrape down sides and beat again.  Add the egg, and vanilla and beat again.  On low speed, mix in the graham cracker crumbs, flour, and salt.

Once just combined, add milk chips and marshmallows.

Using an ice cream scoop or a spoon, drop large balls of dough on the baking sheet (about 1/4 cup capacity).  Flatten each cookie a bit.

Bake until the tops feel firm and the marshmallows near the edges caramelize and turn a bit golden.

Bake for a while – the recipe says 15 minutes but it takes a bit longer.  It will also take more time if you put two pans in at the same time.  If you do, remember to rotate the pans after 10 minutes or so.

Cool on sheet pans.

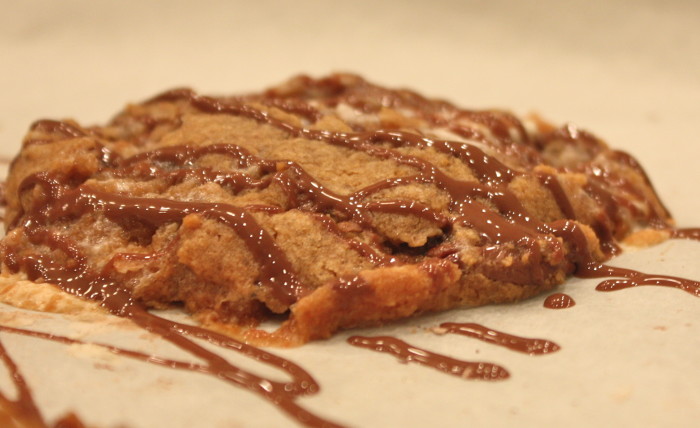
Once cool – drizzle with chocolate coating if you like.

To make the coating, place 1 cup of milk chocolate with 1 tablespoon canola or corn oil in a heatproof container over (and not touching) barely simmering water.  Once melted – remove and use a spoon to drizzle over cookies in a rapid back and forth manner.

Enjoy-

cookie do roll up and freeze

You don’t have to bake all your cookies at once.  Bake some fresh and then freeze or refrigerate the dough for another day (or month!)

Just take a piece of Stretch-tite (or any wrap) and spoon the dough into a long log.  Fold the plastic wrap over, then roll it up and you are set for slice and bake.

Another photo and more directions and thoughts are at the bottom of this post.


lemon “brownies”

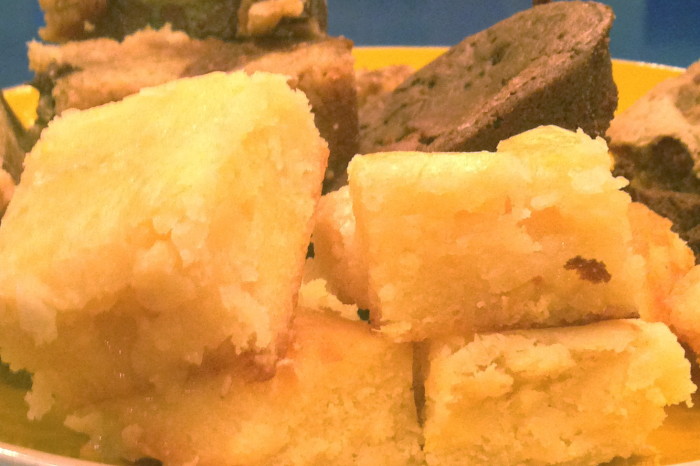
First – sorry this photo is so funky.  I was rushing and just took a quick one from my iPhone – and boy it is scary.  They look less electric than this and better in general.  Anyway…

Wet and juicy, dense and lemony, these simple treats are worth your time.  (And they don’t take much of it!)   Nothing fancy –  just a small square of lemon delight.  This was a hit with Rob, the kids and their friends.  Oh, and me too.  Make these if you don’t have time to make the lemon pound cake which can be a bit more time consuming.


Enjoy-

lemon brownies  (from Just a Pinch Recipes):

1 1/2 cups all purpose flour
1/2 teaspoon kosher salt
1 1/2 cups sugar
1 cup (two sticks) butter, softened
4 large eggs
4 tablespoons lemon zest
4 tablespoons lemon juice

glaze
1 cup powdered sugar
4 tablespoons lemon juice (I ran out of lemons and added some fresh orange btw)
pinch kosher salt

Preheat oven to 350 degrees.  Zest and juice your lemons.  Remember to wash your lemons first.

Butter or spray a 9×13 inch pan and line with foil or parchment.

Mix together the flour and salt.

With the paddle attachment of the mixer – beat the butter and sugar together until lighter.

Add the eggs, one at a time and beat and scrape and beat again.  Add the zest and juice and beat and scrape and beat again.

On the lowest speed (or fold by hand) mix in the flour until just combined.

Spread batter into prepared pan and bake until it is done.  I’m sorry but I forgot to time this.  Start at 25 minutes and see how it looks.  Bake until the edges start to turn golden brown and a toothpick comes out just clean.

Let cool for 10 m.  Then pour and spread half of the glaze on top.  Let sit until completely cool, then add the rest of the glaze.  You may have enough with just the first half – taste a corner and see what you think.  If enough, save it in the fridge it will last a while.

Cool, cut and enjoy-