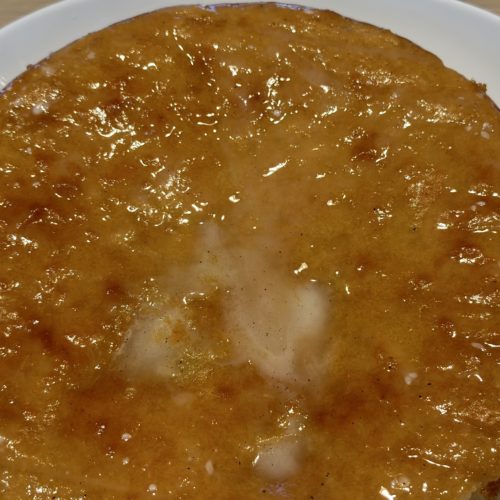
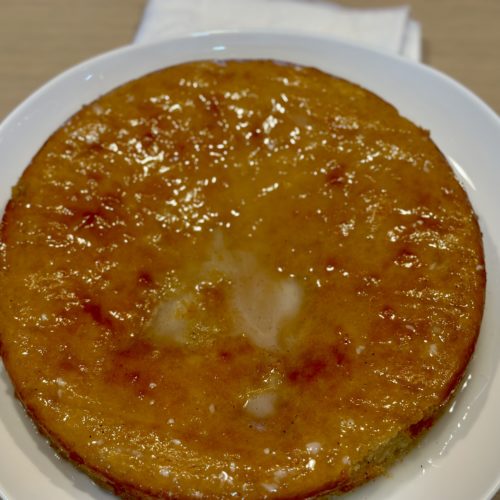
luscious lemon almond cake (gluten and dairy free!)

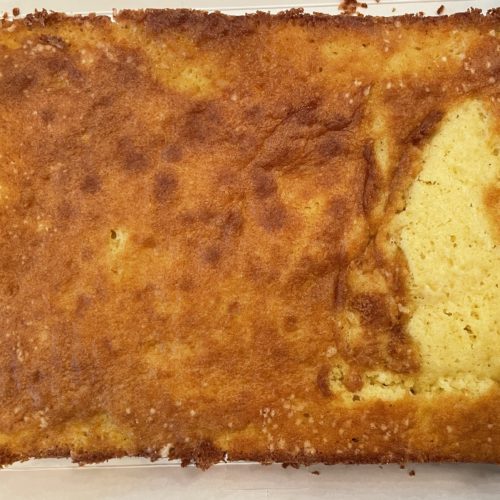
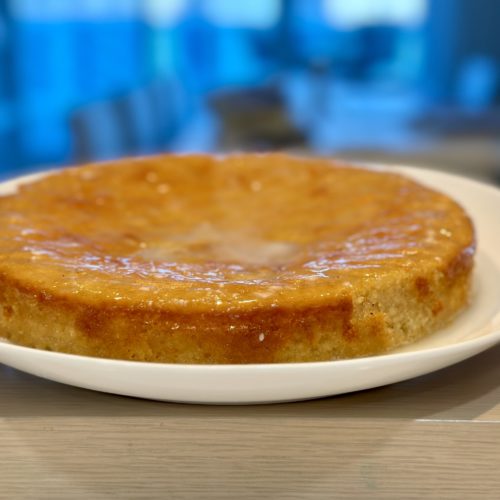
I’m always  on the lookout for some extraordinary gf/df sweets for Greg.  And I think this fits the bill.  It is incredibly moist and dense and has a marzipan feel to it which Greg loves.  It is also verrrry lemony!  Rob and I enjoyed as well btw – don’t have to be gf/df to appreciate.

I found this recipe in The Healthier Bite blog.  Jennifer created this blog for those with ulcerative colitis who are on the Specific Carbohydrate Diet.  Greg does not need to follow the diet so I modified only a tad –  only with the icing as my icing contains confectioners sugar and the original recipe does not.  

The original recipe is here if you want to follow the original SCD version and/or if you are trying to eliminate refined sugar.  (The SCD diet does allow honey which is why it is in this cake).  

When I made this cake the first time I mistakenly set the oven to 350 instead of 325.  But I actually prefer it that way.  The baking time is variable so you will have to check and check again.


Ingredients cake:

  • 2 tablespoons coconut oil, melted (but not hot) 
  • 3/4 cup honey
  • 2 large eggs (room temp)
  • 2 tablespoons lemon zest (wash your lemon first)
  • 1/2 cup freshly squeezed lemon juice 
  • 1/4 teaspoon vanilla extract
  • 3 cups finely ground blanched almond flour
  • 1/2 teaspoon kosher salt
  • 1 teaspoon baking soda 
      FROSTING
      powdered sugar (confectioners) and lemon juice.  Original lemon coconut frosting is on the blog   
     mentioned above

Directions


Preheat the oven to 350 degrees.  Grease the sides and bottom of a 8 or 9 inch cake pan. (Smaller pan will need a bit more cooking time).  Line the bottom of the pan with parchment. 

Place all wet ingredients (coconut oil, honey, eggs, lemon juice, and vanilla) into a blender and blend for about 15-30 seconds.  The mixture should be frothy.

Add the dry ingredients (almond flour, salt, baking soda) and the zest and blend until all is combined.  Scrape down the sides of the blender as needed and blend again to incorporate.

Pour into the prepped pan and bake on the middle rack – check after about 25m.  I don’t remember exactly how long it took but use a toothpick and keep baking and checking until the pick comes out just clean and the cake is a nice golden color.

Let the cake cool before you glaze or frost.

Again look at the original recipe here for the SCD frosting.  And read through Jennifer’s directions too as they are more detailed than mine.  Also read the “about me” to learn more about Ulcerative Colitis and the SCD diet.

For Greg’s sugary and sinful icing – use about 1.5 to 2 tablespoons of lemon juice and whisk In as much confectioners sugar as you like – to the consistency that you like.  It can be quite thick if you add a lot of powdered sugar and therefore will be sweeter.  Or, you can keep the glaze thin and lemony (which I prefer) and add just enough powdered sugar to cut the tartness.  Just add the sugar slowly tablespoon by tablespoon and whisk in and continue to taste until it suits your palate.

With a toothpick poke a bunch of holes in the cake.  Then brush on the glaze.  Yum.

Enjoy-

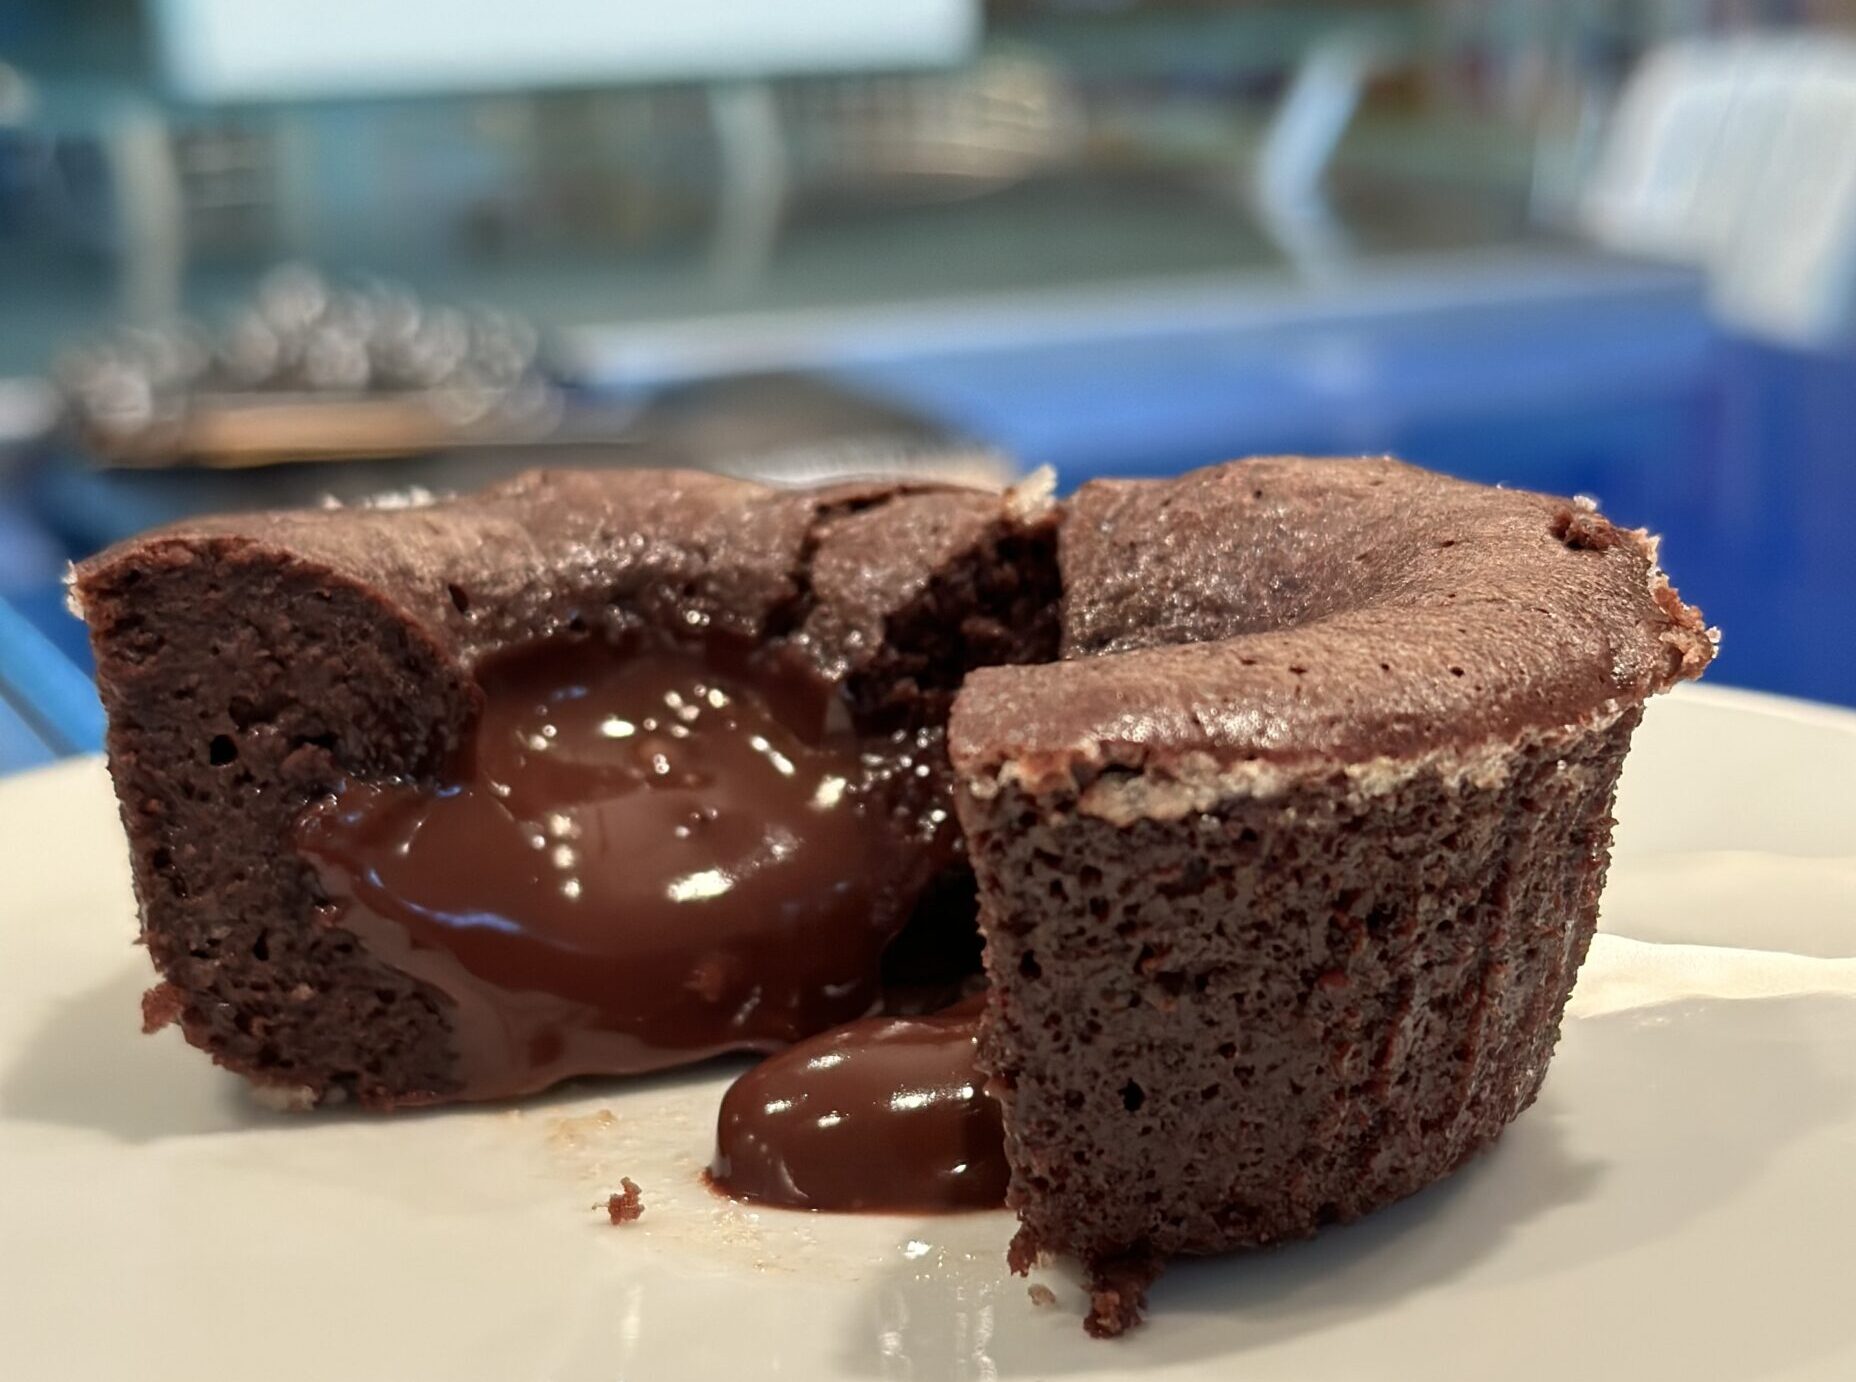
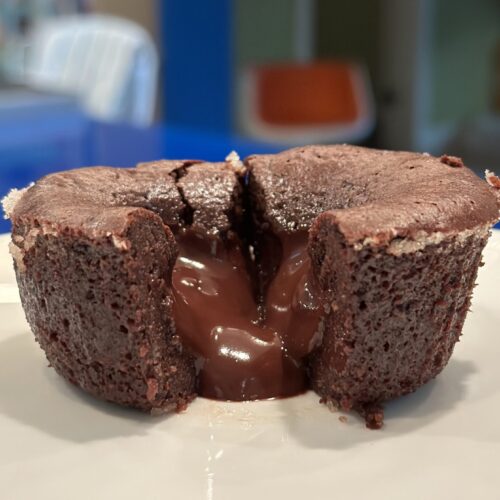
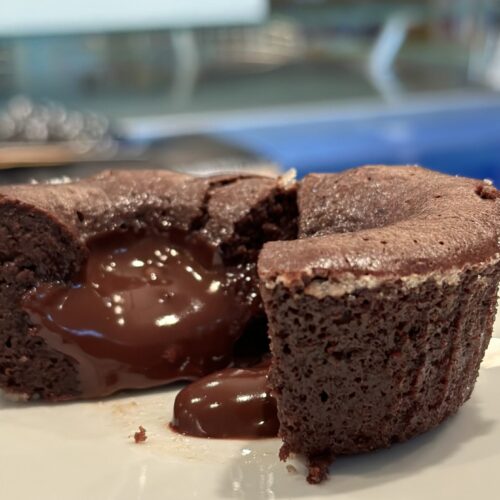
seriously good GF/DF chocolate molten cake

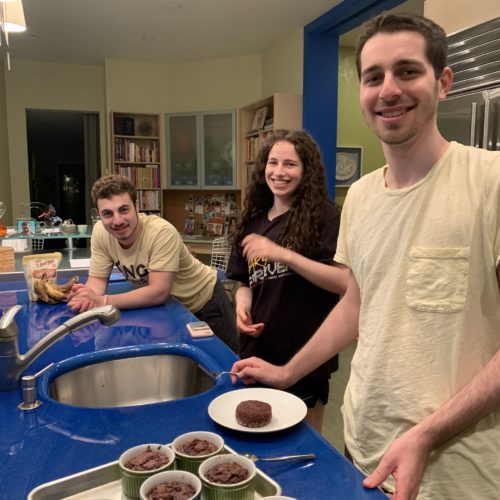
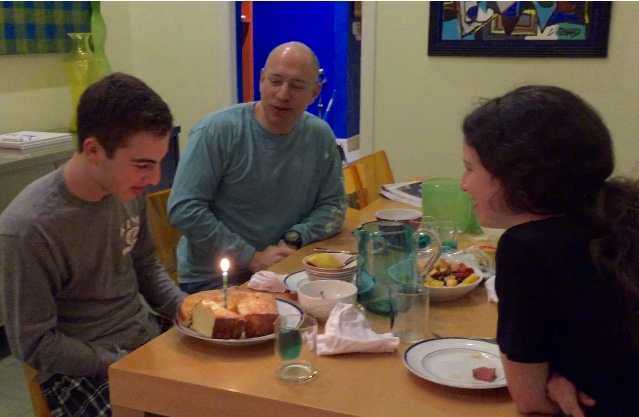
I cannot believe that 3 years has gone by since the photo on the right.  That is just crazy.  And it’s taken me this long to write about these delicious cakes.   

During covid 2020 Greg was home for his birthday – Andy too.  Andy’s request that year was a chocolate molten cake.  He loved it.  Greg’s Birthday, just four days later requested the same.  I sighed.  How to make a truly delicious gluten and dairy free molten cake?  It seemed impossible.  I am/was really inexperienced in this type of baking but I scoured the internet and thought hard about this.  (I make it sound like rocket science which is silly).  

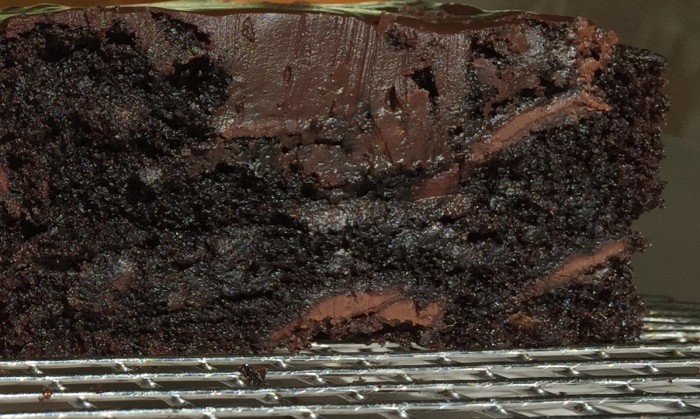
The basic recipe for the cake is from Organically Addison –  I added what I learned from my first teacher Rick Katz – that molten is necessary for a seriously good molten cake.  No underbaked center here – but instead, a ganache ball made with coconut cream (not coconut milk)  and melted chocolate.  This little nugget placed in the center of the batter filled ramekin did the trick.  It was gooey, intense and the chocolate flavor popped.  Greg was thrilled. 🙂  

I made them again this last month – twice actually and Jill loved.  Sylvie loved.  She isn’t even GF or DF but enjoyed immensely.  Nicole, andy’s girlfriend who is GF and DF is next at bat.  These are easy to make despite this long write up! 

Here are some important notes/thoughts (please read through before you bake):

The recipe calls for coconut sugar.  But because Greg rarely eats desserts I opted for brown sugar.  I wanted a true treat for him.  But if he had access to these all the time I would make with coconut sugar as it is healthier than refined sugar.

The recipe also suggests that you grease the ramekins  and call it a day.  As mentioned above, because this is a rare treat for Greg when home I coated the greased ramekins with sugar.  Yup I did.  Regular white sugar so that the cakes had a crunchy sugar coating.  I hope that these efforts bring him home more often :).

Laslty, make the ganache balls the day before or a few days before – or the morning before you plan to bake.  This will give the ganache time to firm up – able to form a solid ball to be dropped into the batter. 

Oh, truly lastly I tripled the recipe as it calls for only 3! ramekins.  I made 9 and and froze the leftovers.  Now I’m ready when he comes home to pop in microwave for an easy treat.  The ganache recipe below is for 9 ramekins – so 3 times the recipe!

Ingredients and Directions

Ganache balls:
3/4 cup chopped bittersweet chocolate
1/2 cup coconut cream (this is available in most supermarkets right next to the coconut milk)
tiny pinch of kosher salt

Heat the coconut cream to almost a boil.  Then pour over the chopped chocolate.  Wait a minute then whisk to combine.  Add salt.  Place in refrigerator to let cool and firm up.

When ready to make the cakes, form balls with the ganache – you can pick the size of these balls – but I’d say around 2 teaspoons or so.  Place the balls back in the fridge.

As mentioned the cake recipe is from Organically Addision.  Refer to my notes above before you start to bake – specifically eyeing my notes regarding sugar, sugar coating and tripling her recipe.

Here is the link to her terrific blog and the directions.

Follow her instructions but as mentioned feel free to coat the ramekin with sugar as I did.  And after you pour the batter into each ramekin – drop a delicious ganache ball into the center to create the molten lava that you will enjoy later.

Bake as directed. 

Feel free to kind of press down on cake with your finger to check if done.  The center ganache ball will remain gooey and will never looked cooked – but the cake should look and feel firmer and lose its unbaked sheen.  You may have to cook for a minute or two longer…keep checking and timing.

Let sit for a few minutes then run a knife around the edges and pop out if eating immediately.  Be careful the ramekin and ganache will be hot.  

If saving for a later date, let cool, then run a knife around the edges and pop out.  Freeze once completely cooled.   Microwave before serving – in small increments.  Don’t want to kill the cakes but warm up the ganache.  

Enjoy!

strawberry raspberry muffins

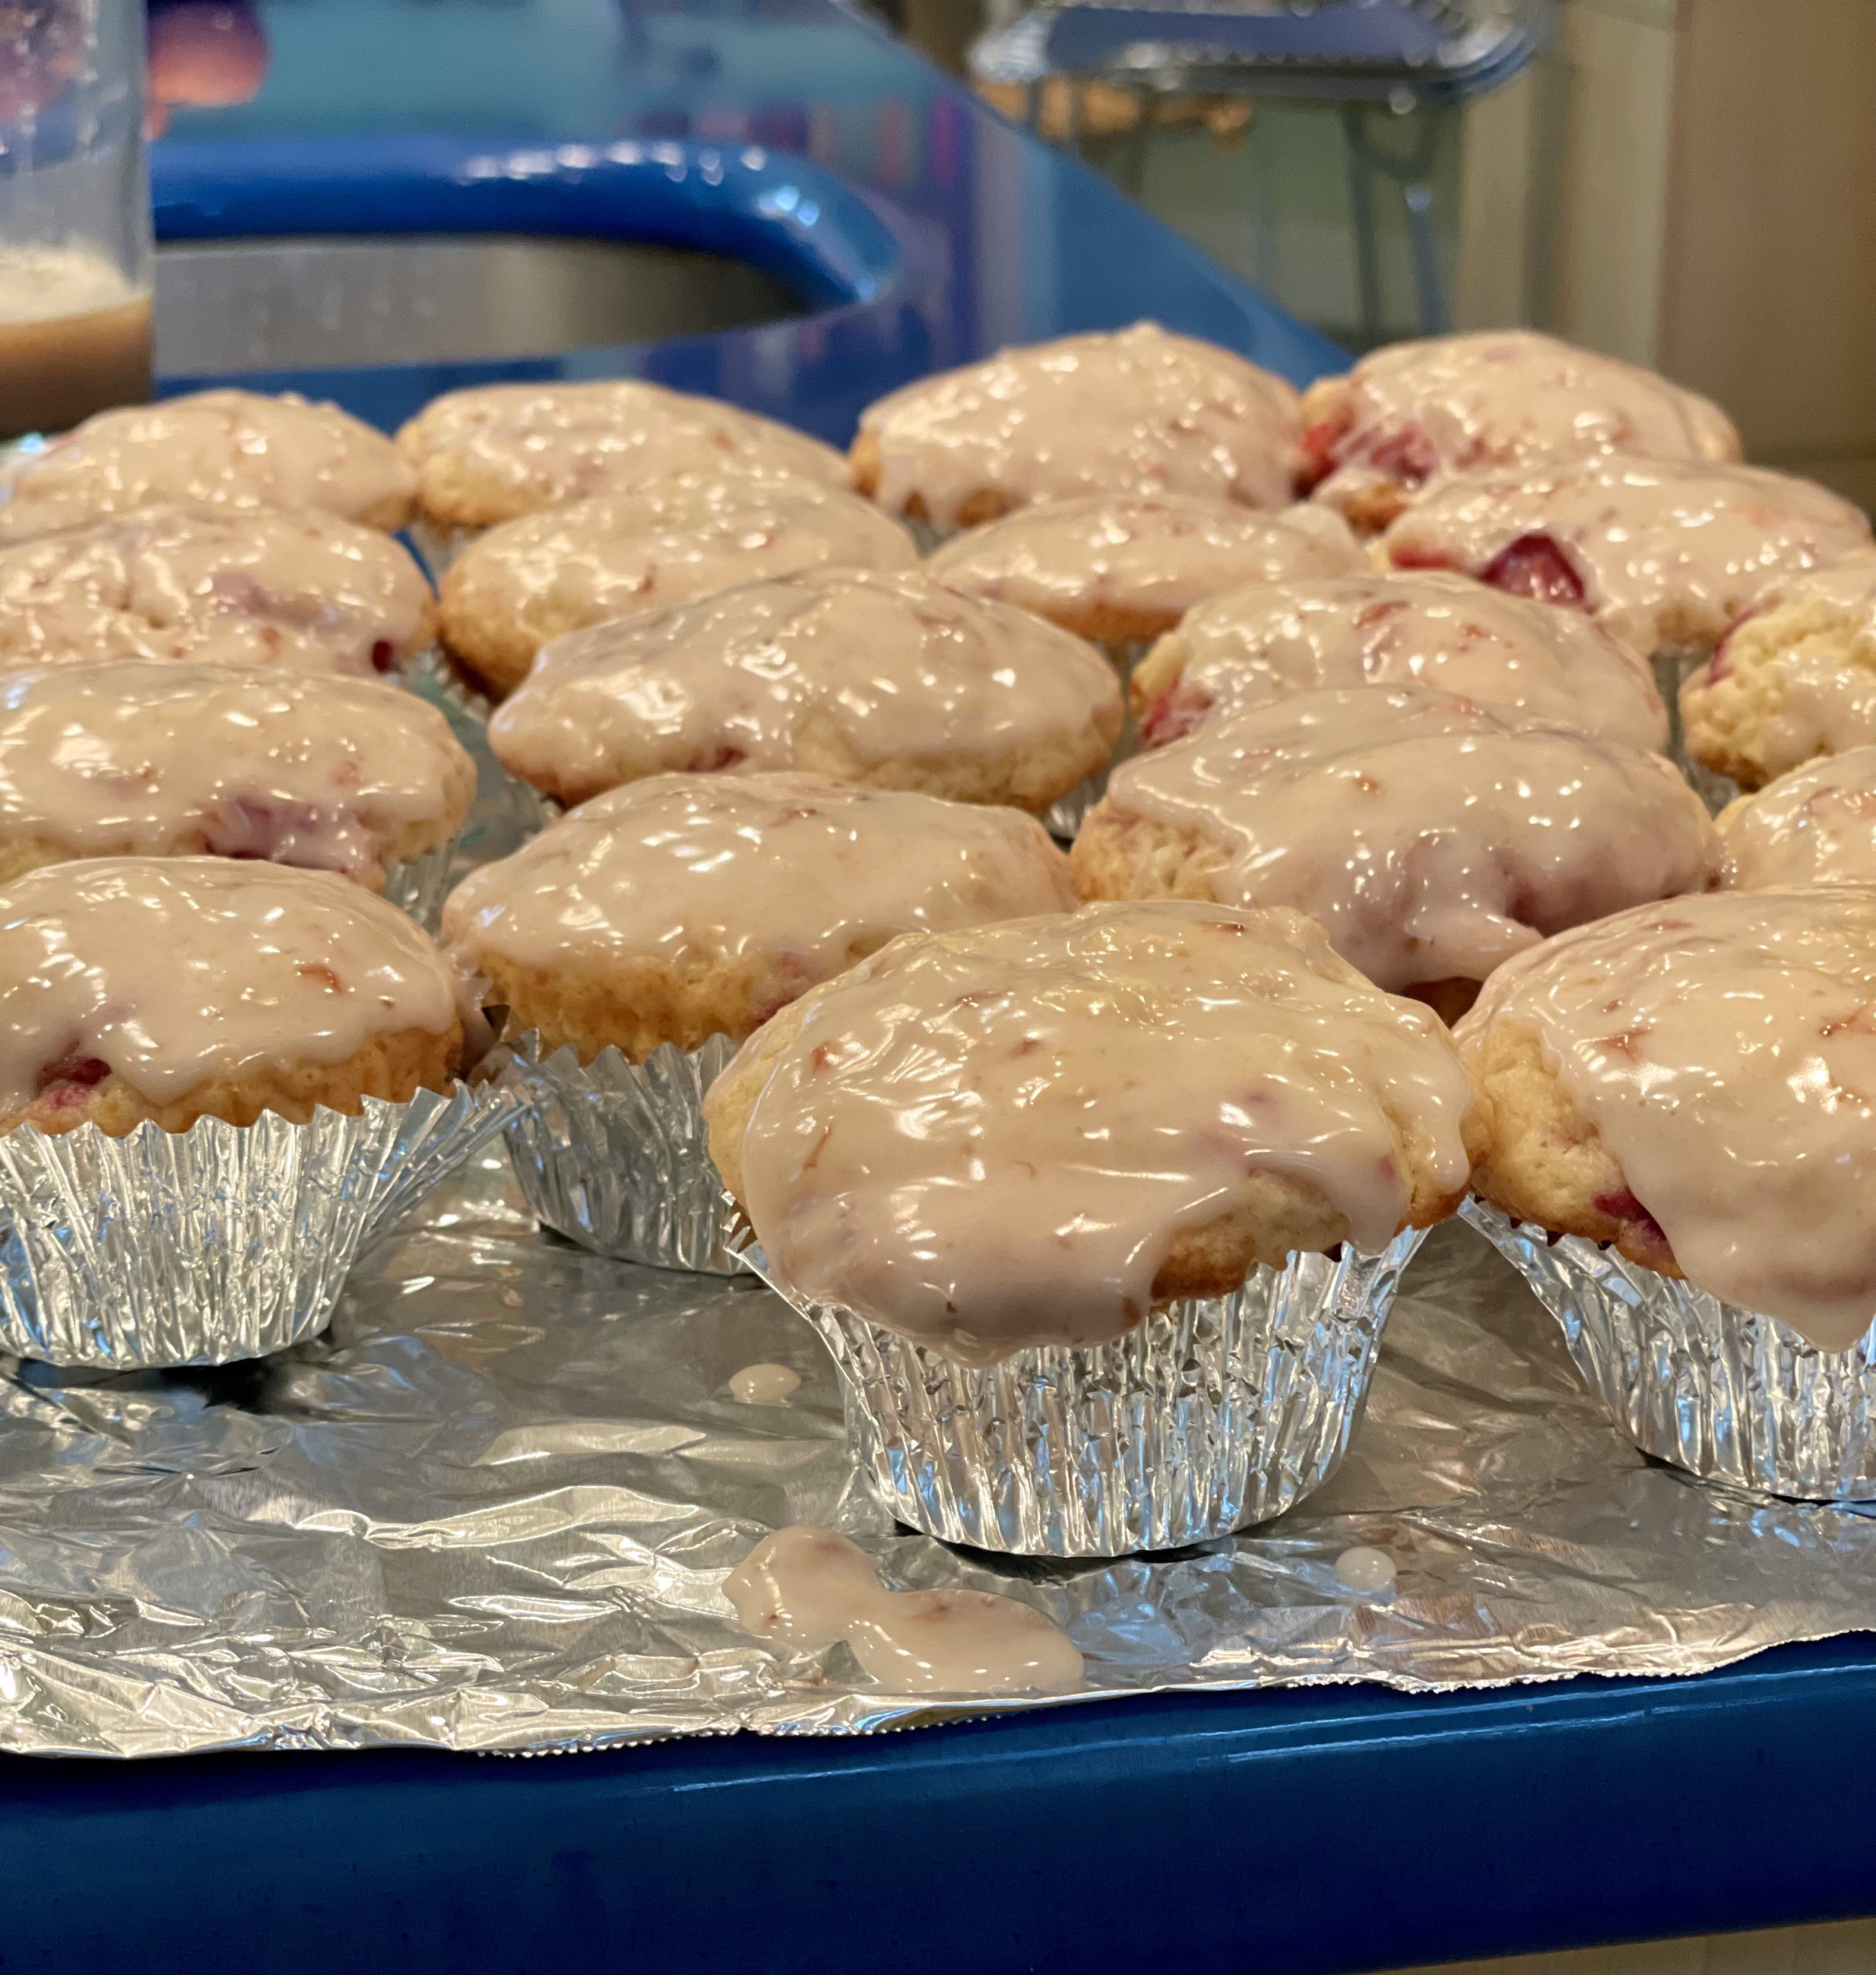
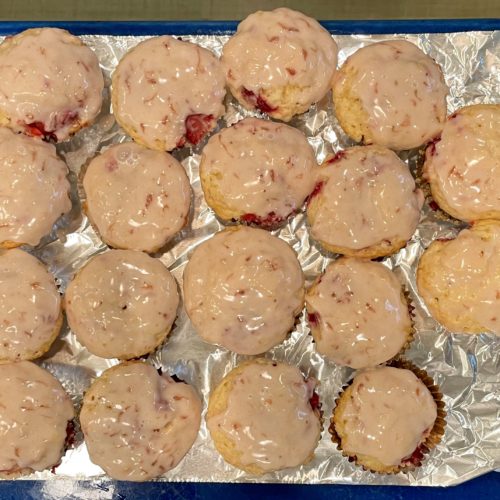
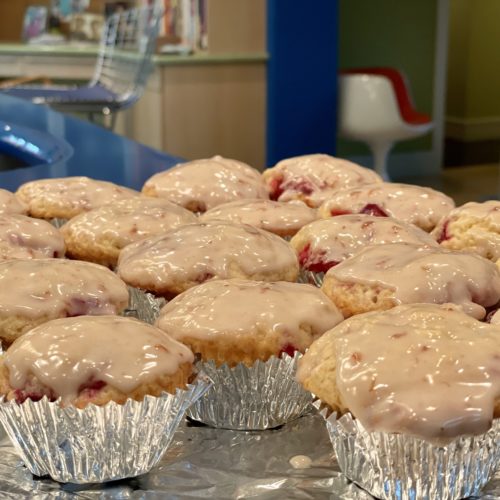
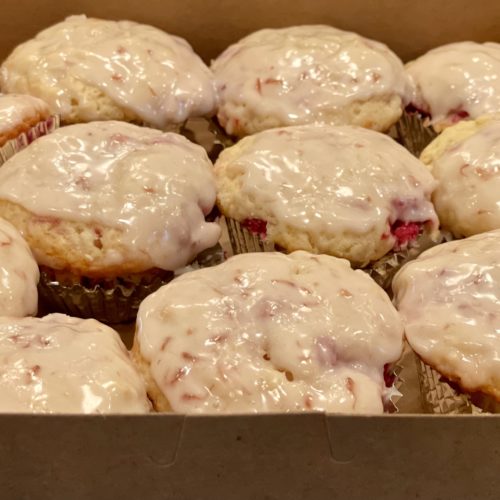
Do you remember Mrs. Fields cookies and muffins?  Well – these muffins reminded me of the Mrs. Fields raspberry white chocolate muffins (my absolute favorite).  It was really cake.  But I felt better eating them when they were called a muffin.  These are not as rich, do not have white chocolate, and are strawberry as you can see. 

I put them on the top of my “to bake” list and I’m glad I did!  I didn’t have enough strawberries on hand so I added raspberries and wow.  I love these.  Everything about them – moist, fruity and the icing – well – yum!  I follow dianemorrisey on instagram and EVERYTHING she cooks/bakes/presents calls out to me.  I mean everything.  And the joy she shares through food really is like no other.  

I will just post  her recipe here since it is concise and clear.  You can mix the raspberries and strawberries as I did – or use only strawberries.  Make them for your next treat.  They are worth it.

Enjoy-

whole wheat (partially) banana bread

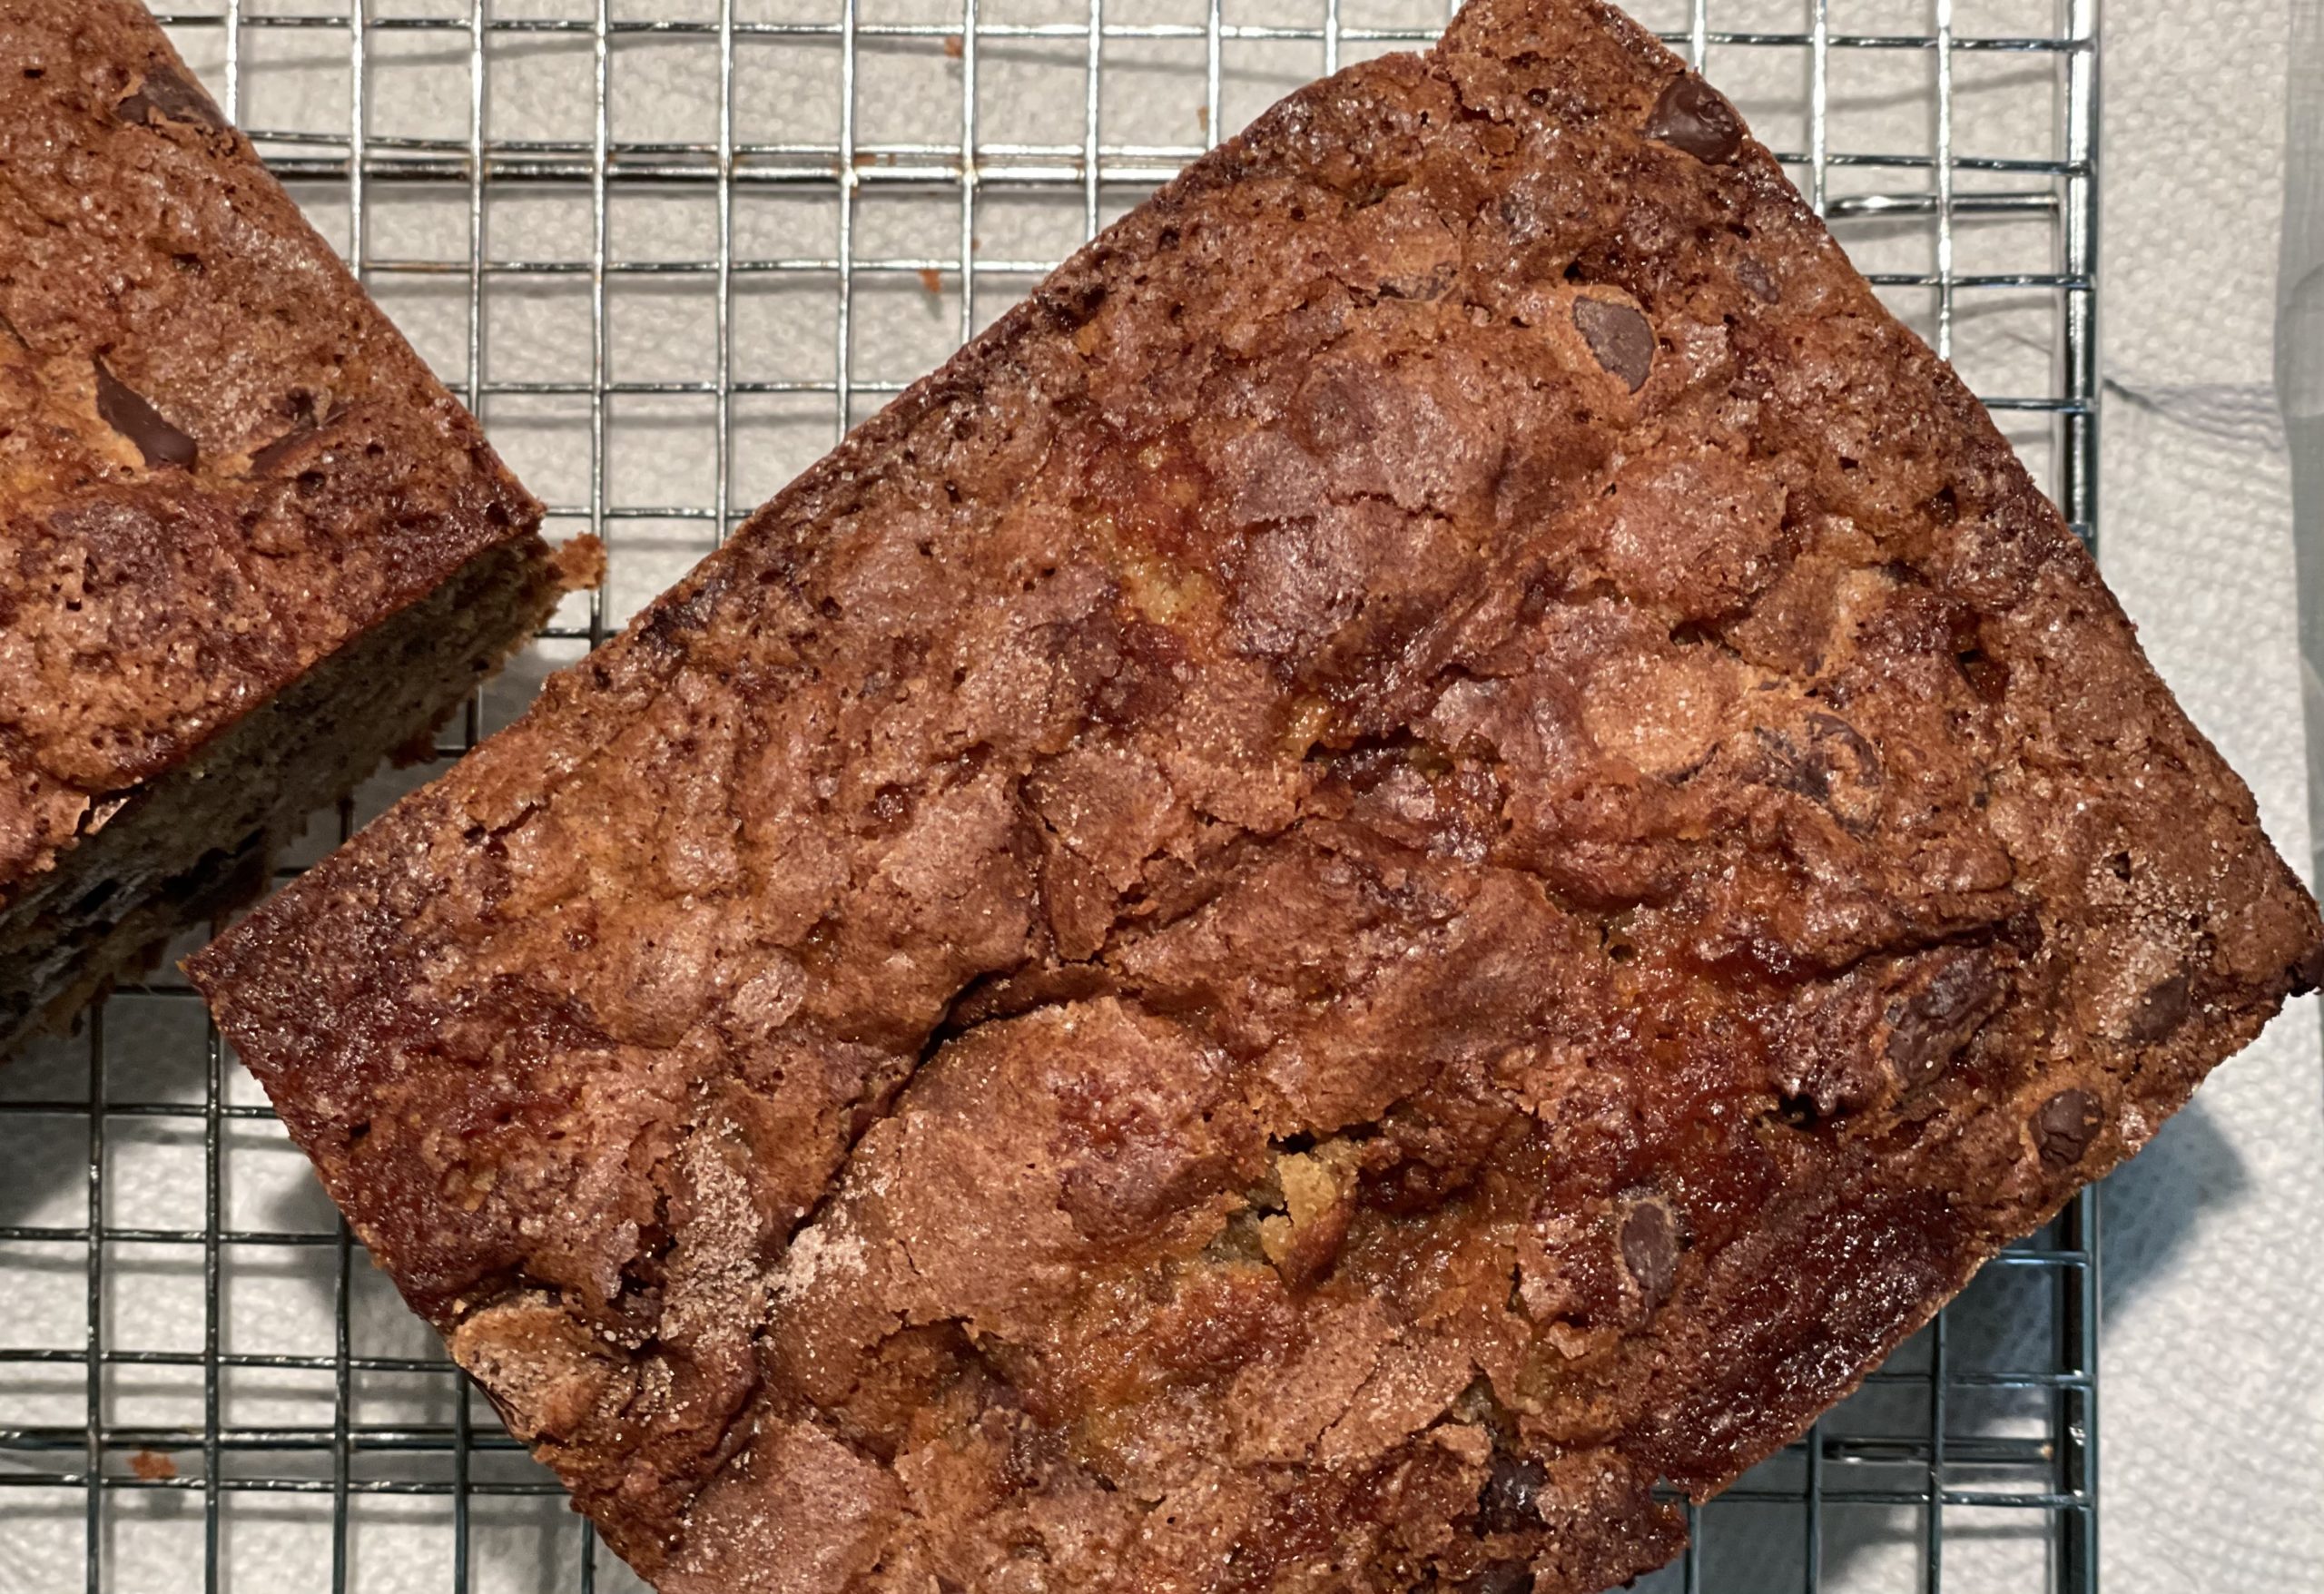
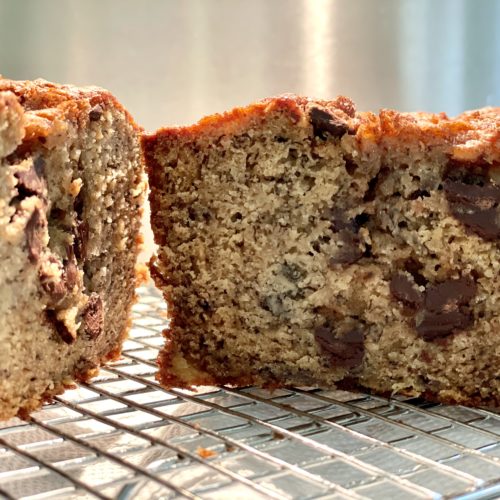
This banana bread was good.  It is good!  Great even.  On par with my normal banana bread which you can find here.  I might like this a bit more because it is a bit less sweet and I do love the addition of white whole wheat flour.  It gives the bread a heartier taste and I like the darker color which is irrelevant I know.  

I found this in my new  King Arthur Baking Company’s All-purpose Baker’s Companion book (that is a mouthful).  The book was updated in March of this year and I’m excited to try out a lot of recipes.  This was my first as I had extra bananas and felt like a change.  

As mentioned the recipe includes white whole wheat flour and also a little cinnamon sugar coating on top which is particularly yummy.  I added chocolate chips to some of my loaves (I doubled the recipe) and that was obviously very good (if you like chocolate).  

Not much more to say – well, the recipe calls for a 9×5 loaf pan and I always find that my loaf cakes come out better if I don’t fill the entire pan with batter.  I might use a bunch of small loaf pans or a large and small – but basically I find my cake cooks  more evenly when not stuffed into the pan.  Then I don’t have to overbake the cake in order to make the middle less raw.  You can also use a muffin tin and make a muffin or two with the extra batter.  Or just bake as the recipe is stated and I’m sure it will be fine.  

Enjoy – 

Ingredients

  • 2 cups (454 g) mashed banana (about 4-5 medium bananas).  Weigh everything if you have a kitchen scale.  And if you don’t – buy one!
  • 1/2 cup veggie oil (99 g)
  • 1 cup (213 g) brown sugar 
  • 2 large eggs
  • 1 teaspoon vanilla extract
  • 1 cup (120g) all purpose flour
  • 1 cup (113 g) white whole wheat flour
  • 1 teaspoon baking soda
  • 1/2 teaspoon baking powder
  • 3/4 teaspoon kosher salt (diamond crystal is best in my opinion)
  • 1 teaspoon cinnamon
  • 1/2 c (57g) chopped walnuts, toasted if desired (optional)
  • choc chips if desired
TOPPING
  • 1 tablespoon (13g) sugar
  • 1/2 teaspoon cinnamon 

Directions

Preheat the oven to 350 degrees.  If using glass or stoneware, reduce the oven temp to 325.  Lightly grease the loaf pan and line the bottom with parchment.

In a large bowl, stir together the mashed banana, oil, brown sugar, eggs, and vanilla

Mix together the flours, baking soda, baking powder, salt, cinnamon, and chopped walnuts and chocolate chips (if using) 

Combine the two and gently mix and fold until it is smooth.

Pour into prepared pan(s).

Combine the cinnamon and sugar for the topping and sprinkle all over the batter.

Bake until a toothpick inserted into the center comes out just clean – with a few moist crumbs but no wet batter.

If the bread appears to be browning too quickly, tent the cake with aluminum foil.

Also, if using stoneware or glass pan, increase the baking time 15 m or so.

As you know – I don’t really believe in baking times.  The recipe in the book calls for 60 to 75 minutes.  As mentioned in the intro – I don’t like to stuff my loaf pans and bake for this long.  I find it better to put a little less batter into the loaf pan – and then bake the rest in a mini loaf pan or a muffin or two.

In that case I would check the bread after 30 minutes and just see what’s going on.  If it all is jiggly and wet – you know you have at least 10 m and likely more.  Keep resetting the timer until it is done.

Let cool for 15 m and then run a knife around the edges, and turn it out of the pan onto a rack to cool completely.

Enjoy –

buttermilk cake

I was making Easter treats for the shelter and I realized there was a lot, a lot of chocolate.  And surprisingly there are many many people who don’t love chocolate.  Well, I’m not so surprised anymore.  I had buttermilk in the fridge and wanted to make something for the vanilla lovers. 

I’ve made a few cakes lately that just don’t hit the spot.  One I made from a blog that I had to toss into the garbage.  So I went searching through my books and remembered that I could always count on Flo Bracker.  Her book Baking for all Occasions is one I used to reach for and hadn’t in a while.  I’m really glad I revisited.

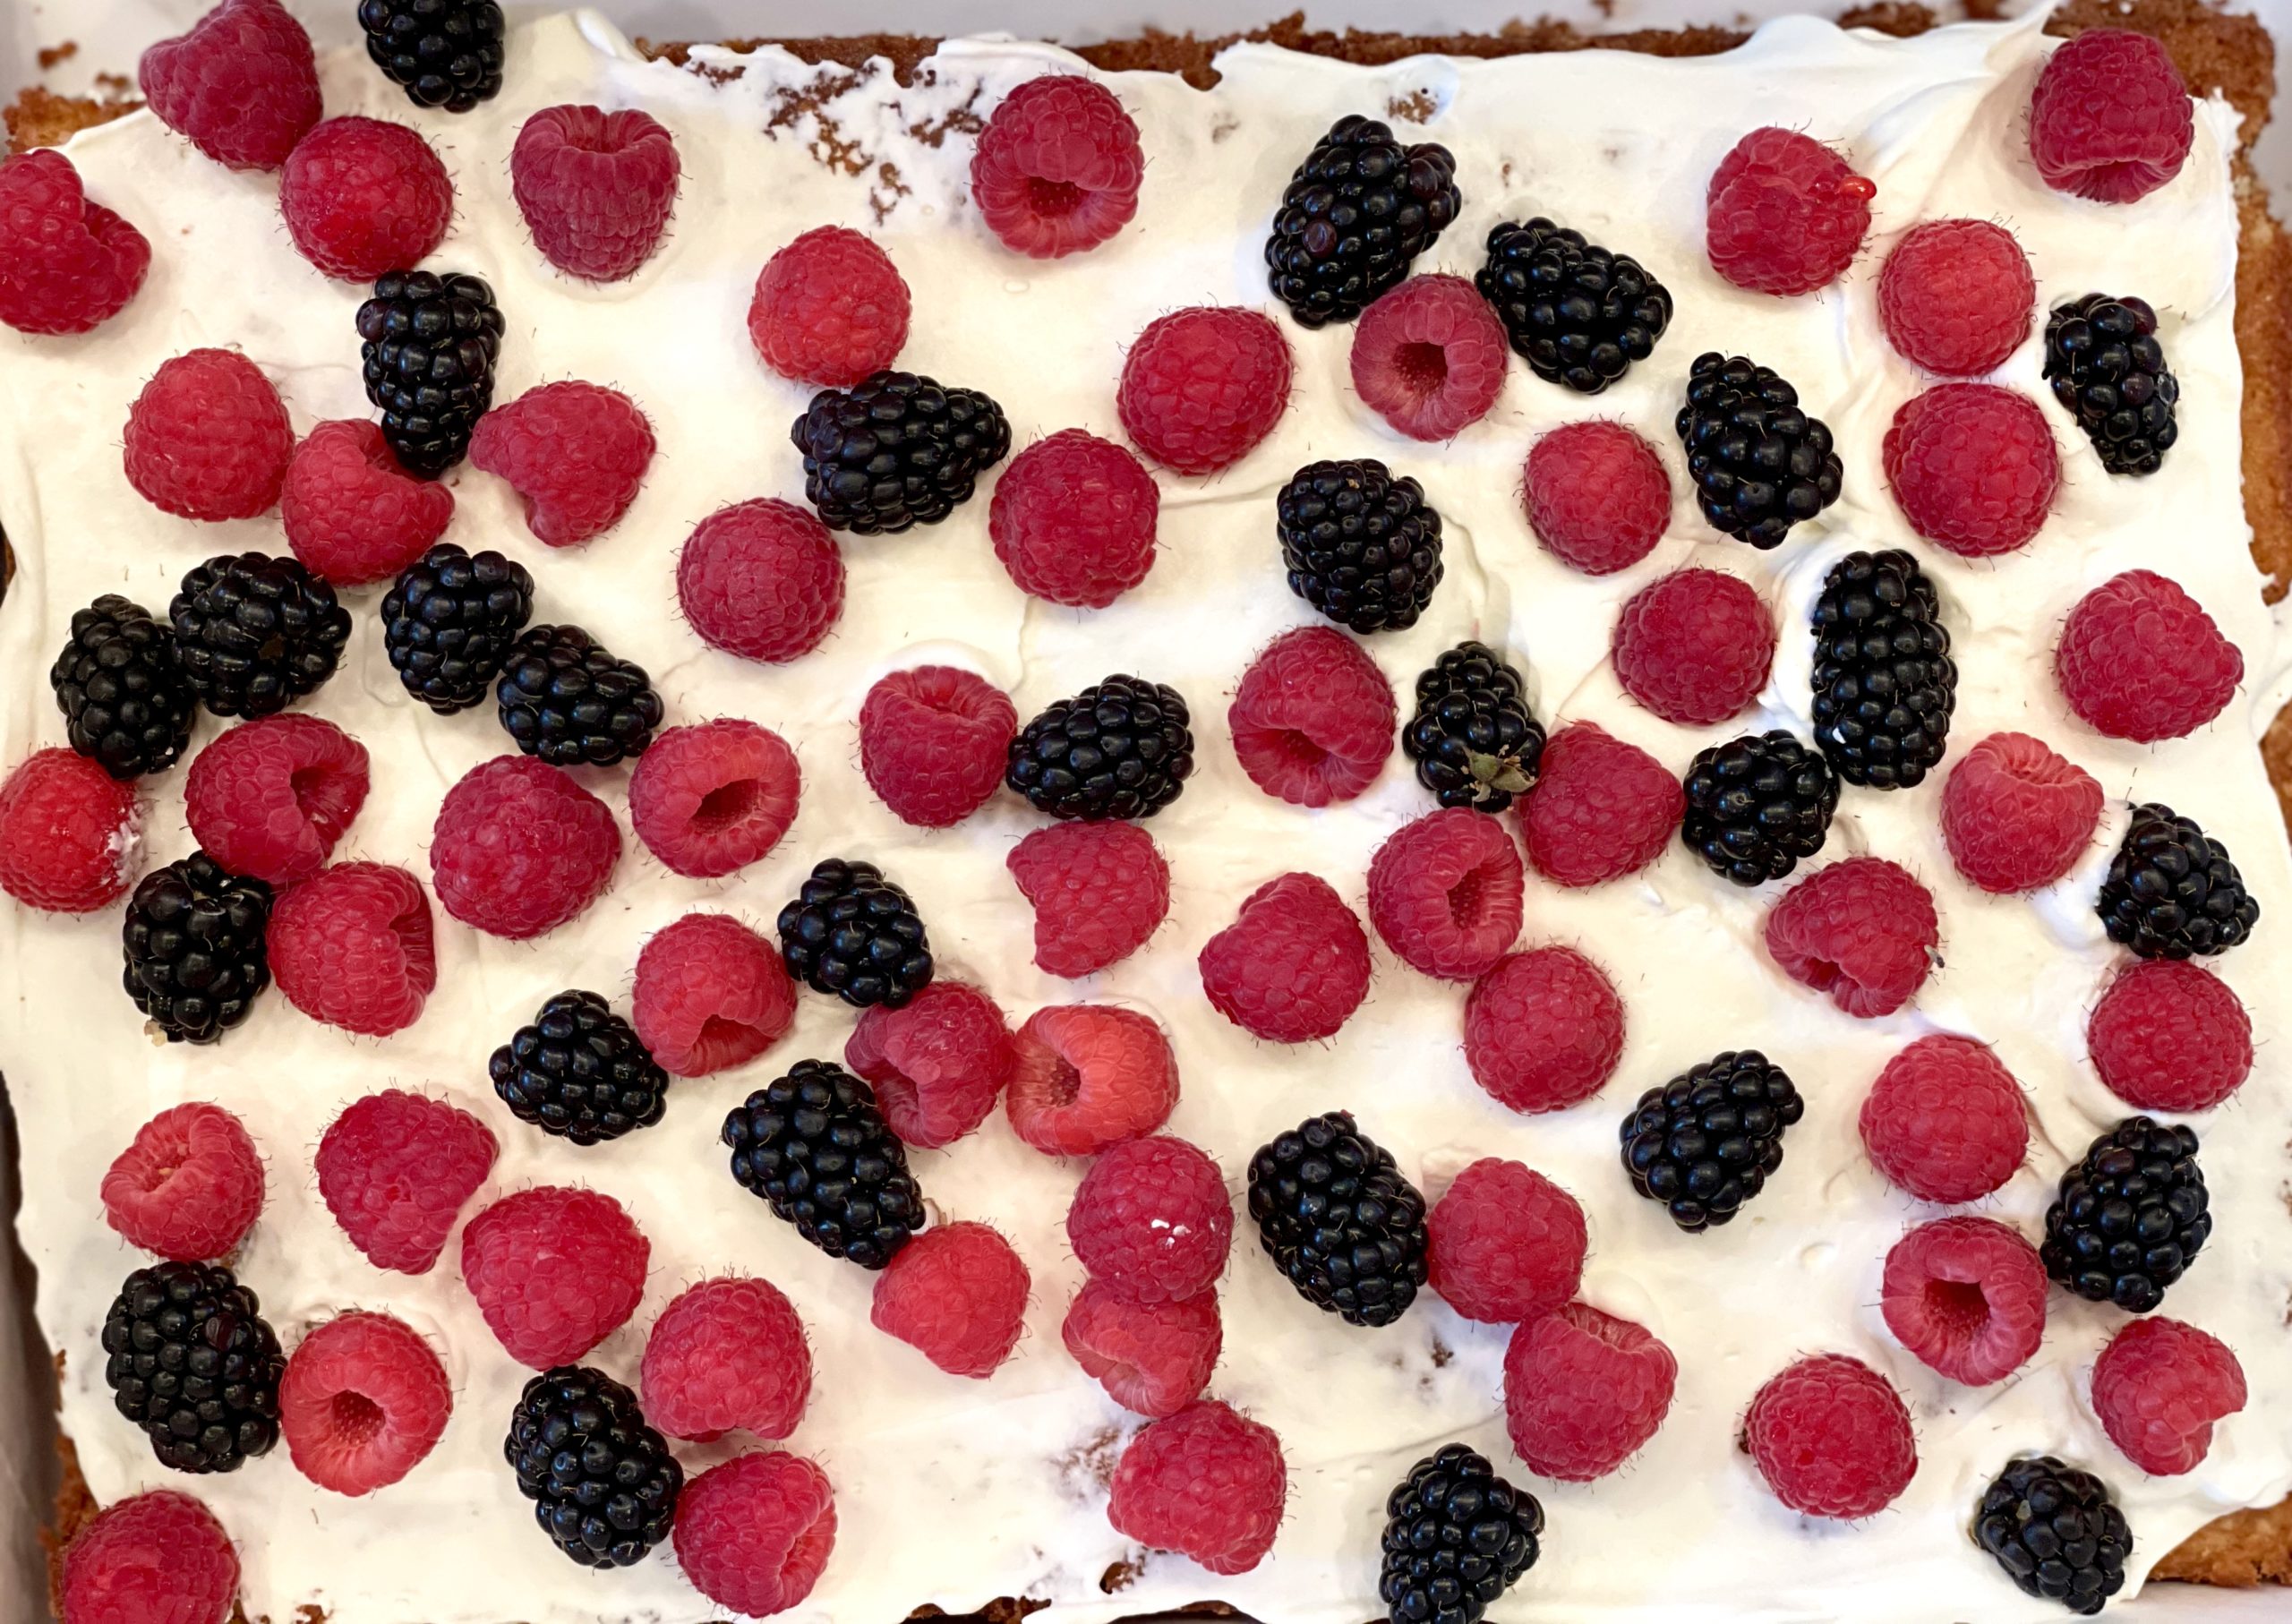
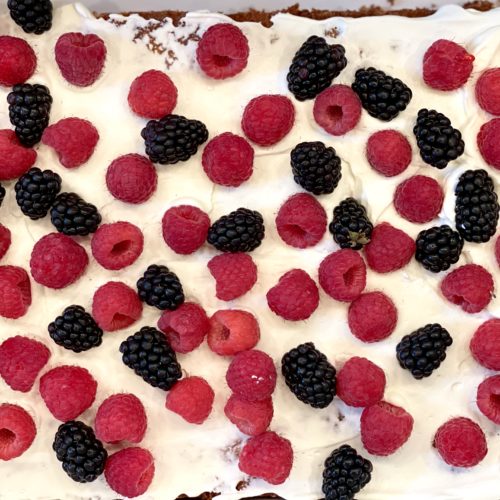
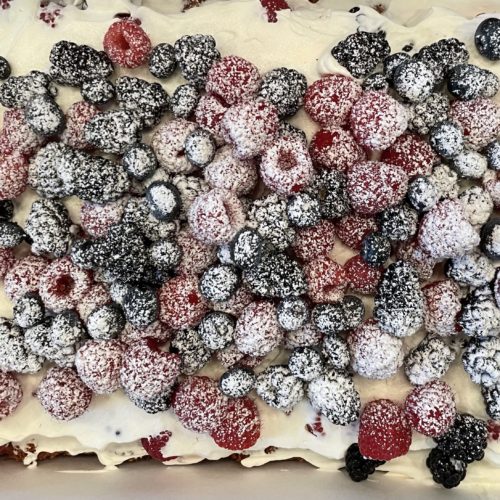
This buttermilk cake is simple, light, airy, tasty and well, just that.  All of that.  And it is great served as is – or with a little powdered sugar.  I decided I needed to counteract the chocolate even more by adding berries and whipped cream.  Well.  That did it!  

The top of my cake was scraped a bit because it rubbed up onto my cooking rack but whatever.  Cake is cake and I’ve never been one to make the prettiest of sweets. 

Flo urges you to bring everything to room temp – so try to remember that!  Pull everything out now, and wait 25 m – then begin.  Enjoy this 

Ingredients

  • 1 3/4 cups (7 ounces/200 g) cake flour
  • 1/2 teaspoon baking powder
  • 1/2 teaspoon baking soda
  • 1/2 teaspoon salt (kosher salt or use 1/4 teaspoon)
  • 2/3 cup (5 1/2 fl ounces/165 ml) well-shaken buttermilk (room temp if you can)
  • 1 teaspoon pure vanilla extract
  • 5 1/2 ounces (1 1/3 stick/155 grams) unsalted butter, at room temp
  • 1 1/3 cups (91/2 ounces/260 grams) sugar
  • 3 large eggs lightly beaten
I doubled this recipe btw – and used a bigger pan as I was baking for a crowd.

Directions

If you have a kitchen scale, then use the weighted measurements.  Your cake will have a better chance at being its best self – hah.  If you don’t know how to use the “tare” button then check it out here.  It is a 24 second video that will make your life so easy.  And get a scale – well worth it.

Preheat oven to 350 degrees.  Remember to pull out ingredients to room temp. 

Prep your 8 inch square pan.  You can do this a variety of ways.  I like to spray a little oil in my pan then squish parchement paper in there.  You can also grease and then flour the pan.  You can also line just the bottom of the pan with parchment.  

Whisk together in a small bowl the flour, baking powder, baking soda, and salt.  Measure out the buttermilk and add the vanilla to that.

In the bowl of a stand mixer (or beaters on electric hand held) beat the butter on medium speed until it is lighter in color, clings to the sides of the bowl, and has a statin appearance. This should take a minute or two.  Slowly add the sugar in a steady stream.  Continue to beat on medium speed until light and fluffy.  Another 3-4 minutes or so.  Scrape down the bowl now and then.

With the mixer on medium speed, add the eggs slowly.  About 2 tablespoons at a time, beating after each addition.  Bump the speed up to medium high if your eggs are not incorporated into the batter.  Again, scrape the bowl down here and there.

On the lowest speed, add about 1/3 of the flour mixture followed by half of the buttermilk.  Stop to scrape down the bowl, and don’t overmix here.  Repeat with another 1/3 of the flour and the rest of the buttermilk. Lastly add the last bit of flour.  Again, just mix a little.  Then remove from mixer and use a spatula to gently fold to just combing all ingredients.  

Pour the batter into the prepared pan and Flo says to spread the batter from the center outward, creating a slightly raised ridge around the outside rim.  (Since heat is conducted faster near the metal rim, mounding the batter around the edges ensures the cake will bake more evenly and will be more level.)

Bake the cake just until it is golden brown on top, springs back when lightly touched in the center, a toothpick comes out just clean and the sides are just beginning to come away from the pan.  

She places the time at 45 m – but if I’m remember right mine took less time.  So as usual check earlier and then often at the end of baking.  I’d set my timer for 35 m and just have a look see and plan from there.

Eat as is, or with confectioners’ sugar and/or with berries, whipped cream.  Whatever you like.  

Enjoy-


lemon bliss cake

I realize that this photo is terrible and I’m sorry about that.  The cake looks messy and dry, but it is not!!  And all those crumbs were sooooo good.

I use the words yum and yummy a lot.  Delicious and scrumptious.  I try to look up some thoughtful and eloquent synonyms but I can’t help but keep coming back to my original favorites.  So this cake – yeah it is yummy, delicious and scrumptious.  In addition it is perky and tasty.  How can a cake be perky?  I don’t know but it just is.  This was a hit a few weeks ago at a friends dinner party.  Everyone oood and aaahd at is tart goodness.  After baking, you coat the cake with a lemon syrup that gets absorbed and once soaked through and cool, you glaze.  Anything with syrup and glaze speaks moist and delightful.

Found this as I was looking through the King Arthur Flour catalog for some ingredients.   The cake was featured at the top and said “Our 2017 Recipe of the Year is a lovely golden lemon cake, extra-moist and nicely tangy due to its fresh lemon juice glaze. Baking this cake in a Bundt pan turns it from everyday to special-occasion, perfect for everything from birthday parties to an elegant dinner. Our thanks to Maida Heatter, grande dame of delicious desserts, for the inspiration behind this recipe.”

So I had to make it.

I followed the recipe which you can find here.  Oh, and there is a video too!


triple chocolate banana bread

Wowee.  This is delicious.  Rich in flavor and color and texture – you can’t  miss this one. I mean it.  Best chocolate banana bread ever.  As mentioned in the post from Liv for Cake (below) you can certainly skip the chips and ganache for a less chocolatey experience.  And/or add walnuts to cut some of the richness and sweetness.  But we loved as is.  These days when I bake the sweet often sits on our counter and eventually looks sad and dry (after several days of being ignored).  This dessert never had a chance to sit and kids argued over who got the last piece.  Yum.  I plan to make again this week.

I used half the ganache in the recipe fyi – but saved the rest and will use tomorrow when I make this again.

Here is the recipe...chocolate banana bread.

I followed almost exactly – but used natural Valrhona cocoa powder.  Oh, I also doubled the recipe but baked one cake in a larger loaf pan than in the recipe.   I find I don’t have to bake as long and I have more control with the overall moistness of the cake.  Muffin/cupcake shape would be great as well.  You can follow my lead or follow the recipe.  Also, remember to read my baking tips (esp measuring flour!) before you bake.

banana cake and roll

I loved this.  I really loved it.  I gave it all away…and the scraps that I saved sat in my fridge because my family is really weird about “filling”.  But just trust me here.  This is a fun dessert to serve and make.  The light sour cream flavored filling is the perfect compliment to the sweetness of the tender, moist banana cake.  I loved it.  I said that.  But I do.  Then I put it in my vanilla ice cream and had a party.

I doubled the recipe btw – and made two rolls.  Might as well!  Also if you double the recipe – and you don’t want to make a roll, bake the (doubled) recipe in a 9×13 cake pan.  Or, make two 8 inch rounds and turn into a layer cake.  Again – you need to double the recipe to do that.

If for some reason your cake falls apart – then just make it into a trifle and then you can also add some freshly sliced bananas.

banana roll (from Flo Braker’s The Simple Art of Perfect Baking):

banana sheet cake
1 cup (100 g) sifted cake flour
1/2 teaspoon baking soda
1/8 teaspoon baking powder
1/8 teaspoon salt
1 large egg, room temp
1/2 cup (1 large) mashed ripe banana
1 table spoon sour cream
1 teaspoon lemon zest
5 1/2 tablespoons (2 1/2 ounces) unsalted butter, room temp
1/2 cup (100 g) sugar

filling
3/4 cup (6 ounces) heavy cream
2 tablespoons sour cream
1 tablespoon sugar
1 teaspoon vanilla
3 tablespoons powdered sugar (for top)
1 tablespoon sugar (to use on the sheet cake as you roll…you will see in the recipe)

Preheat oven to 375 and position rack in lower third of the oven.  Line the sheet pan (12-x-15x-1/2inch) with a non stick tray.  Place foil down on top and leave a 2 inch overhang on both short ends of the pan.  Lightly grease the foil too – with spray.

If you are making an 8 inch round, then grease that – and if a 9×13 pan (doubled recipe) then grease that!

Whisk together the flour, baking soda, baking powder and salt.  Crack the egg in a small bowl and gently break it up with a fork.

Mix together the mashed banana, sour cream and lemon zest.

Place the butter in the mixer with paddle attachment and beaton medium speed for a minute or so.  Add the sugar in a steady stream and continue to beat until light and fluffy about 4-5 minutes.

Add the egg now…slowly – and continue to cream another 2 minutes – scraping down the bowl at some point.

Remove from mixer and gently fold in half of the flour mixture, follow with the banana mixture and then finish with the remaining flour.

(If you are not making the roll, but making the 9×13 or 8 inch rounds, pour into those pans.  You can bake these at 350 instead of 375 as instructed for the thin roll.)

Scoop the thick batter onto 5 different areas of the sheet pan.  Then spread the batter so that it covers the entire pan.  It won’t seem like you have enough – but you do – spread as evenly as you can.

Bake for 8-10 minutes until the cake is a light golden brown and the sides are beginning to contract from the metal.

Remove cake from oven, and gently run a sharp knife around the any portion of the cake that is sticking to the long sides of the pan.
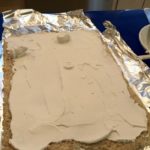
Pull up on the foil overhangs to gently and carefully lift the cake (with foil) onto a cooling rack.  Cover loosely with foil to keep moisture in, but also to help prevent sticking.

Cool for 30 minutes.  Then proceed below with filling as instructed below.

Combine the filling ingredients and whip with whisk until whipped.  Sounds silly.  Do not over whip.  The cream should appear soft, shiny and smooth.  It will coat the cake layer, sticking to it and staying in place when rolled.

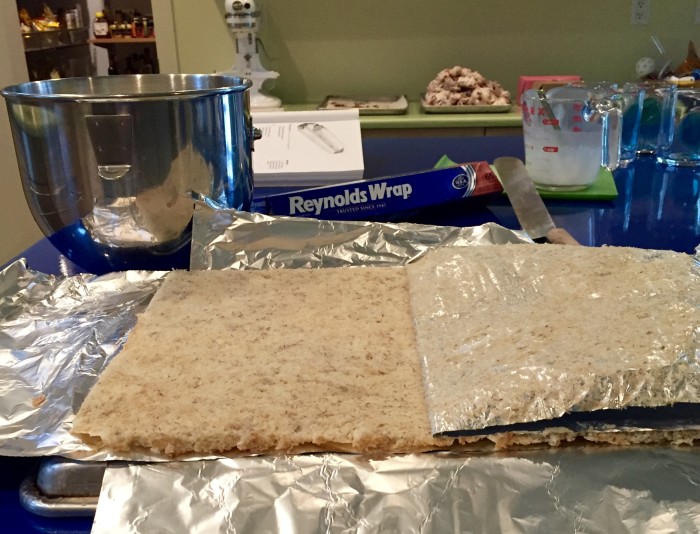
Ok – nowIMG_9174, sprinkle the tablespoon of sugar over the cake.  Then place two sheets of foil lengthwise on top of the sugared cake, one overlapping the other: then place a second sheet pan on top of the foil.
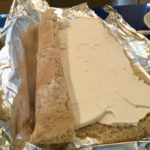
Invert the cake on it, and carefully peel the baking foil from the cake and try to aIMG_9175void tearing the thin layer.

 Spread the filling all over the cake – leaving a 1 inch border of cake uncovered.  Then , with the aid of the foil roll the cake lengthwise until you reach the other end.  Use your hands to wrap and form a pretty round roll.

Cut each end on the diagonal for eye appeal.  Sprinkle the top with confectioners sugar and with a wide spatula or two – place onto a serving plate.  Yum.

IMG_9177I forgot to take a photo of my finished cake.  Ugh.  Next time!
andy’s favorite vanilla cake (of the three…)

Ok, so nice response from all you vanilla fans out there.  I too happen to love vanilla – and as I get older I think I enjoy it even more than chocolate.  Strange.  You go from loving certain things as a child, and it all changes so much as we age.  I now like gorgonzola, olives, pistachios and port.  Who knew such changes were to come.  Anyway, back to vanilla.  So Andy liked this cake.  It is very moist.  Very flavorful.  Now that I think about it, it was Greg’s favorite too.  Came home for break for a minute (or so it felt) and agreed with Andy.  I made a simple glaze with IMG_8943confectioners sugar, milk, vanilla and a dash of kosher salt and it was perfect.
As suggested before, please weigh your flour.  Try it.  So many write in saying their cakes are dry – this is probably why.  Just check it out here.

I got this recipe from Joy The Baker.  She has a great blog and book now (I think) and her write up is perfect and I made no changes.  She frosted hers with chocolate buttercream – so try that too if you like.

everybody’s birthday cake:

Joy The Baker 


classic vanilla pound cake

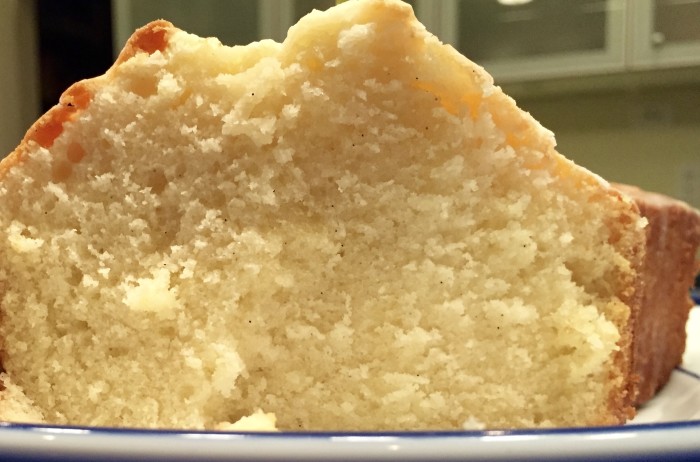
For Andy’s birthday, I made three vanilla cakes.  A classic pound cake, a vanilla birthday cake and an updated (or fluffier) pound cake.  I loved them all.  All.  Andy liked the vanilla birthday cake which I’ll write about another time.  This pound cake though is classic in its dense crumb and solid mass.  Easy to make and great really for any occasion.  Dress it up with berries and whipped cream or serve it plain.  It is sure to delight.

classic vanilla pound cake (from Rose Levy Beranbaum’s The Cake Bible):

3 tablespoons room temp milk
half of a vanilla bean
3 eggs
1 1/2 teaspoons vanilla extract
1 1/2 cups sifted cake flour (or 5.25 ounces if you have a scale)
3/4 cup sugar (or 5.25 ounces)
3/4 teaspoon baking powder
1/2 teaspoon kosher salt (use half if using table salt)
13 tablespoons unsalted butter, softened

Preheat oven to 350 degrees.  Line a 8×4 loaf pan with parchment and grease.  Or us a 6 cup tube or bundt pan – make sure you grease and flour.

Heat the milk with the seeds of the vanilla bean.  Scald.  Then let cool.

Combine the milk, eggs and vanilla extract.

In the mixer with paddle attachment, combine the dry ingredients and mix for 30 seconds.

On the lowest speed, add the butter and half of the egg mixture…once the ingredients are moistened increase to medium and beat for about a minute.   Add the rest of the egg mixture in 2 batches and beat for 20 seconds after each addition.  Scrape down the bowl, and mix again.

Scoop batter into prepared pan and bake until done.  Toothpick should come out JUST clean.  This time will vary based on your pan but up to an hour – but please, as usual, check before and often.  After about 30 minutes, lay some tin foil on top of the cake to prevent a too brown cake.

It should split up the middle btw.  And if not, that is ok too!

I made a simple glaze by mixing confectioners sugar and milk and a dash of vanilla.  Yum.