
I’m going to update and add to this list but for a start…
Baking smart:
Pre-heat the oven!! This is very important. Do not put your cookies/cake/tart in the oven until it is fully preheated.
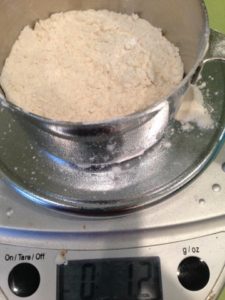
Avoid dry and crumbly cookies by the way you measure flour:
The difference between a heavily packed cup of flour and a lightly packed cup of flour can be even more than an ounce. That is a lot in the baking world. Do no pack flour into the cup and shave with a knife. Also, don’t shake the flour in the cup to flatten it. Instead, aerate the flour with a spoon or whisk then spoon the flour into the measuring cup until full. Just filling it. A cup of flour should weigh about 4.5 ounces – (always check the conversion chart in the cookbook and use that.) If nothing there go with 4.5 ounces.
Do you know how to easily weigh your flour? Use the tare button (check out this video) it is simple. And it is worth buying a small digital scale for this purpose. Some cookbooks list the ingredients in ounces and some even in grams. It is amazing. Especially for “packed” brown sugar which is so irregular and dependent on the baker. Overmixing your batter after the flour has been added to the moist ingredients can also result in a tough cookie or a heavy crumb in a cake. It can also produce a cake with a big domed top. Just mix/fold in flour and really try not to overwork the batter.
Butter:
Use good quality unsalted butter. That way you can control the amount of salt in your recipes. If a recipe calls for softened butter it means softened, not melted. Butter should be malleable – not so soft it looks greasy. If you leave butter out for too long or melt it too much, your cookies will spread and flatten. For best results leave out for 20-30 minutes before you bake. Otherwise carefully, and in increments, microwave the butter until soft. Also, don’t rush the “creaming the butter” stage in cookies and cakes. It is vital in making a light and fluffy batter or dough.
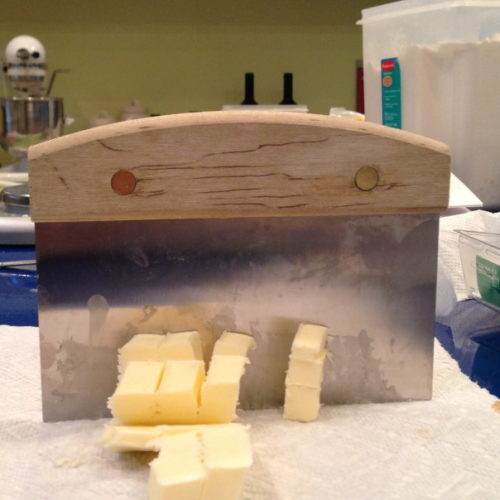
If you need small pieces of butter (for pie dough or streusel), a bench scraper does the trick. A scraper is great for clean up too. Use it (horizontally) to clean up crumbs and flour before you wipe down your countertops.
Vanilla:
Use good quality vanilla extract. They sell quality vanilla now almost everywhere. I love the double strength vanilla extract from Penzeys.com but also the Madagascar vanilla that you often see in gourmet stores.
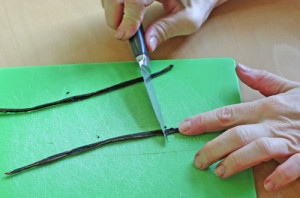
To scrape and seed a vanilla bean, place the long bean on a cutting board. With your paring knife, slice the bean lengthwise – from top to bottom all the way down and through. Open it up and you will see the soft brown inside. With the back (dull side) of your knife, scrape the bean gently lifting the seeds as you run the dull knife down. Here is a quick visual. These pods contain so much flavor and deliciousness. Buy pods in bulk (less expensive) and you can store them in an airtight container. I often put that into the freezer.
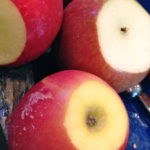
Apples:
One of my first jobs at the bakery was to peel and core a big box of apples. Well, you learn quickly when you have that many to do.
I know when you see – “8 apples roughly chopped”, your heart might sink a bit with the prep work. So, here is the plan of attack. First, put on some really good music. These days I happen to prefer audiobooks but pick your passion
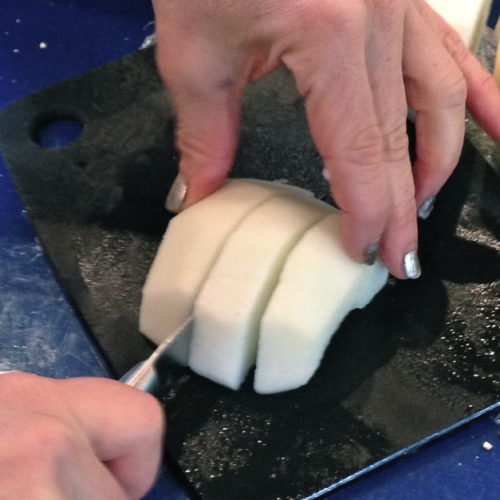
I’ll try to make a video fo this soon. In the meantime, cut the top and bottoms off of the apples. All of them. Then peel each apple with a sharp paring knife (I do this) but try not to take too much of the flesh off. If you are lousy at this – use a peeler. Peel them all. Slice the apples in half. Cutting along the center, the stem. All of them.
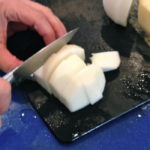
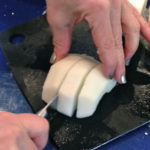
Taker your apple corer (you should get one) and scoop out the center core by gently pushing the scooper in and twisting. Then use the scooper to take the little extra rough bits around the core. Core them all. Take each apple half and slice. Now you have slices. Turn apple, slice again – now you have roughly chopped apples.
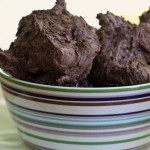
Chocolate:
Melted chocolate means melted chocolate – not hot or heated chocolate. Be careful with this because your chocolate can “seize” and you will have scorched and unusable chocolate.
Purchase good quality chocolate. I like Guittard and Callebau. Also don’t melt chocolate chips when you are meant to be melting chocolate. But a bar as the chips are made up differently and won’t give you what you probably need.


 Apples are soooo good – especially now. And I know when you see that the ingredients read – 8 apples roughly chopped, your heart might sink a bit with the prep work. So, here is the plan of attack. First, put on some really good music.
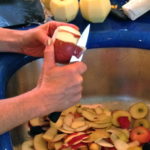 Taker your apple corer (you should get one) and scoop out the center core by gently pushing the scooper in and twisting. Then use the scooper to take the little extra rough bits around the core.
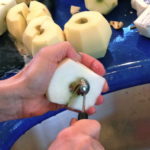
 and crannies. I love the A

