


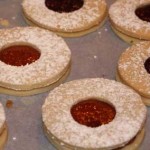
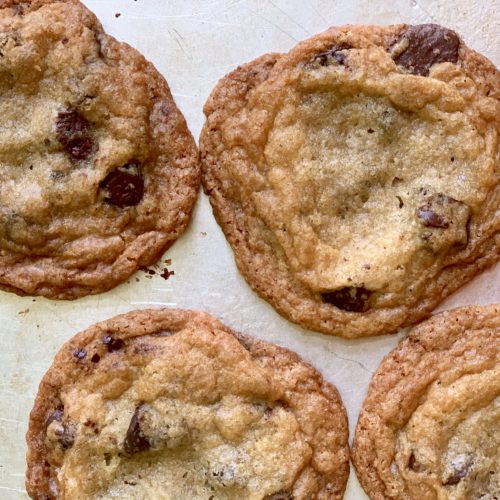
The first photo of these cookies is right out of the oven. Second photo are the exact same cookies 10 m later. This is just an fyi – showing you that cookies continue to bake after you take them out of the oven. That’s all 🙂


These are silly. Silly good. This is the best gluten-free and dairy-free dessert I have had to date. I must admit that I don’t eat a lot of GF and DF sweets – but I can tell you that when I make these for Greg I’m eating them too! Andy, Rob, Sylvie – all love them – although we are forced to abstain since Greg’s choices are so limited. I made them for my friend Judy and she said a hit with her family too. She then asked for the recipe which is always a good sign.
I found these gems in my Bakerita cookbook written by Rachel Connors. She also has an amazing blog – and these are also featured in the blog. I’ve made her chocolate chip cookies and snickerdoodles and both – well, just delicious. Greg will likely have some vacation time around the holidays so I’ll start looking for some new ideas soon. And likely from this book!
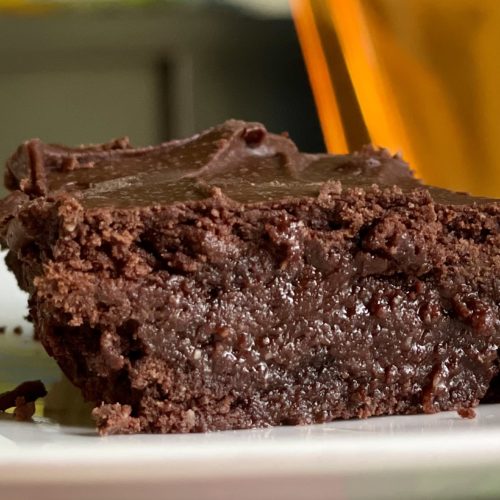
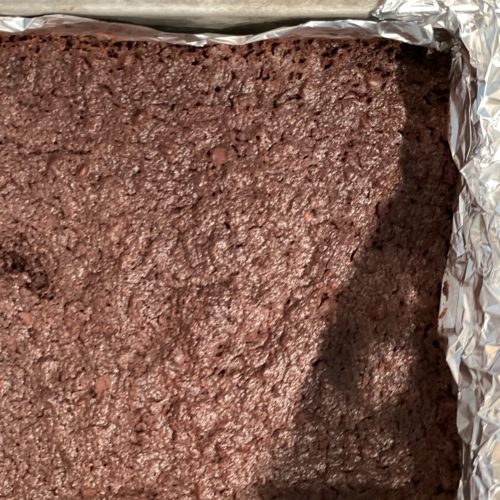
I always double the recipe and bake in a 9×13 pan. The brownies are a little thicker this way and I prefer that. So the timing needs to be fiddled with. They burn easily and it is hard to tell when done so it make take some guess work. I usually underbake a tad but we all like it that way. If you happen to overbake, consider doubling the icing as it is sooooo good and unlikely that anyone would notice your hard brownie. They also freeze well so I’m always ready for Greg and his sweet tooth.
Note: This recipe uses coconut sugar. Although healthier (a non-refined sugar) I use brown sugar instead. For the 3/4 cup of coconut sugar in the recipe I use a packed half cup of brown sugar. You can do either and they will be good either way.
Enjoy these!! Here is a link to the blog post.

I wrote this at the end of the summer – but posting now because summer is around the corner. I think we are all in the mood for warmth and sunshine, summer salads and grilled meats, and easy gatherings.
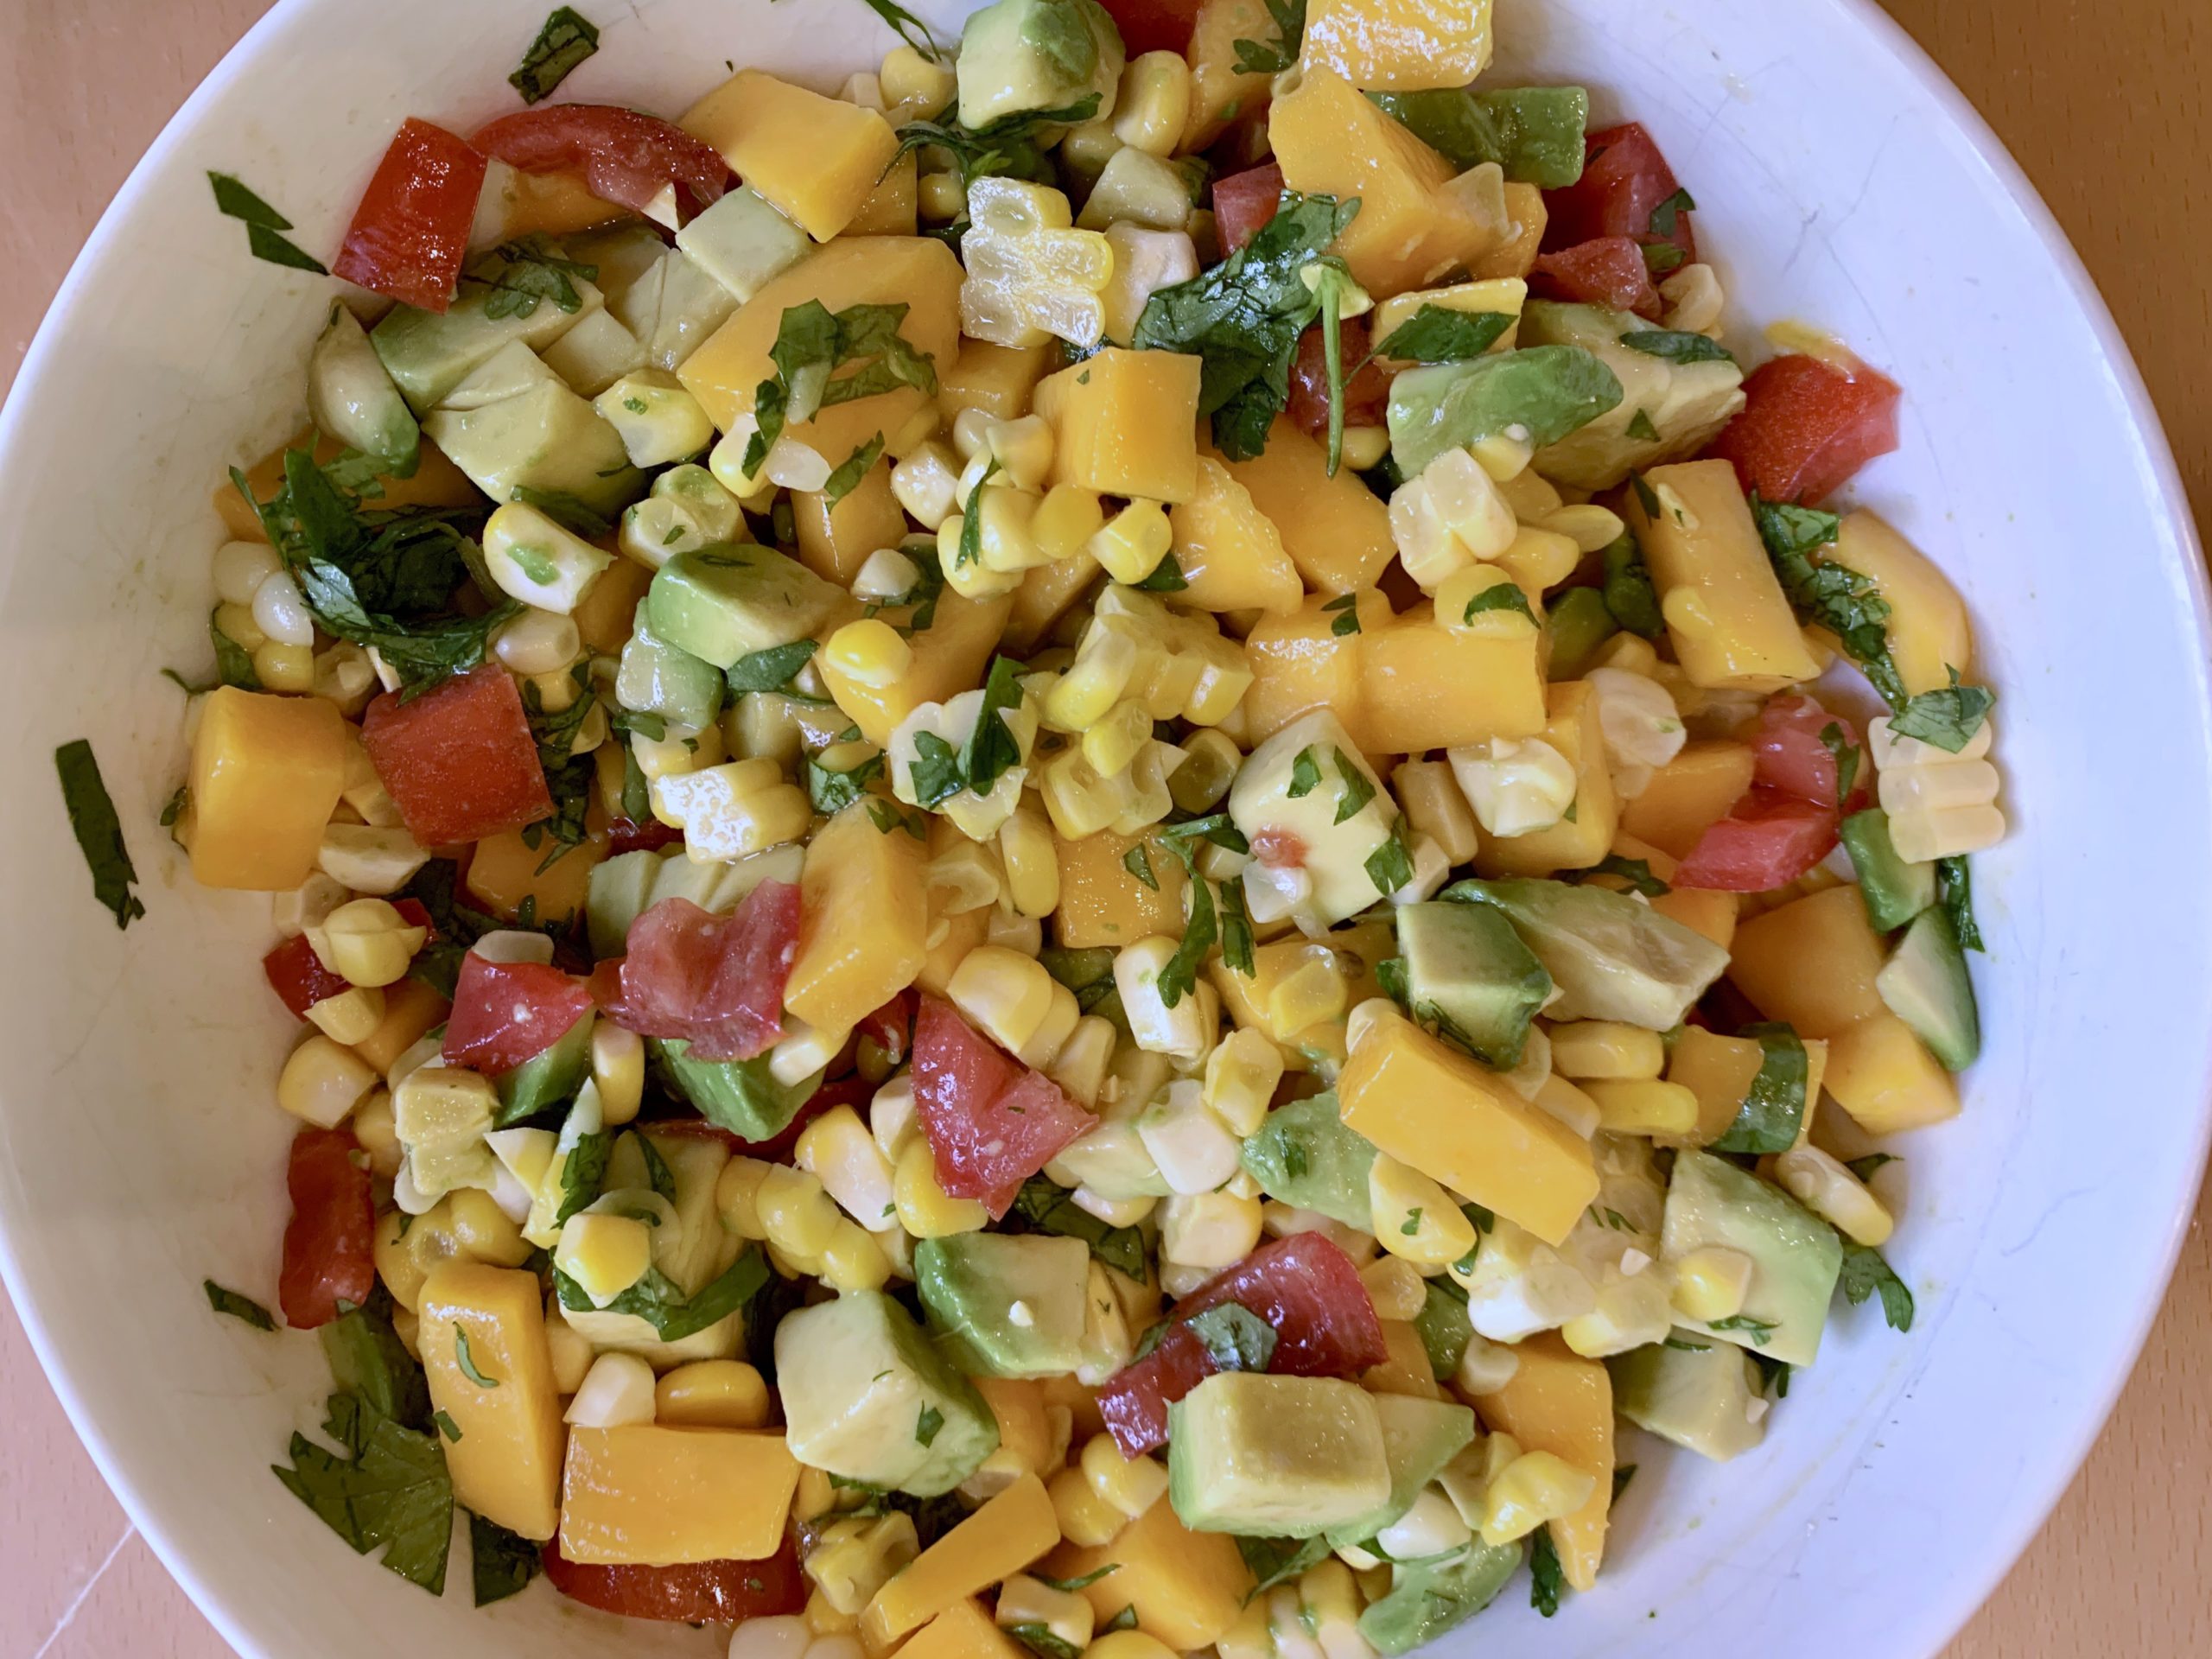
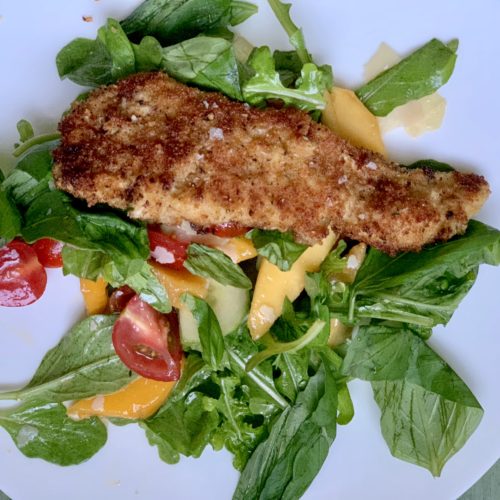
Summer is just about over and it got cool here really fast! But I this week (here) it’s supposed to get up to 78 degrees so you have a moment to squeeze this in with end of summer tomatoes, ripe avocado and sweet summer corn. I served this on simple oven broiled cod and it was so good. Silly good. I ate it the next day on top of arugula and leftover fish. I know most people don’t like leftover fish – especially cold, but for some reason I can do it. A little Maldon Sea salt, fresh lime juice and olive oil and I was content. This would be great in a taco or with tortilla chips – or even added to a store bought salsa to spruce it up. Enjoy.
Like anything you make – adapt to your liking. You can change all the amounts below – I prefer more mango than avocado – but you may prefer it the other way. Most recipes like this have added chopped red onion which is delicious – but it just doesn’t agree with me sadly. But go for it if you can!
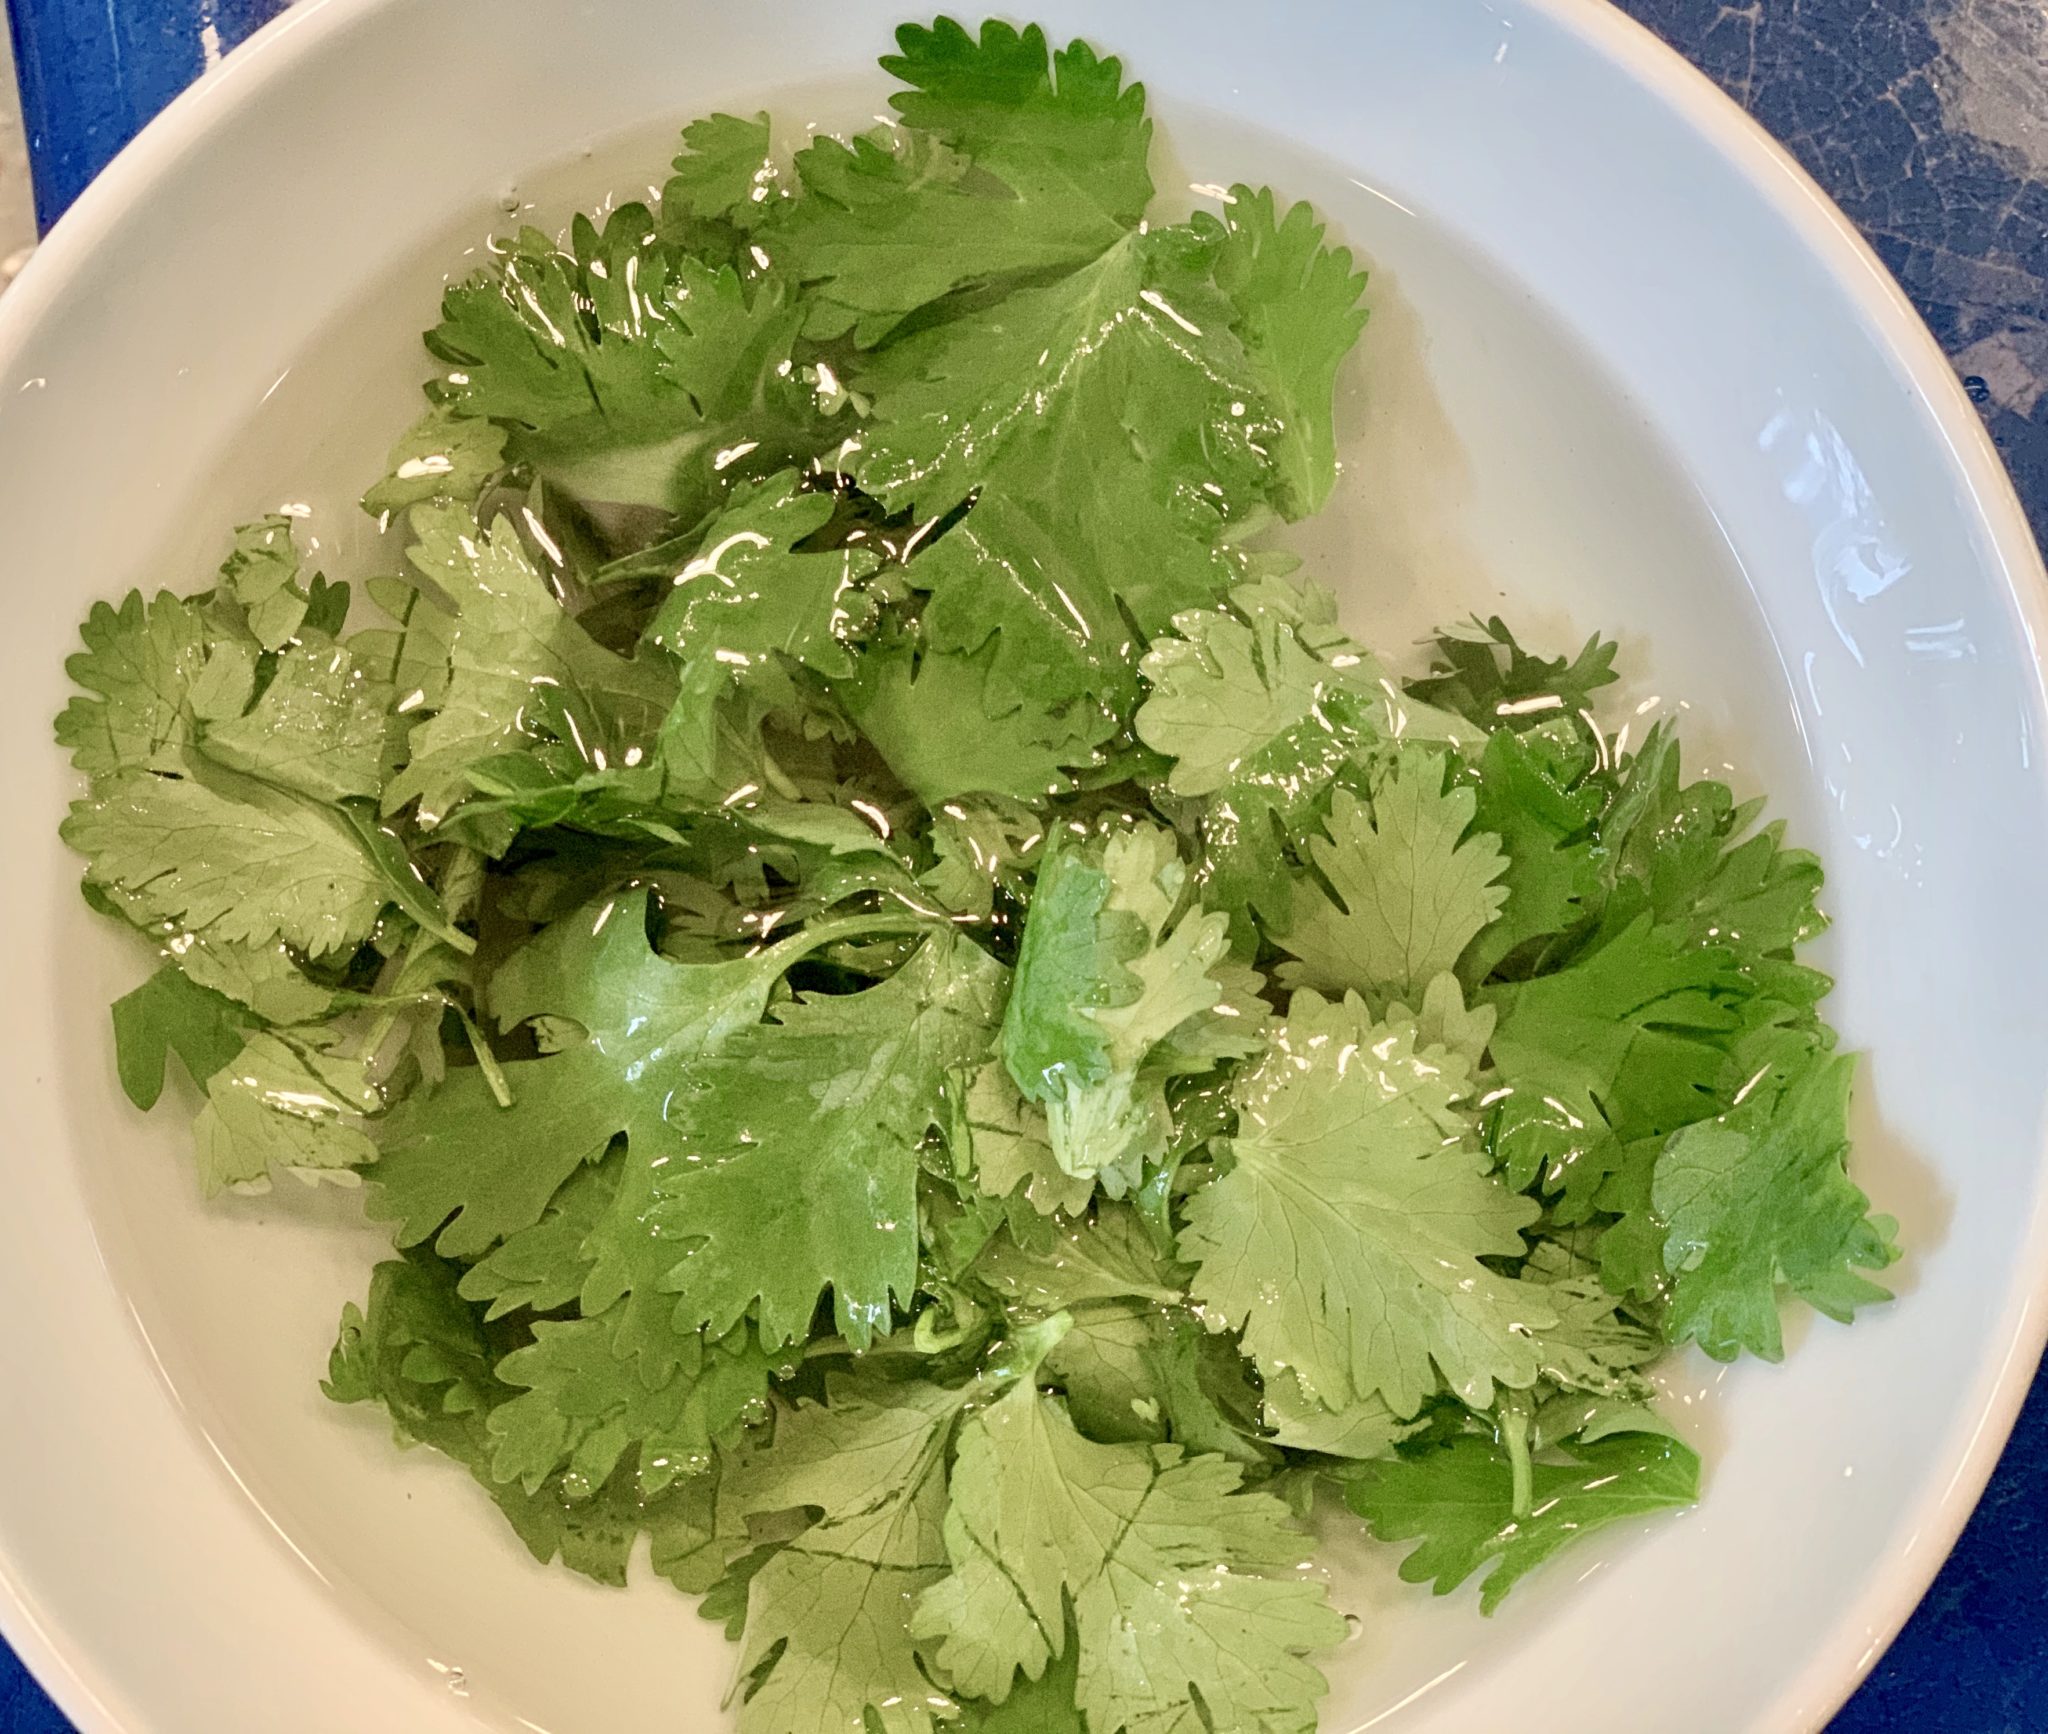
Oh, and please remember to look at notes on cilantro to learn how to properly clean.

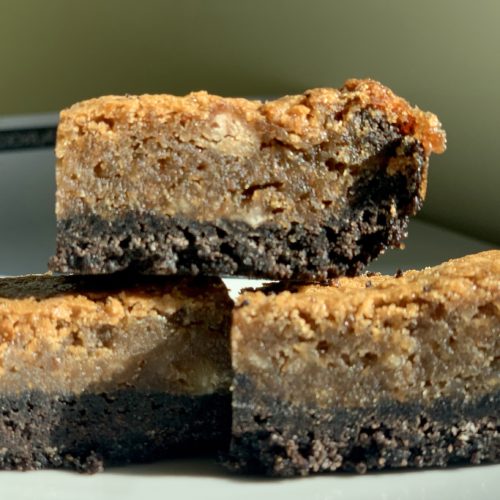
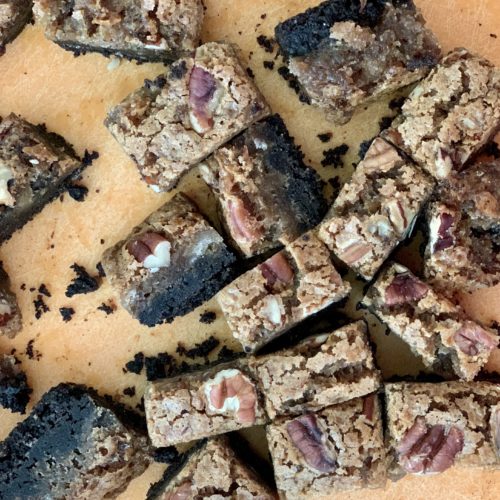
Jessie’s text to me after I dropped these nuggets off was “Avery just tried your desserts and said they were a miracle in her mouth!” Avery is her daughter btw and that made me happy because I too felt the same way but couldn’t articulate it as well. The chewy banana top and the chocolate crusted bottom are so good together. The addition of pecans gave these bars additional texture and cut the sweetness which resulted in a treat that went from delicious to scrumptious. These were featured in the New York Times by food editor (among other things) Melissa Clark. Her sweet tooth rivals mine and I find I want to bake everything that she writes about. Her savory recipes are equally impressive. I have her two instant pot books as well as Dinner, Changing the Game and I use them all frequently. Enjoy!
This recipe calls for brown butter – Here is a video review and there are more videos on youtube should you want more instruction.

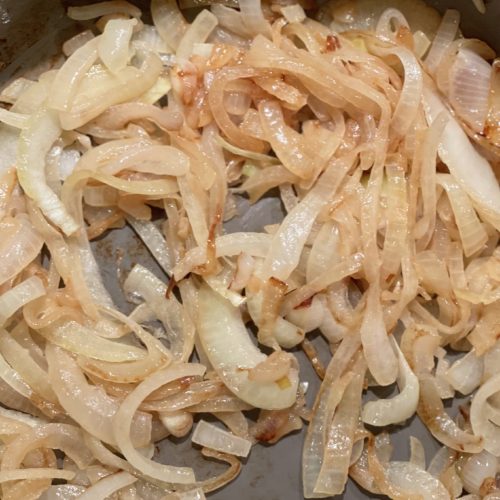
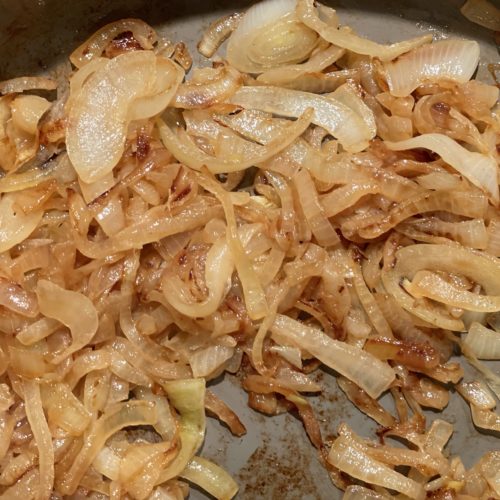
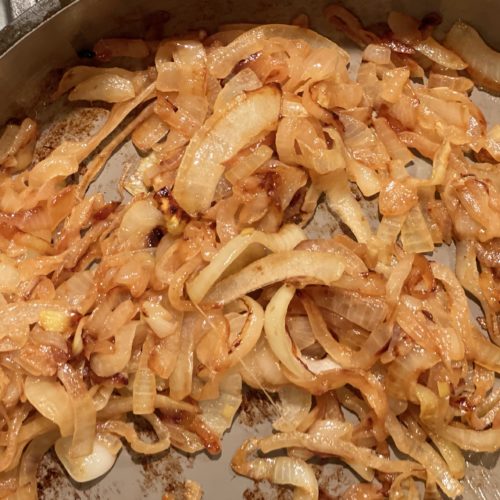
I went further on these but forgot to take a final photo – but this is what the onions looked like as they cooked for the French onion chicken meatballs in the last post. So cook and cook and cook some more. If you plan on serving the onions alone – there are several recipes on-line that add wine, broth, or balsamic vinegar. Pair with a burger or steak – add some mushrooms and you’ve got something delicious going on.

I’m going to update and add to this list but for a start…
Baking smart:
Pre-heat the oven!! This is very important. Do not put your cookies/cake/tart in the oven until it is fully preheated.
Avoid dry and crumbly cookies by the way you measure flour:
The difference between a heavily packed cup of flour and a lightly packed cup of flour can be even more than an ounce. That is a lot in the baking world. Do no pack flour into the cup and shave with a knife. Also, don’t shake the flour in the cup to flatten it. Instead, aerate the flour with a spoon or whisk then spoon the flour into the measuring cup until full. Just filling it. A cup of flour should weigh about 4.5 ounces – (always check the conversion chart in the cookbook and use that.) If nothing there go with 4.5 ounces.
Do you know how to easily weigh your flour? Use the tare button (check out this video) it is simple. And it is worth buying a small digital scale for this purpose. Some cookbooks list the ingredients in ounces and some even in grams. It is amazing. Especially for “packed” brown sugar which is so irregular and dependent on the baker. Overmixing your batter after the flour has been added to the moist ingredients can also result in a tough cookie or a heavy crumb in a cake. It can also produce a cake with a big domed top. Just mix/fold in flour and really try not to overwork the batter.
Butter:
Use good quality unsalted butter. That way you can control the amount of salt in your recipes. If a recipe calls for softened butter it means softened, not melted. Butter should be malleable – not so soft it looks greasy. If you leave butter out for too long or melt it too much, your cookies will spread and flatten. For best results leave out for 20-30 minutes before you bake. Otherwise carefully, and in increments, microwave the butter until soft. Also, don’t rush the “creaming the butter” stage in cookies and cakes. It is vital in making a light and fluffy batter or dough.
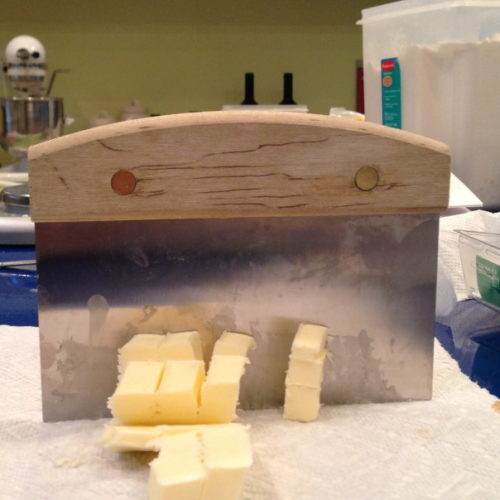
If you need small pieces of butter (for pie dough or streusel), a bench scraper does the trick. A scraper is great for clean up too. Use it (horizontally) to clean up crumbs and flour before you wipe down your countertops.
Vanilla:
Use good quality vanilla extract. They sell quality vanilla now almost everywhere. I love the double strength vanilla extract from Penzeys.com but also the Madagascar vanilla that you often see in gourmet stores.
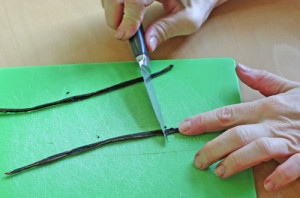
To scrape and seed a vanilla bean, place the long bean on a cutting board. With your paring knife, slice the bean lengthwise – from top to bottom all the way down and through. Open it up and you will see the soft brown inside. With the back (dull side) of your knife, scrape the bean gently lifting the seeds as you run the dull knife down. Here is a quick visual. These pods contain so much flavor and deliciousness. Buy pods in bulk (less expensive) and you can store them in an airtight container. I often put that into the freezer.
Apples:
One of my first jobs at the bakery was to peel and core a big box of apples. Well, you learn quickly when you have that many to do.
I know when you see – “8 apples roughly chopped”, your heart might sink a bit with the prep work. So, here is the plan of attack. First, put on some really good music. These days I happen to prefer audiobooks but pick your passion
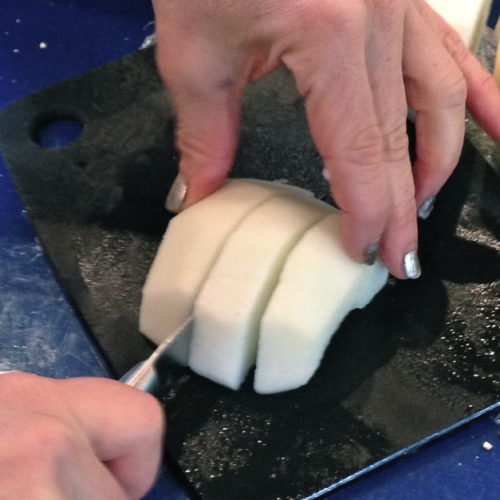
I’ll try to make a video fo this soon. In the meantime, cut the top and bottoms off of the apples. All of them. Then peel each apple with a sharp paring knife (I do this) but try not to take too much of the flesh off. If you are lousy at this – use a peeler. Peel them all. Slice the apples in half. Cutting along the center, the stem. All of them.
Taker your apple corer (you should get one) and scoop out the center core by gently pushing the scooper in and twisting. Then use the scooper to take the little extra rough bits around the core. Core them all. Take each apple half and slice. Now you have slices. Turn apple, slice again – now you have roughly chopped apples.
Chocolate:
Melted chocolate means melted chocolate – not hot or heated chocolate. Be careful with this because your chocolate can “seize” and you will have scorched and unusable chocolate.
Purchase good quality chocolate. I like Guittard and Callebau. Also don’t melt chocolate chips when you are meant to be melting chocolate. But a bar as the chips are made up differently and won’t give you what you probably need.

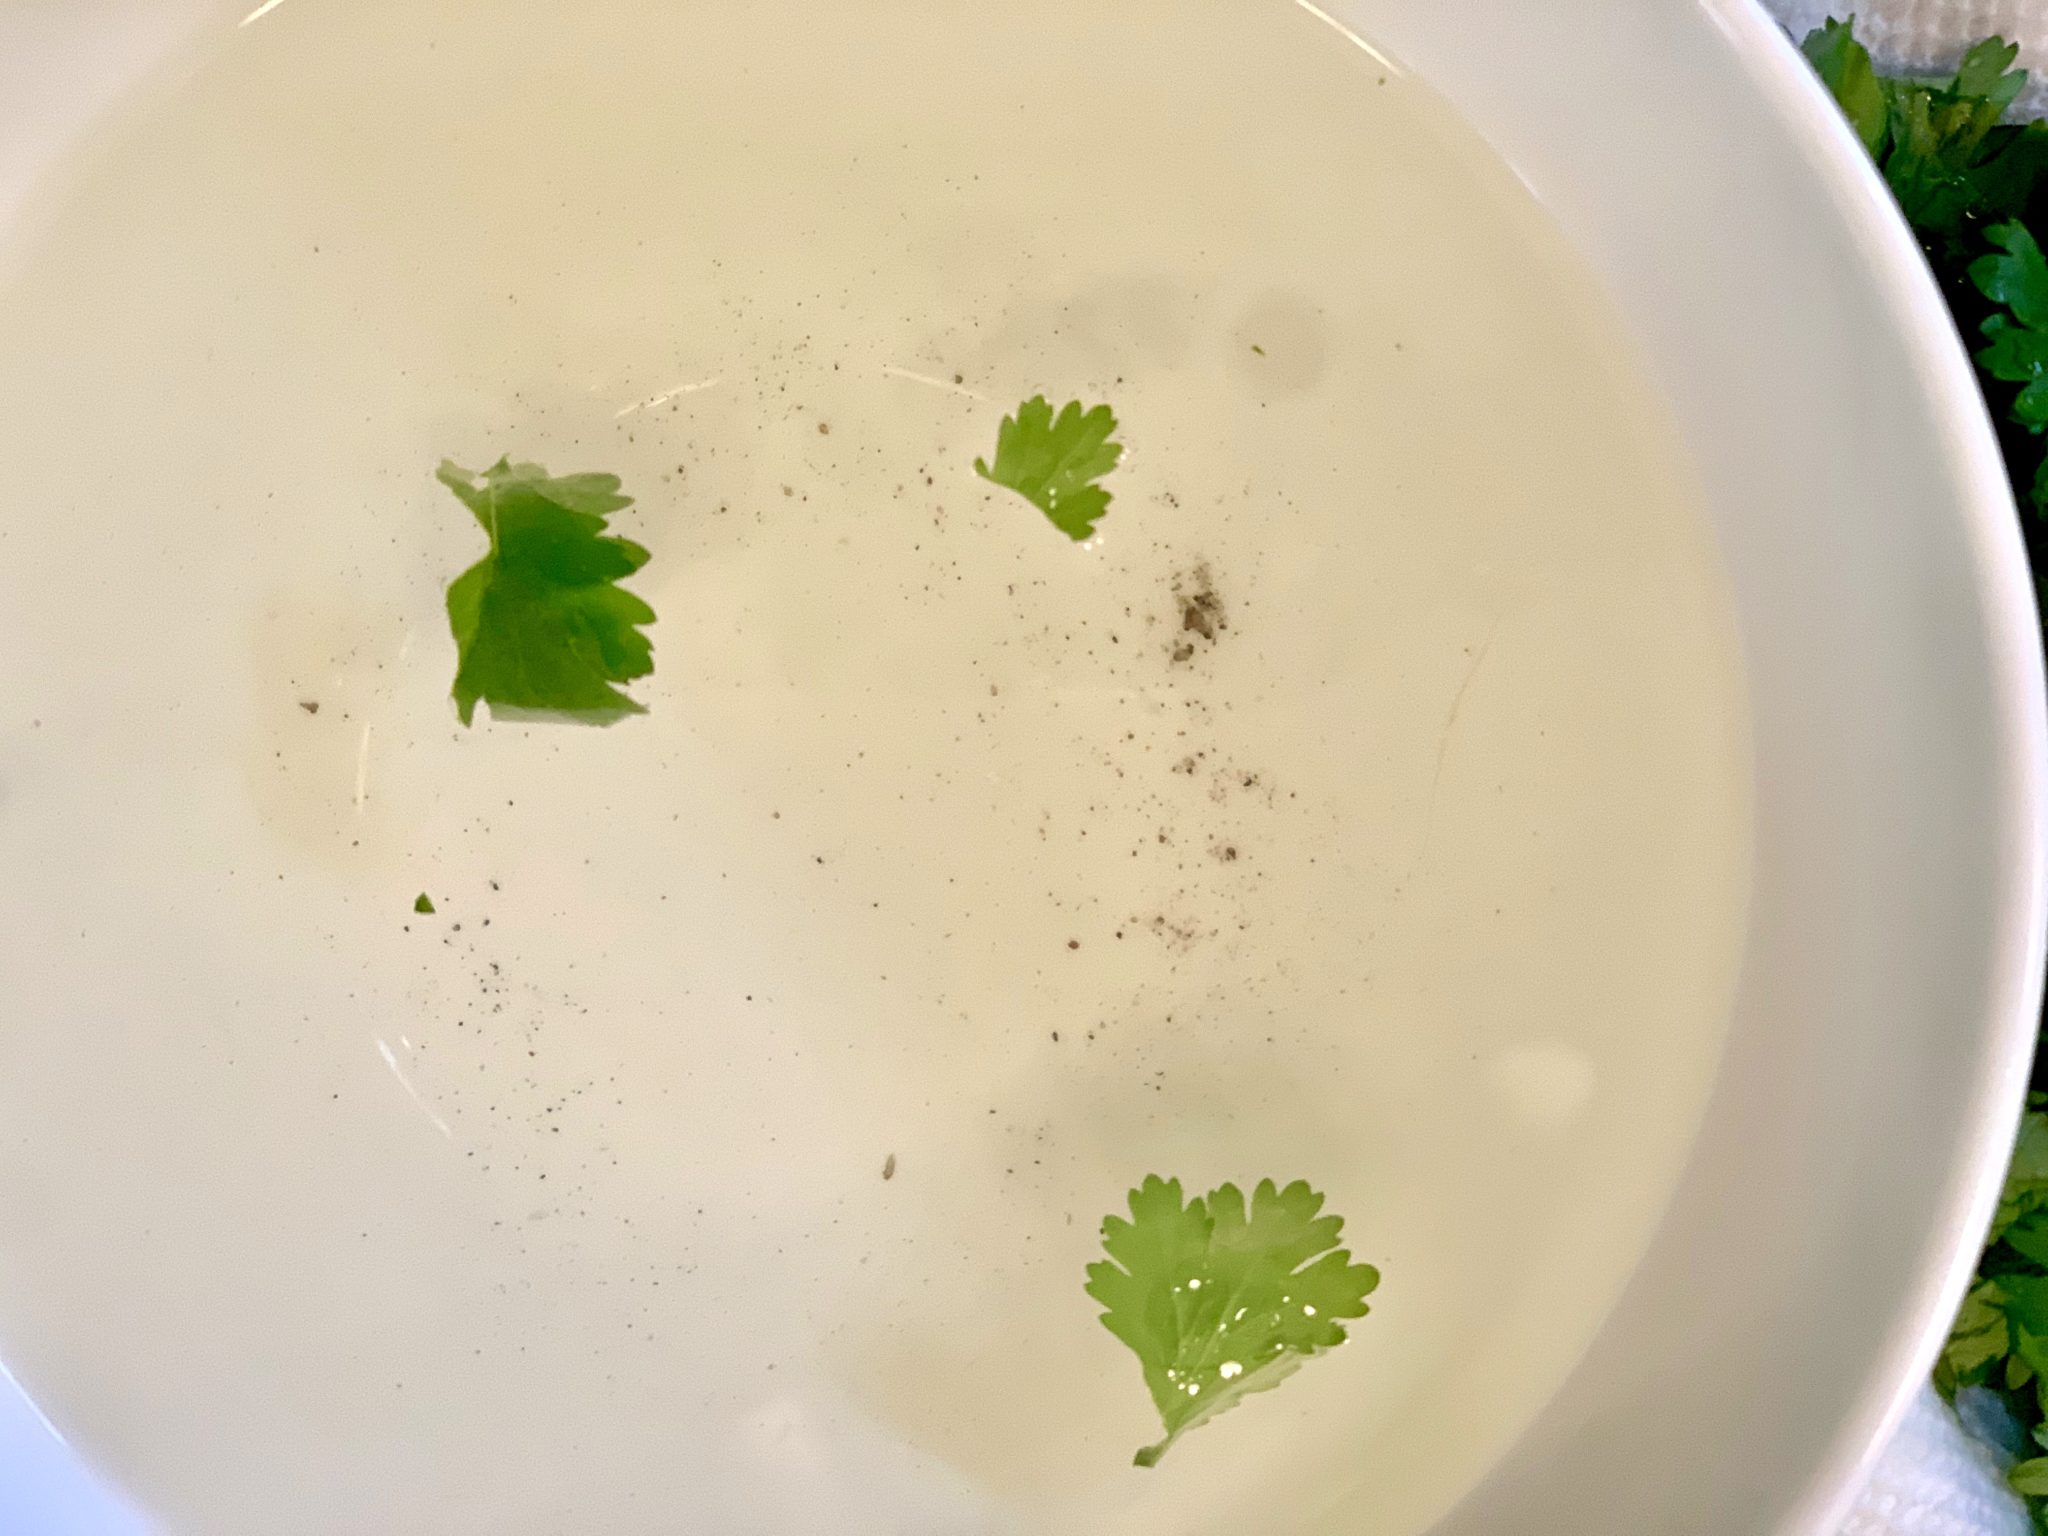
Grit can ruin dish – so to clean it:


Not certain what I would do without this vinegar. It is great right out of the bottle – haha – no – I don’t actually do that, although truthfully I do lick my fingers sometimes. If on a desert island I might just have to bring it – with one of the salads above and some ice cream :).
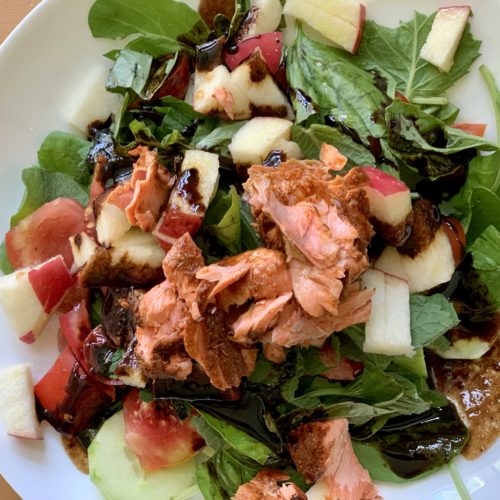
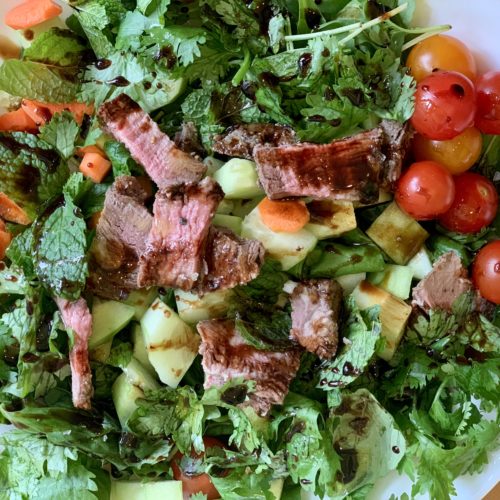
As you can see above it is wonderful on my salmon salad and my steak salad. I basically make a variation of this salad almost every day for lunch. Today it was leftover chicken. I add herbs too and usually a diced apple. If I don’t have a leftover protein I’ll add a fried or boiled egg and add a few pistachios. Mmmm. Oh, and cheese is especially good on that steak salad. I’m sure most of you know all of this and I’m just rambling.
So, I drizzle this all over, add a tad of good quality extra virgin olive oil, Maldon sea salt and pepper and well….scrumptious. I’ve been using this vinegar for many years now and I do not tire of it.
It is also great drizzled on roasted brussel sprouts. Greg likes it mixed with honey and then drizzled on the sprouts. I used to buy this at a local specialty store but now I can get it online. Just google it and there are several choices – not just Amazon!


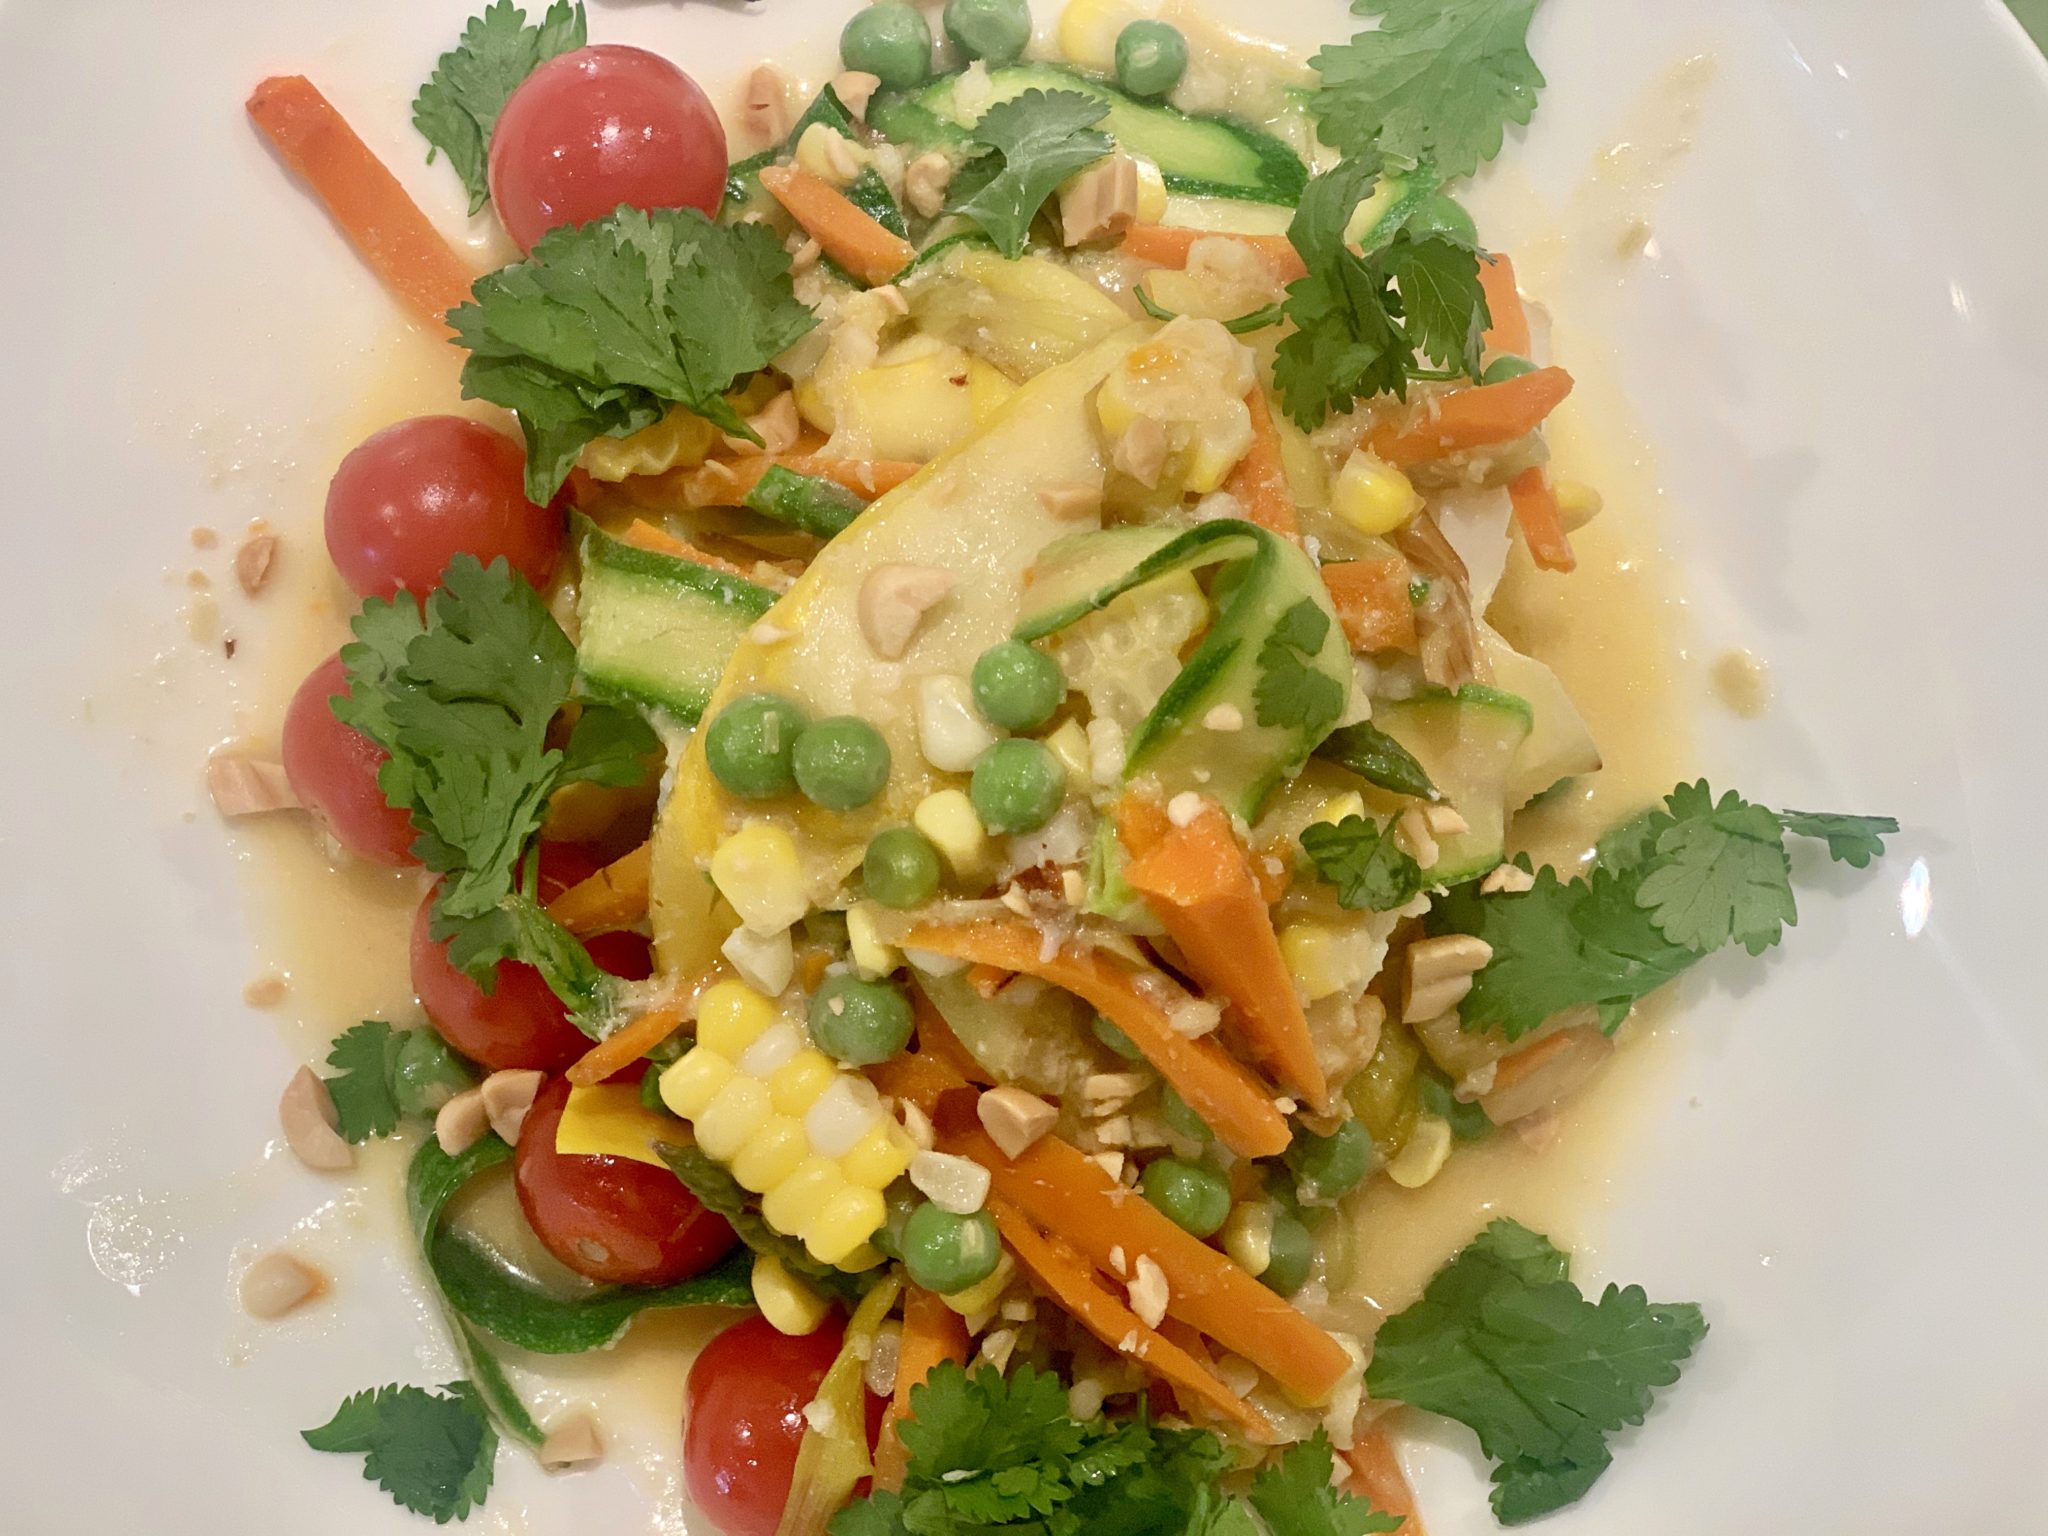
This is my third attempt preparing a fish dinner (since the kids left) and it is a recipe finally worth writing about. I added a ton of extra vegetables so it looks more complicated than it needs to be so please don’t be intimidated. I will give you the basic recipe with the option to add more vegetables. I love Thai flavors, lime, cilantro, lemongrass, ginger and fish sauce. This all comes together so nicely – the broth is flavorful and highlights the flakiness of the cod. I found this recipe in Foolproof Fish – America’s Test Kitchen – a cookbook that my mother suggested when I mentioned how little I know about preparing fish. The book is beautiful and filled with recipes as well as substitutions and tips on cooking methods. So give it a try if you think you might fancy it. I don’t get payment btw!
I used a lemongrass puree that I found in the vegetable aisle of my local supermarket because I couldn’t find fresh lemongrass.
Fish sauce is sold at most supermarkets these days – if you can’t find you can easily order online.
You can use light coconut milk, but the broth will be noticeably thinner and less rich.
This recipe serves 4 and you can substitute black sea bass, haddock, hake or pollock.
Set up your mis-en-place (ingredients):
Clean and slice leeks, mince garlic, peel and grate the ginger, wash, peel and cut carrots, bruise the lemon grass, squeeze the lime, crush the peanuts, wash the cilantro, cut the chile

It’s been a long time. Too long. Life got a little complicated about four years ago so I put the blog on hold as I wasn’t baking as often. But I’m back! When the kids left in the fall of 2019, Rob and I became free birds (empty nesters). During the winter I started to gather new dinner recipes to try – recipes for two that were clean, healthy and hopefully tasty. I realized I wanted to start blogging again, but this time include my “free bird recipes” as well as sweets. Additionally, I had a whole bunch of other thoughts and ideas because last summer I started to teach Andy how to cook. He was planning to live in an apartment and needed to prepare his own meals. All of them! We worked at it and continued our efforts throughout the fall and winter with phone calls and texts. The “young adult recipe” became an obvious category to be included when I thought about blogging again.
I got some help from my blog friends and was ready to go – but then there was COVID-19 and all of the kids came home. I was back to cooking for five – really six because Andy eats double and even more because everyone wanted leftovers for lunch! Now I can also include some large easy meals since I’ve had lots of practice. Greg and Andy and Sylvie left so I’m free to start writing again – and to include all of these new categories.
I don’t bake a ton these days, but I did bake a lot this summer for a local hospital – bringing treats and pleasure to essential workers – and a few of the treats are blog-worthy. I plan to bake this fall for a local shelter and for Gilda’s club – so I will explore more recipes in the near future.
I don’t have a ton of free bird recipes because well – the pandemic and I was far from a free bird!
Please don’t expect wonderful prose or photos – expect a truly tasty recipe that is delicious and therefore blog-worthy.