I didn’t eat breakfast growing up, but I’m so glad I do now. I must’ve gifted about 10 jars of this in December to my nieces, nephews, and my own kids. Andy laughed and said, “You’re really into this as a gift, Mom.” I smiled, agreed, and urged him to try it. But it wasn’t until he was visiting that he finally sampled it—Nicole too—and they were both blown away by the flavor and texture. Now, he’s all about that gift.
I eat this granola every day – every day since my friend Jenn introduced me to it. Probably been about 6 months and I think it might be a forever thing. Wow is all I can say. It’s packed with all kinds of delicious ingredients, with just a smidge of maple syrup. Oh, and GF for those who need it. I’m hooked on the original Super Seed flavor and haven’t even tried the others because I’m just too content.
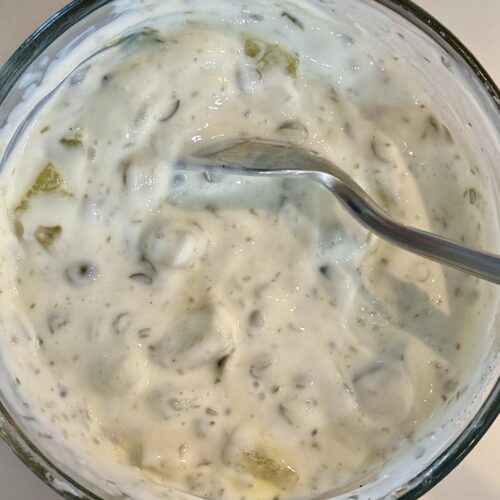
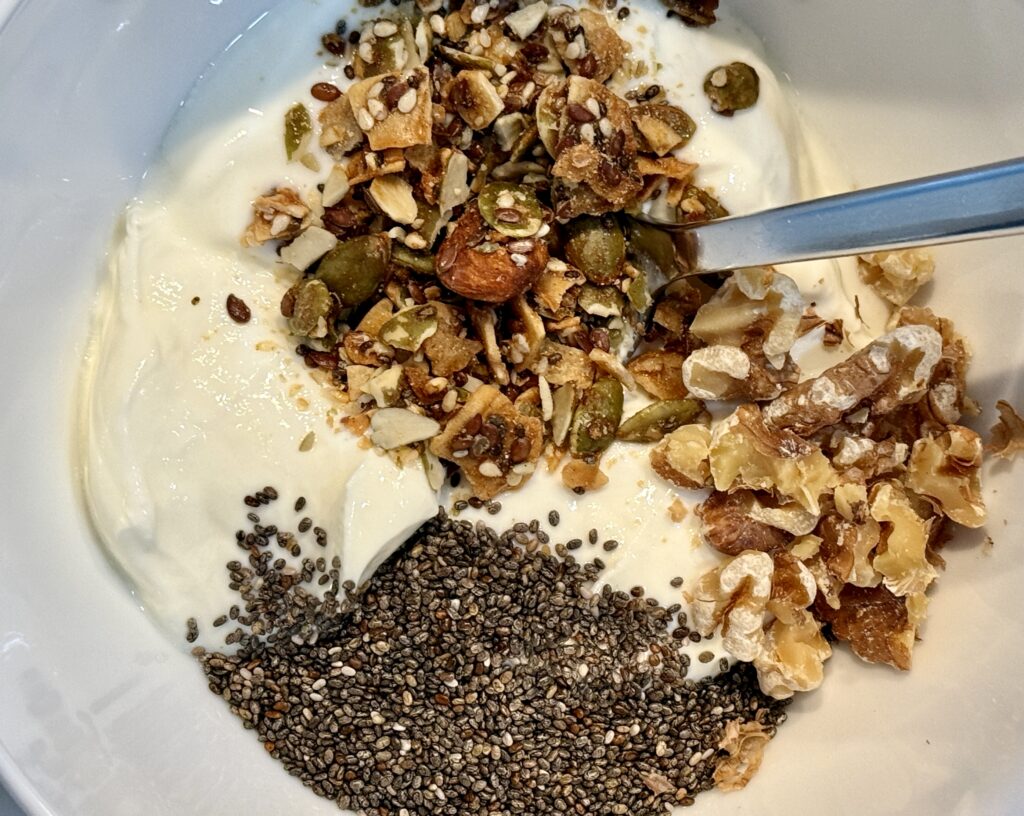
I add about a tablespoon to my home-made Greek yogurt—that’s all I need because a little goes a long way (taste and calories). I also toss in a teaspoon of chia seeds, a few roasted walnuts for Omega-3s, and a lot of fresh fruit. Lately, kiwi, pears, and pomegranates have been my go-to. The textures, the flavor, the scrumptiousness of it all—it’s mouthwatering.
Just to clarify, like with the Good Culture Cottage Cheese, I don’t get anything from Hampton Grocer. No cash, no free granola—though maybe now they’ll throw in a jar for me, haha! I’m sharing this simply because I love it, and I hope you do too. You can find it HERE.
Oh, and a tip: buy one jar, then stock up on the refill packs. They often have sales, so keep an eye out for those,