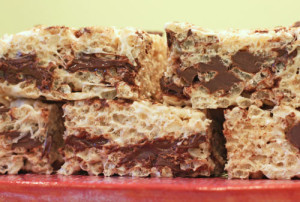
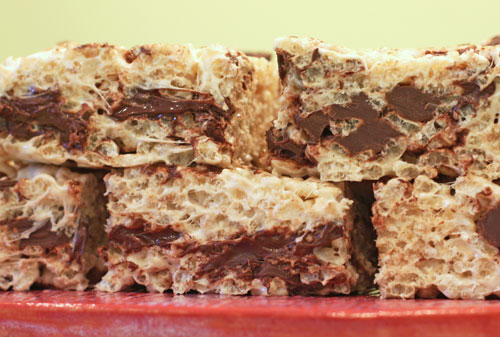
 OK, yes we all know how to make these – but my kids (or their friends) sometimes mention that mine taste better than those they buy at the bake-sale. I often say it’s because I bake with looove and give them a big smile. Truthfully though, the love comes from a little kosher salt and vanilla – and the added chocolate chunks (although if you’re a purist even just the vanilla and salt will heighten your pleasure). My whole family enjoyed these yummy treats, even Rob who surprises me here. I haven’t made them in a while – Greg just said…”mom, I’m so glad you made these again. They are so good.” I usually cut them up into reasonable portions (otherwise we are all slicing away day and night), wrap them in plastic wrap, and pop in an airtight container. Good for a while although they do disappear fairly fast!
chocolate chip rice krispie treats(adapted from the Kellogg’s Rice Krispie cereal box recipe):
3 tablespoons unsalted butter
1 package mini marshmallows (10.5 oz)
3/4 teaspoon pure vanilla extract (please high quality here)
1/3 – 1/2 teaspoon kosher salt (or just about)
6 cups rice krispie cereal
(about) 1 cup semi-sweet chocolate chunks (I happen to prefer Nestle’s chunks here. Of course you can use chocolate chips instead.)
Spray or butter a 9×9 inch pan. (I usually double this recipe and use my 9×13 inch pan.)
In a large saucepan, melt butter over low heat. Once melted, add the marshmallows and stir and until they too have melted. Watch them – they burn easily.
Add the vanilla and salt, mix to incorporate. Add the rice krispies and mix. Add the chocolate chunks and mix in. (If marshmallow mixture is very warm, some may melt, but that is OK too!) Pour onto prepared pan. Flatten and push down with the back of a large spoon (easiest if you spray spoon with non stick spray).
Let set for about 45 minutes to an hour. (Or longer). Cut into squares and enjoy!
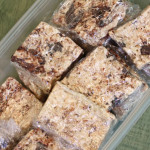 As mentioned – I cut, wrap and place in an airtight container. But eating right out of the pan is good too.
Another note – sometimes I add some mini chips to the melted marshmallows. Mix and melt them too – this makes the marshmallow mixture brown and changes the whole look of the bars. Fiddle a bit. See what you like to do. Add peanut butter chips or milk chocolate chips, or maybe even a natural peanut butter laced throughout…next time…

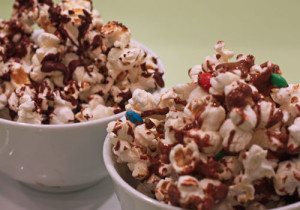

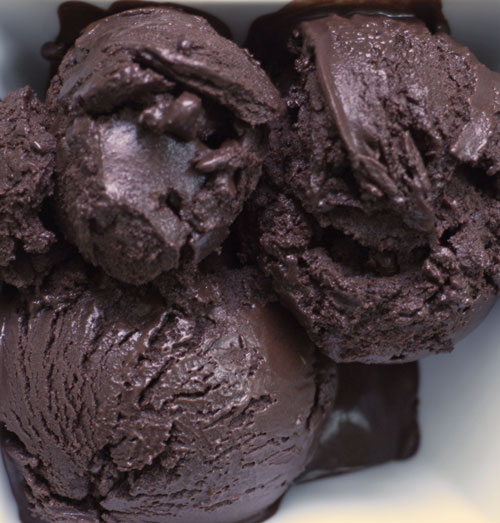
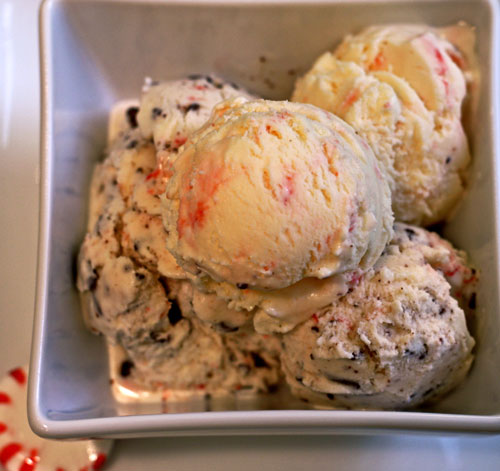
 This is my old friend Dani’s all time favorite. We were lucky growing up – in that both of our families went to Vermont during the winter weekends. Dani from NJ, me originally from MA, these were very special times. But oh, it wasn’t just me and “Eight is Enough” that made her smile – it was the holiday season – and Friendly’s featured Peppermint Stick ice cream – her absolute fave! She requested it a few years ago – maybe for the birth of a baby or a different event (my memory is really fading, sadly) but needless to say she was thrilled. I think I dipped Oreos in chocolate and then crunched them into the peppermint stick. Wow. A friend just mentioned that Trader Joes sells a peppermint version of an Oreo that sounds perfect. Anyway, this ice cream is really very good. I made half just peppermint and the other half with ground bittersweet chocolate. I love that one. Greg loves the pure peppermint and he’s lucky because no one else in our family will eat it, and Dani is still over that bridge! Enjoy this – it is nice for the holidays and although rich, it is quite refreshing.
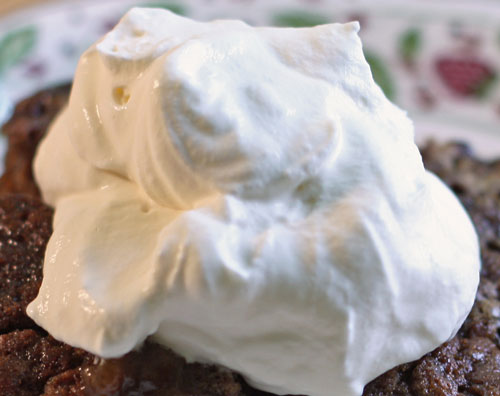
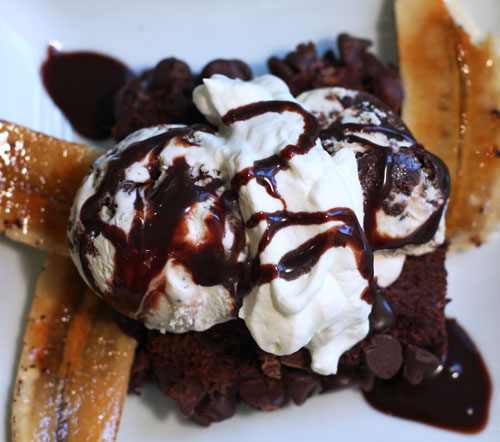
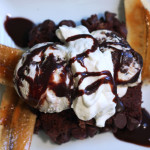
 I love coffee – coffee with milk and sugar. This ice cream is just that – but cold. (There is coffee ice cream hiding in this photo.) The ice cream has a great mellow coffee taste that is perfect. In addition, for those of you who don’t want to go through the trouble and time to make a custard (or egg based) ice cream – Philadelphia style ice cream is just right for you. This recipe is quick and easy to make – although I should mention that it is less rich and smooth as its’ custard based counterpart. With all ice cream – but especially Philadelphia style, it is best to really let it soften in the refrigerator 20 minutes before you eat for the best flavor and consistency – unless you eat right after you churn it which is when it is the best. I added melted chocolate to some of the frozen ice cream which gives it another dimension and bite (which I happen to need). I used this ice cream and the espresso brownie ice cream in the above sundae with carmalized bananas, fresh whipped cream and the glazed nutty brownie. Amazing. Have fun – make it Mexican by adding a 1/2 teaspoon cinnamon (with the coffee beans), or add other mix-ins try Oreos or chocolate covered nuts. Yum. Next time. This ice cream also pairs well with the
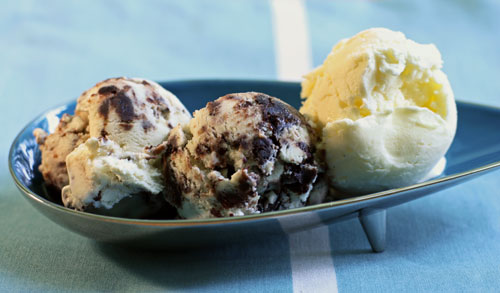
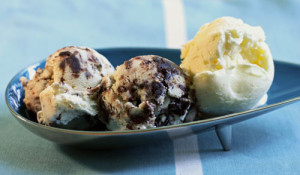 Home-made vanilla ice cream is sooo very good. The vanilla beans, cream and milk freshly churned make for an extra special treat. Vanilla ice cream pairs well with most desserts – cookies, crisps, cobblers and pies…with chocolate cake, loaf cakes, brownies and fruits – it is one of my favorite things! (My family is really very tired of hearing me exclaim…”that would be so good with vanilla ice cream!”) But it is true. It is a staple. I cut
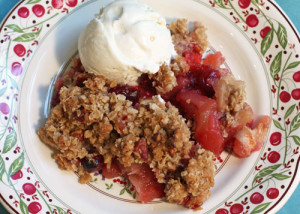 the espresso brownies into little pieces and added some to half of the ice cream and turned it into an espresso brownie swirl (photo above). Really good. And to right is the ice cream with apple cranberry crisp. Really completes the dessert. For a new ice cream mix-in, try Grape Nuts cereal and raisins…I had a version of this at Toscanini’s (my favorite ice cream parlor in Cambridge, MA) many many years ago (and I’m so happy that I can remember). I don’t even love Grape Nuts, or raisins, but together in vanilla ice cream…wow (seriously).
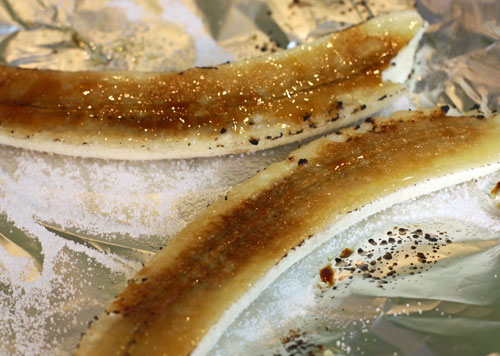
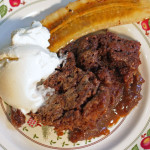
 I love these bananas. I’m not even a fan of a raw banana – but oh…a sprinkling of sugar, a blow torch – and voila – magic banana. These are great in addition to most any dessert. Really and truly. I absolutely love them in an ice cream sundae. My favorite. The crisp topping is like a creme brulee – but underneath, a banana. Yum! These are a great snack when you’re craving something sweet – especially for the kids (well, me too). The hard sugary shell entices them (us) and while we are at it – eat a whole healthy potassium filled banana! (OK, yes, with some added sugar.) Actually these might be good cut into hot oatmeal for breakfast – just thought
 of that now. Hmmm…tomorrow. These are relatively easy to make if you have a blow torch – but sadly most people don’t? Blowtorches are easy to find
  at your local hardware store – you don’t need anything fancy – but if you want a fancy one – especially styled for pastry, then by all means purchase. And don’t be scared – I know it sounds intimidating. The blow torch comes in very handy for caramelizing fruits, meringues and creme brulee. Unfortunately, unlike creme brulee – broiling these in the oven is really not quite as good. The banana “cooks” a bit and gets very mushy – but I guess it’s worth a shot if there is no other option. (OH, just got a note from Robert a friend and neighbor who says he cooks bananas in a nonstick pan over high heat with balsamic vinegar and some sugar. Yes, a pan friend banana may be the alternative way to go if you’re not daring enough for the blowtorch!)
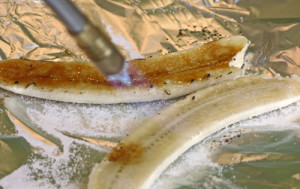 Slice each banana lengthwise. Place on foil or a foil-lined roasting dish or sheet pan. For each banana, sprinkle about a teaspoon of sugar (you can use more or less depending on the size of the banana and your personal taste) onto the cut side of the banana – and go to blowtorch town. Take your time…hold the blowtorch about 3-5 inches away and slowly move the flame around the banana. Keep the blowtorch moving all over and over and over again until the sugar caramelizes and turns a lovely shade of nutty brown. Delish.
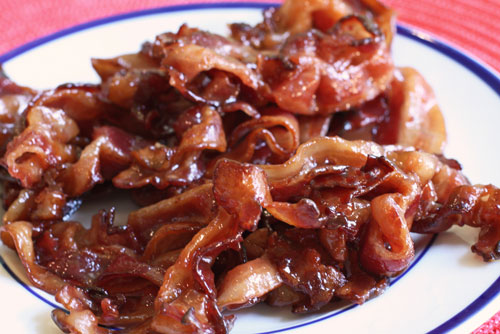
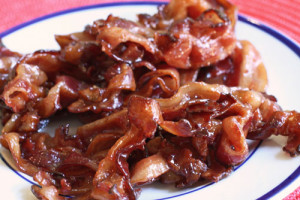 OK, so this isn’t dessert – I know, I do know…but I just had to put it in here because this bacon is scrumptious! There is sugar in it – a lot of sugar so maybe it qualifies just a little bit for this baking blog. My friend Melissa asked me to show her how to make it. We had a bacon making date. My mom makes a delicious salad with spinach, hard boiled eggs, onions and mushrooms. The addition of this bacon is seriously to die for (and I don’t even normally use that expression). She crumbles and adds it to the above ingredients and tops it off with a mayo/olive oil/mustard dressing that completes it. My family loves this bacon in a turkey club – I surprise the kids and put it in their lunches for a treat once in a while. It is great next to eggs and toast and can also hold its own alone. I’ve made an endive, fennel and blue cheese salad with the bacon and oh…equally as good as my moms. So – enjoy this sweet treat. Experiment. This bacon freezes well so make a bunch!

 A plain Peep is not something that I love. However…a chocolate covered Peep is divine. Seriously. I did a short stint at Chocolations (a local chocolate shop) last year and Maria, the owner, was dipping Easter Peeps in chocolate. Well, that was it. Done. Count me in. My early resistance to Peeps was no more. I lovingly dip, serve and eat them often. Surprisingly it is not just the kids (and I) who love them. Rob loves them coated in dark bitter chocolate – to cut the sweetness – and both milk and dark make me happy. The ghosts are almost fully dipped in chocolate while the pumpkins are placed on a chocolate disk. While I was at it, I decided to make some chocolate covered Halloween Oreo treats as well.