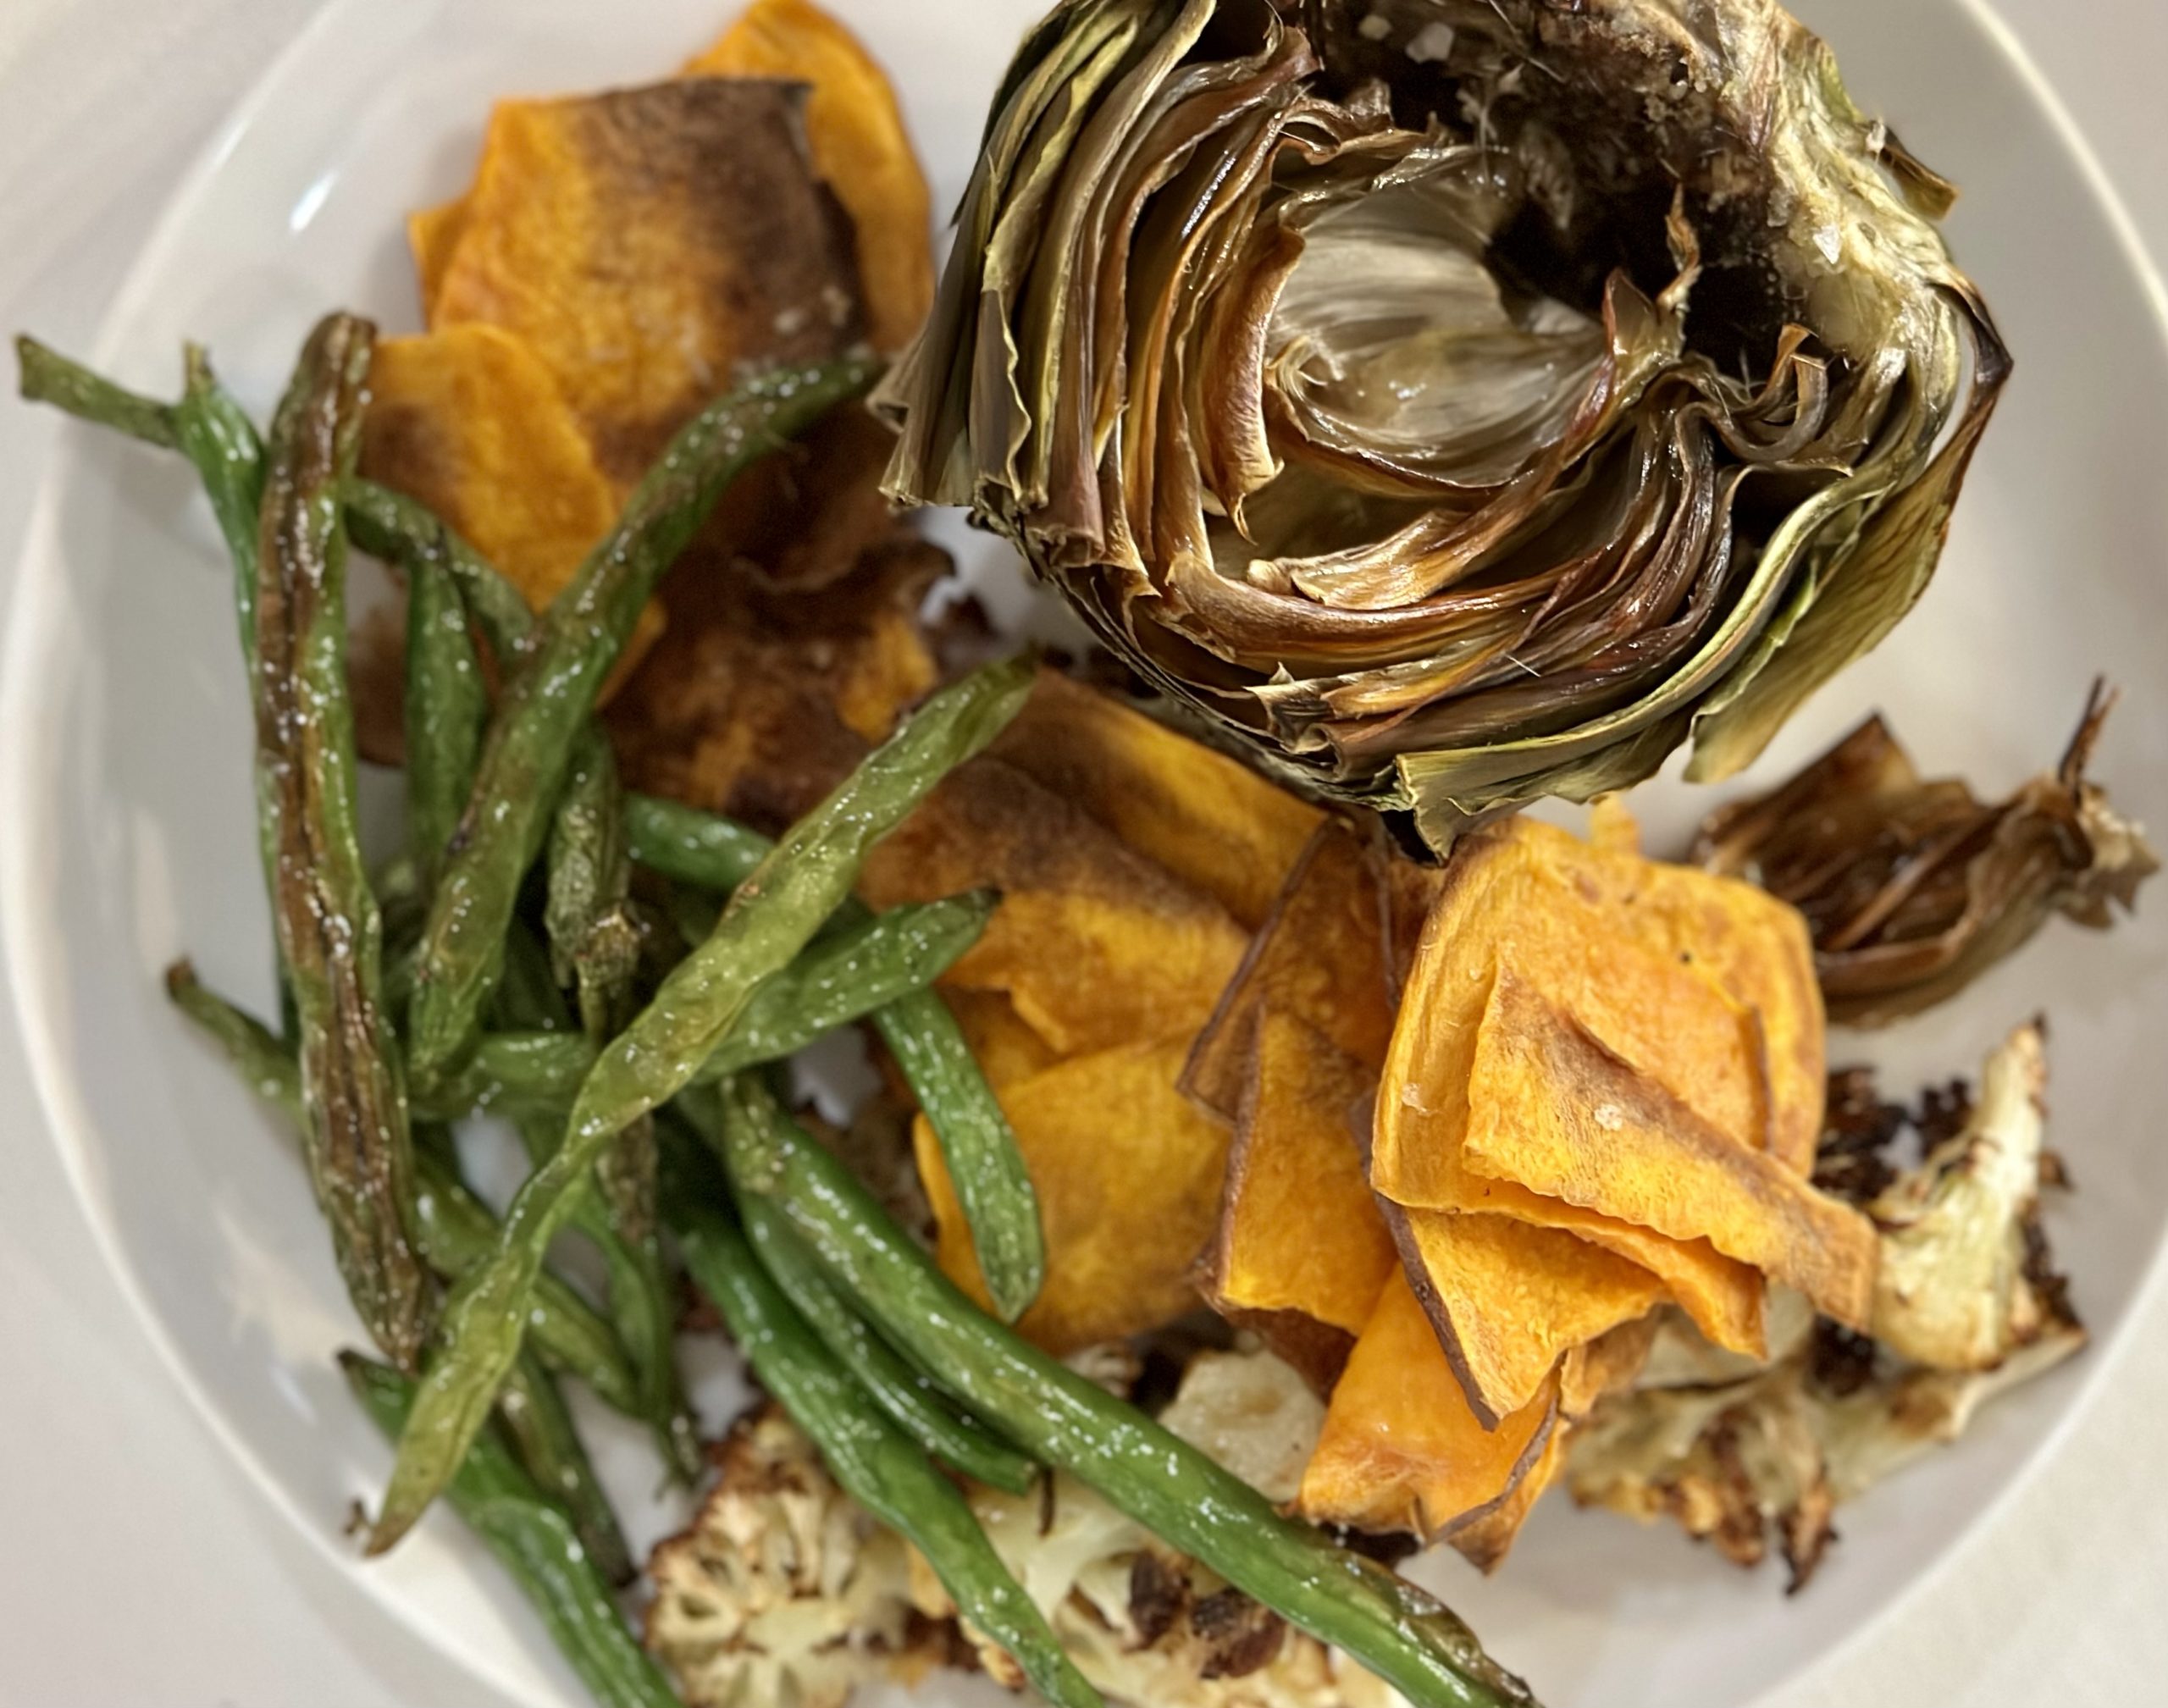
air fryer artichoke

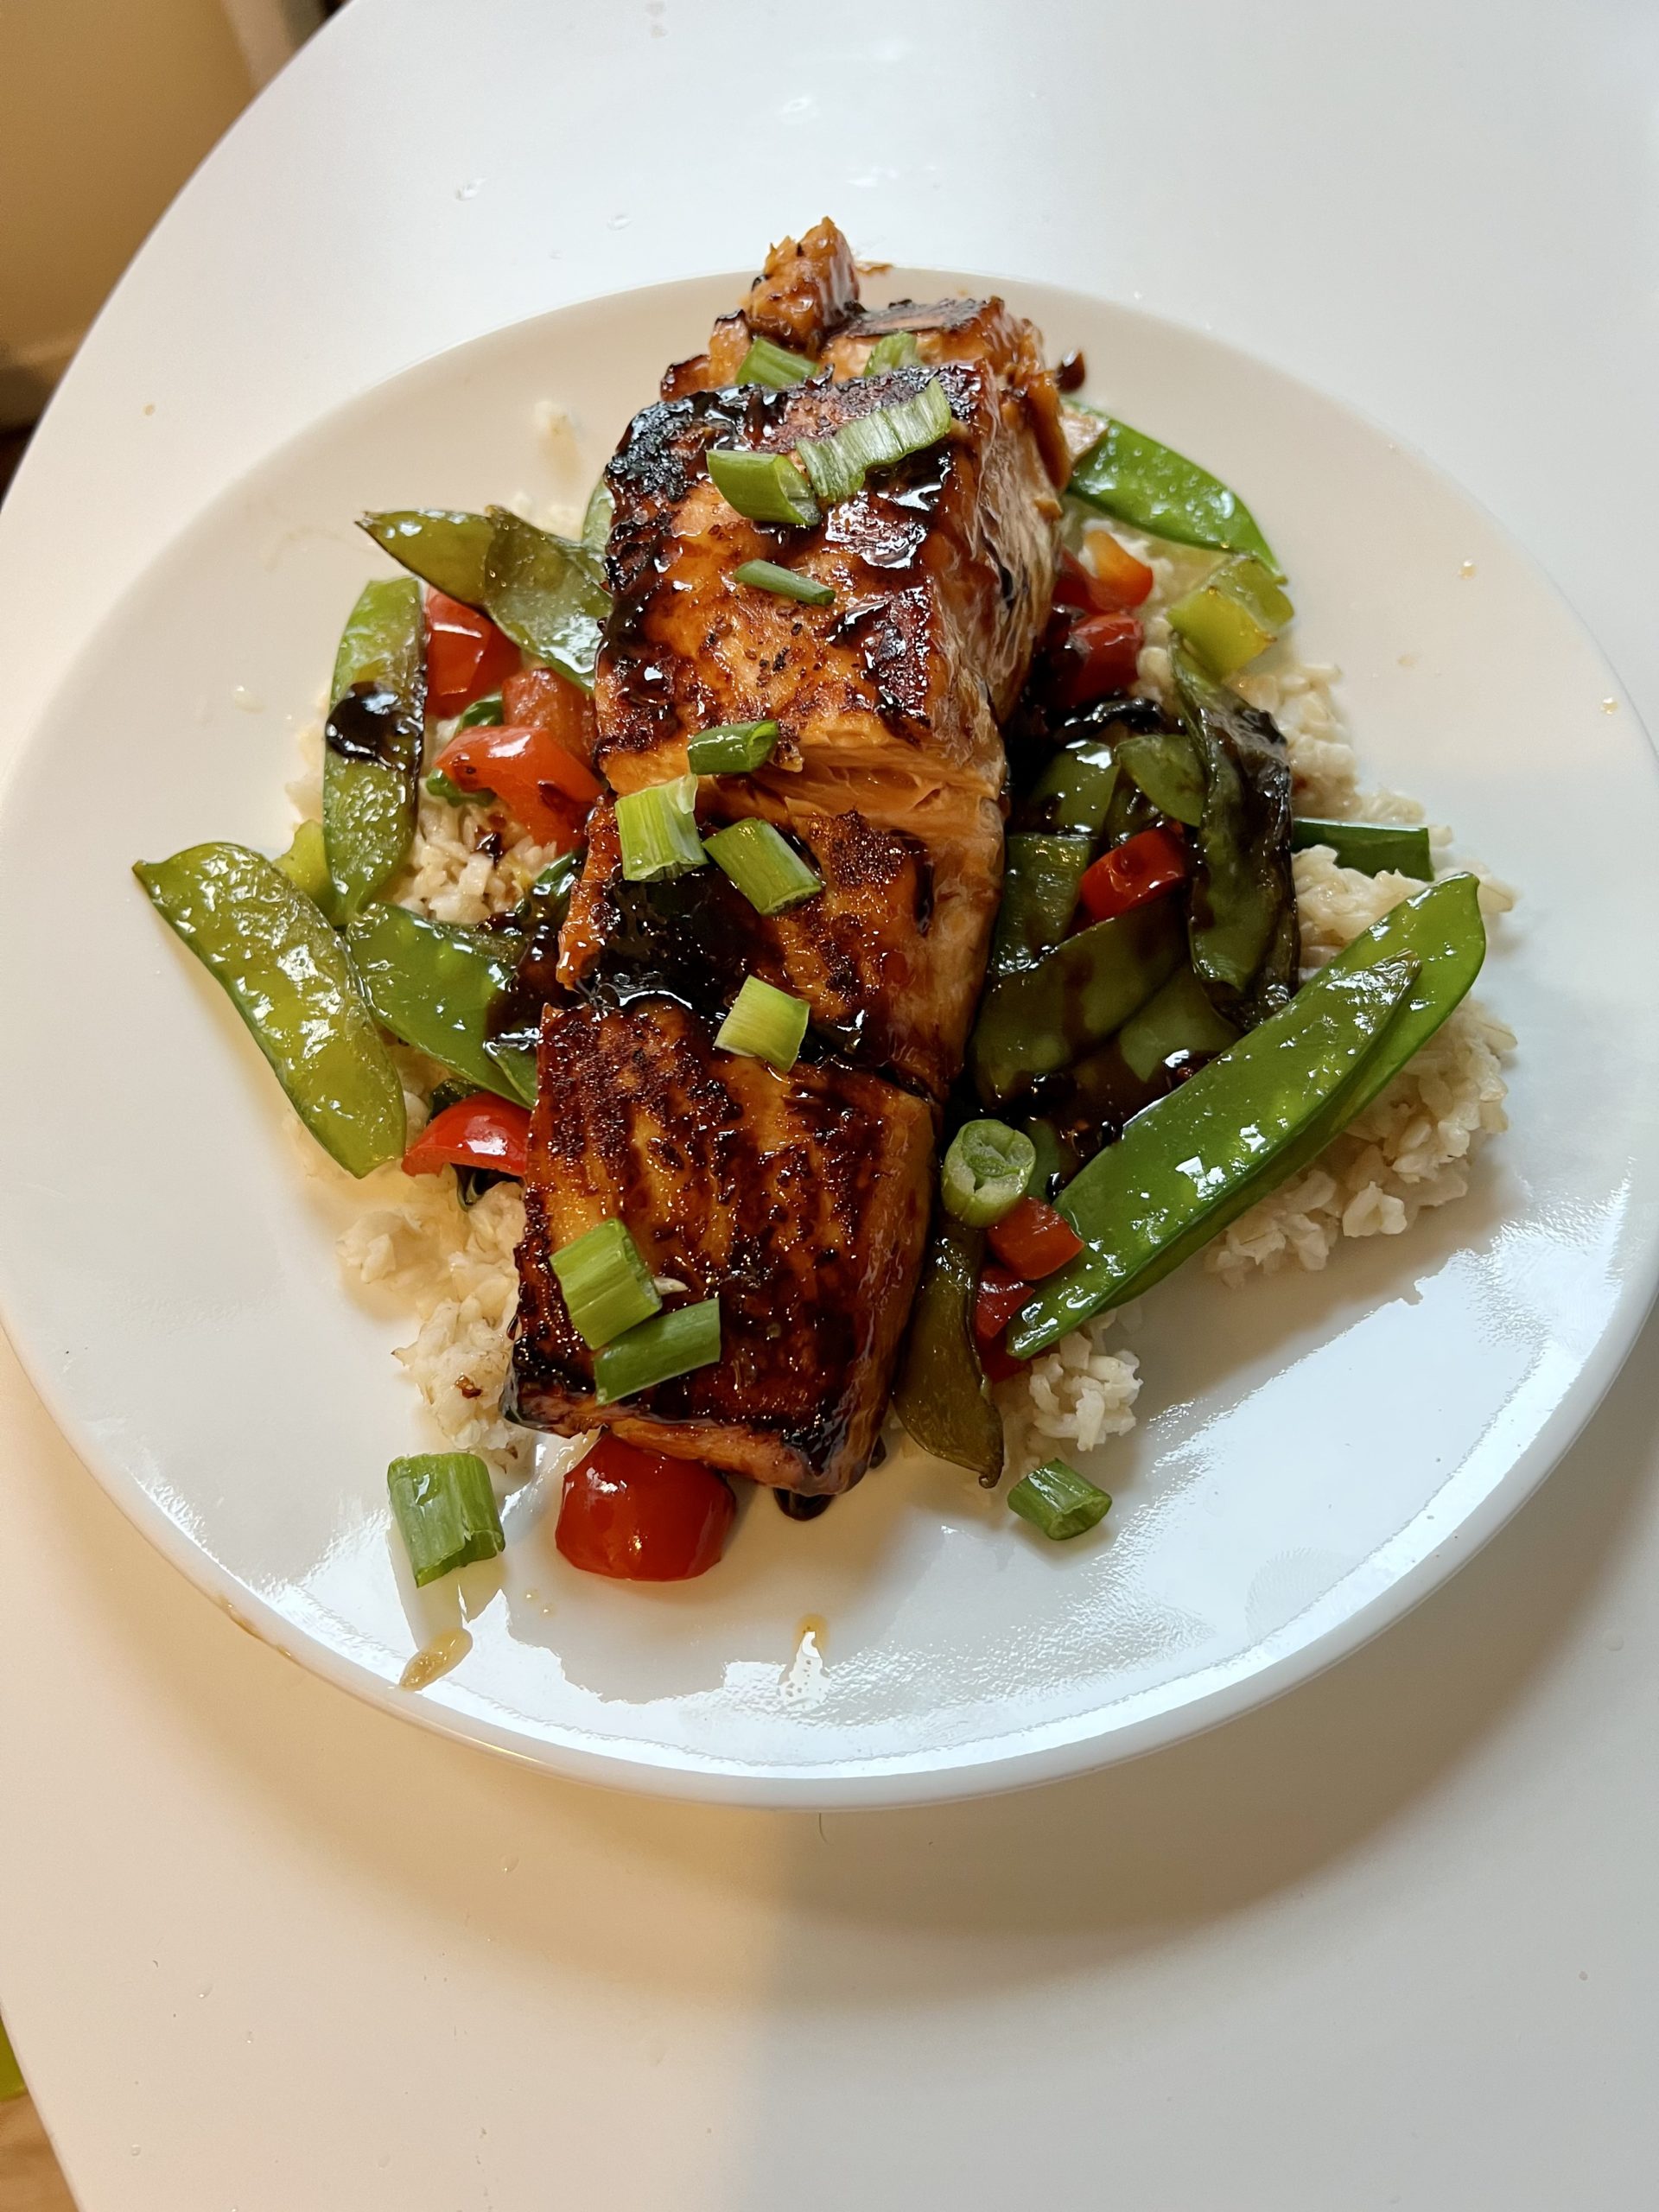
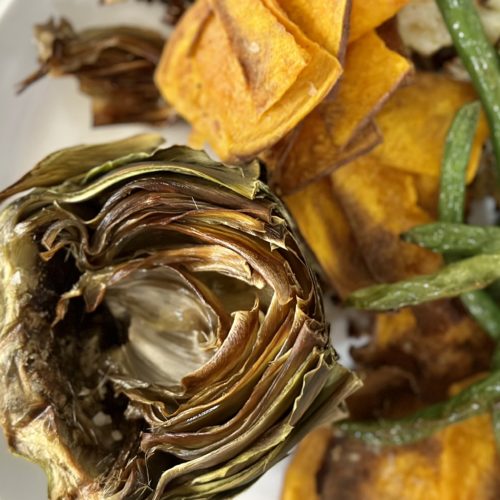
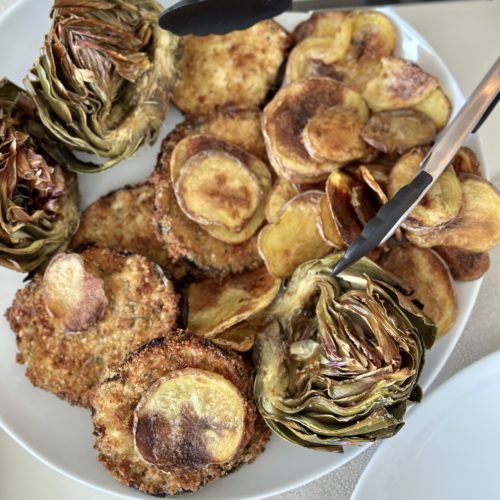
Sylvie recently sent me a Tik Tok about friends eating the weirdest things – and yes, one of the foods was an artichoke.  I love them. She knows this and seems to find it interesting how much pleasure I get from biting into these tough leaves.  As I gleefully enjoy the heart, she again seems fascinated by this.  She doesn’t get it.  I think she would if it was baked and stuffed with breadcrumbs and cheese like my mom made me when I was young.  That is really something.  But surprisingly I find I like them plain with a bit of olive oil and Malden salt.  I avoided making them for myself all these years because it just seems like a lot of work for little reward.  But the air fryer changed all that.  I’m not saying these are the best artichokes in the world but if you like them, this is a super simple way to enjoy them. 

Enjoy! 

Here is how you do it:

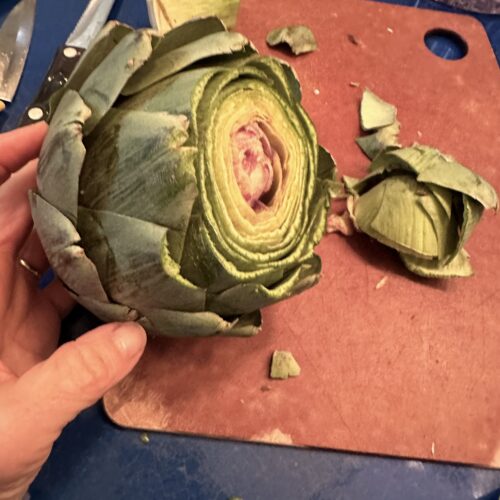
Cut off the stem and peel off the leaves that were closest to the stem

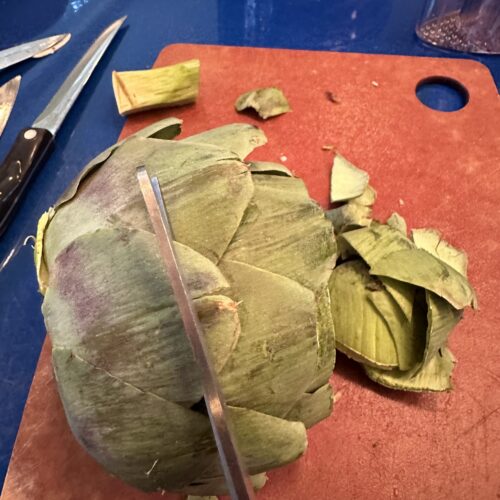
Next, with a serrated knife cut through the top of the artichoke

With scissors, cut all the tiny prickly points off of the remaining stems

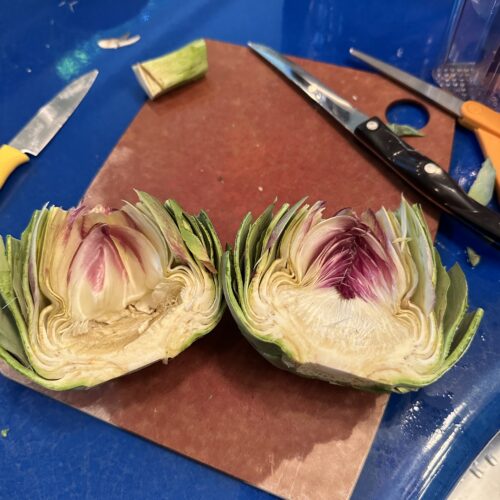
Slice artichoke in half.  Then with a small sharp paring knife cut around the choke.  This is the light colored area that is soft to the touch and looks kind of hairy.  This is the only tricky part – just dig in there with your knife – cut the shape of the choke and then kind of dig that out and toss.  There are a ton of videos on how to do this if you Google.

Preheat your air fryer – to 350.  Spray the artichoke with olive oil on both sides – and  salt with some Maldon salt.  Air fry cut side down for 10 min then flip and air fry another 10 or so.  You want the heart to be able to be pierced easily with a knife – so cook more if needed.  


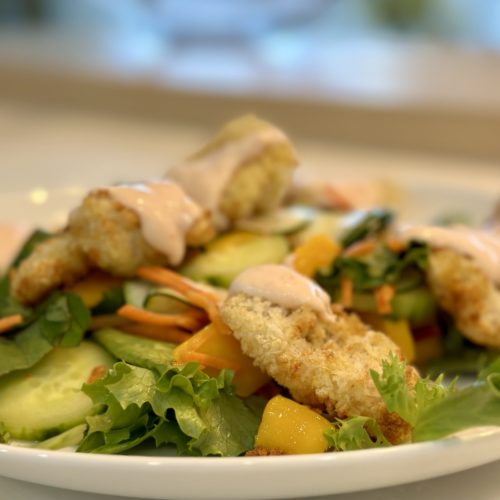
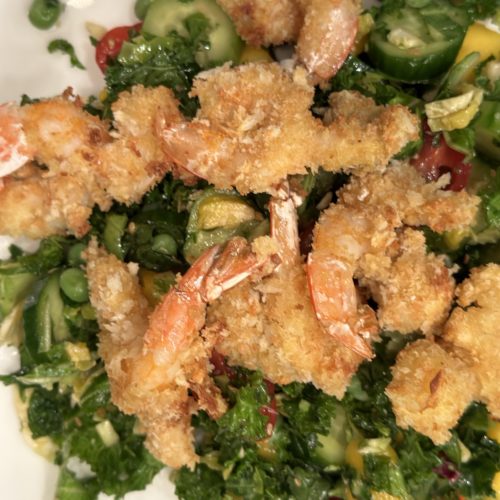
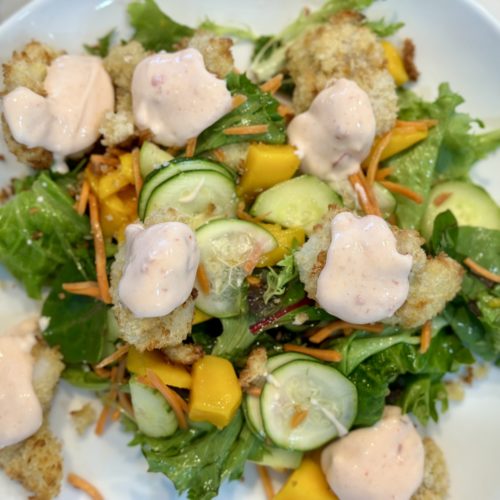
bang bang shrimp with GF option (delicious) naturally dairy free

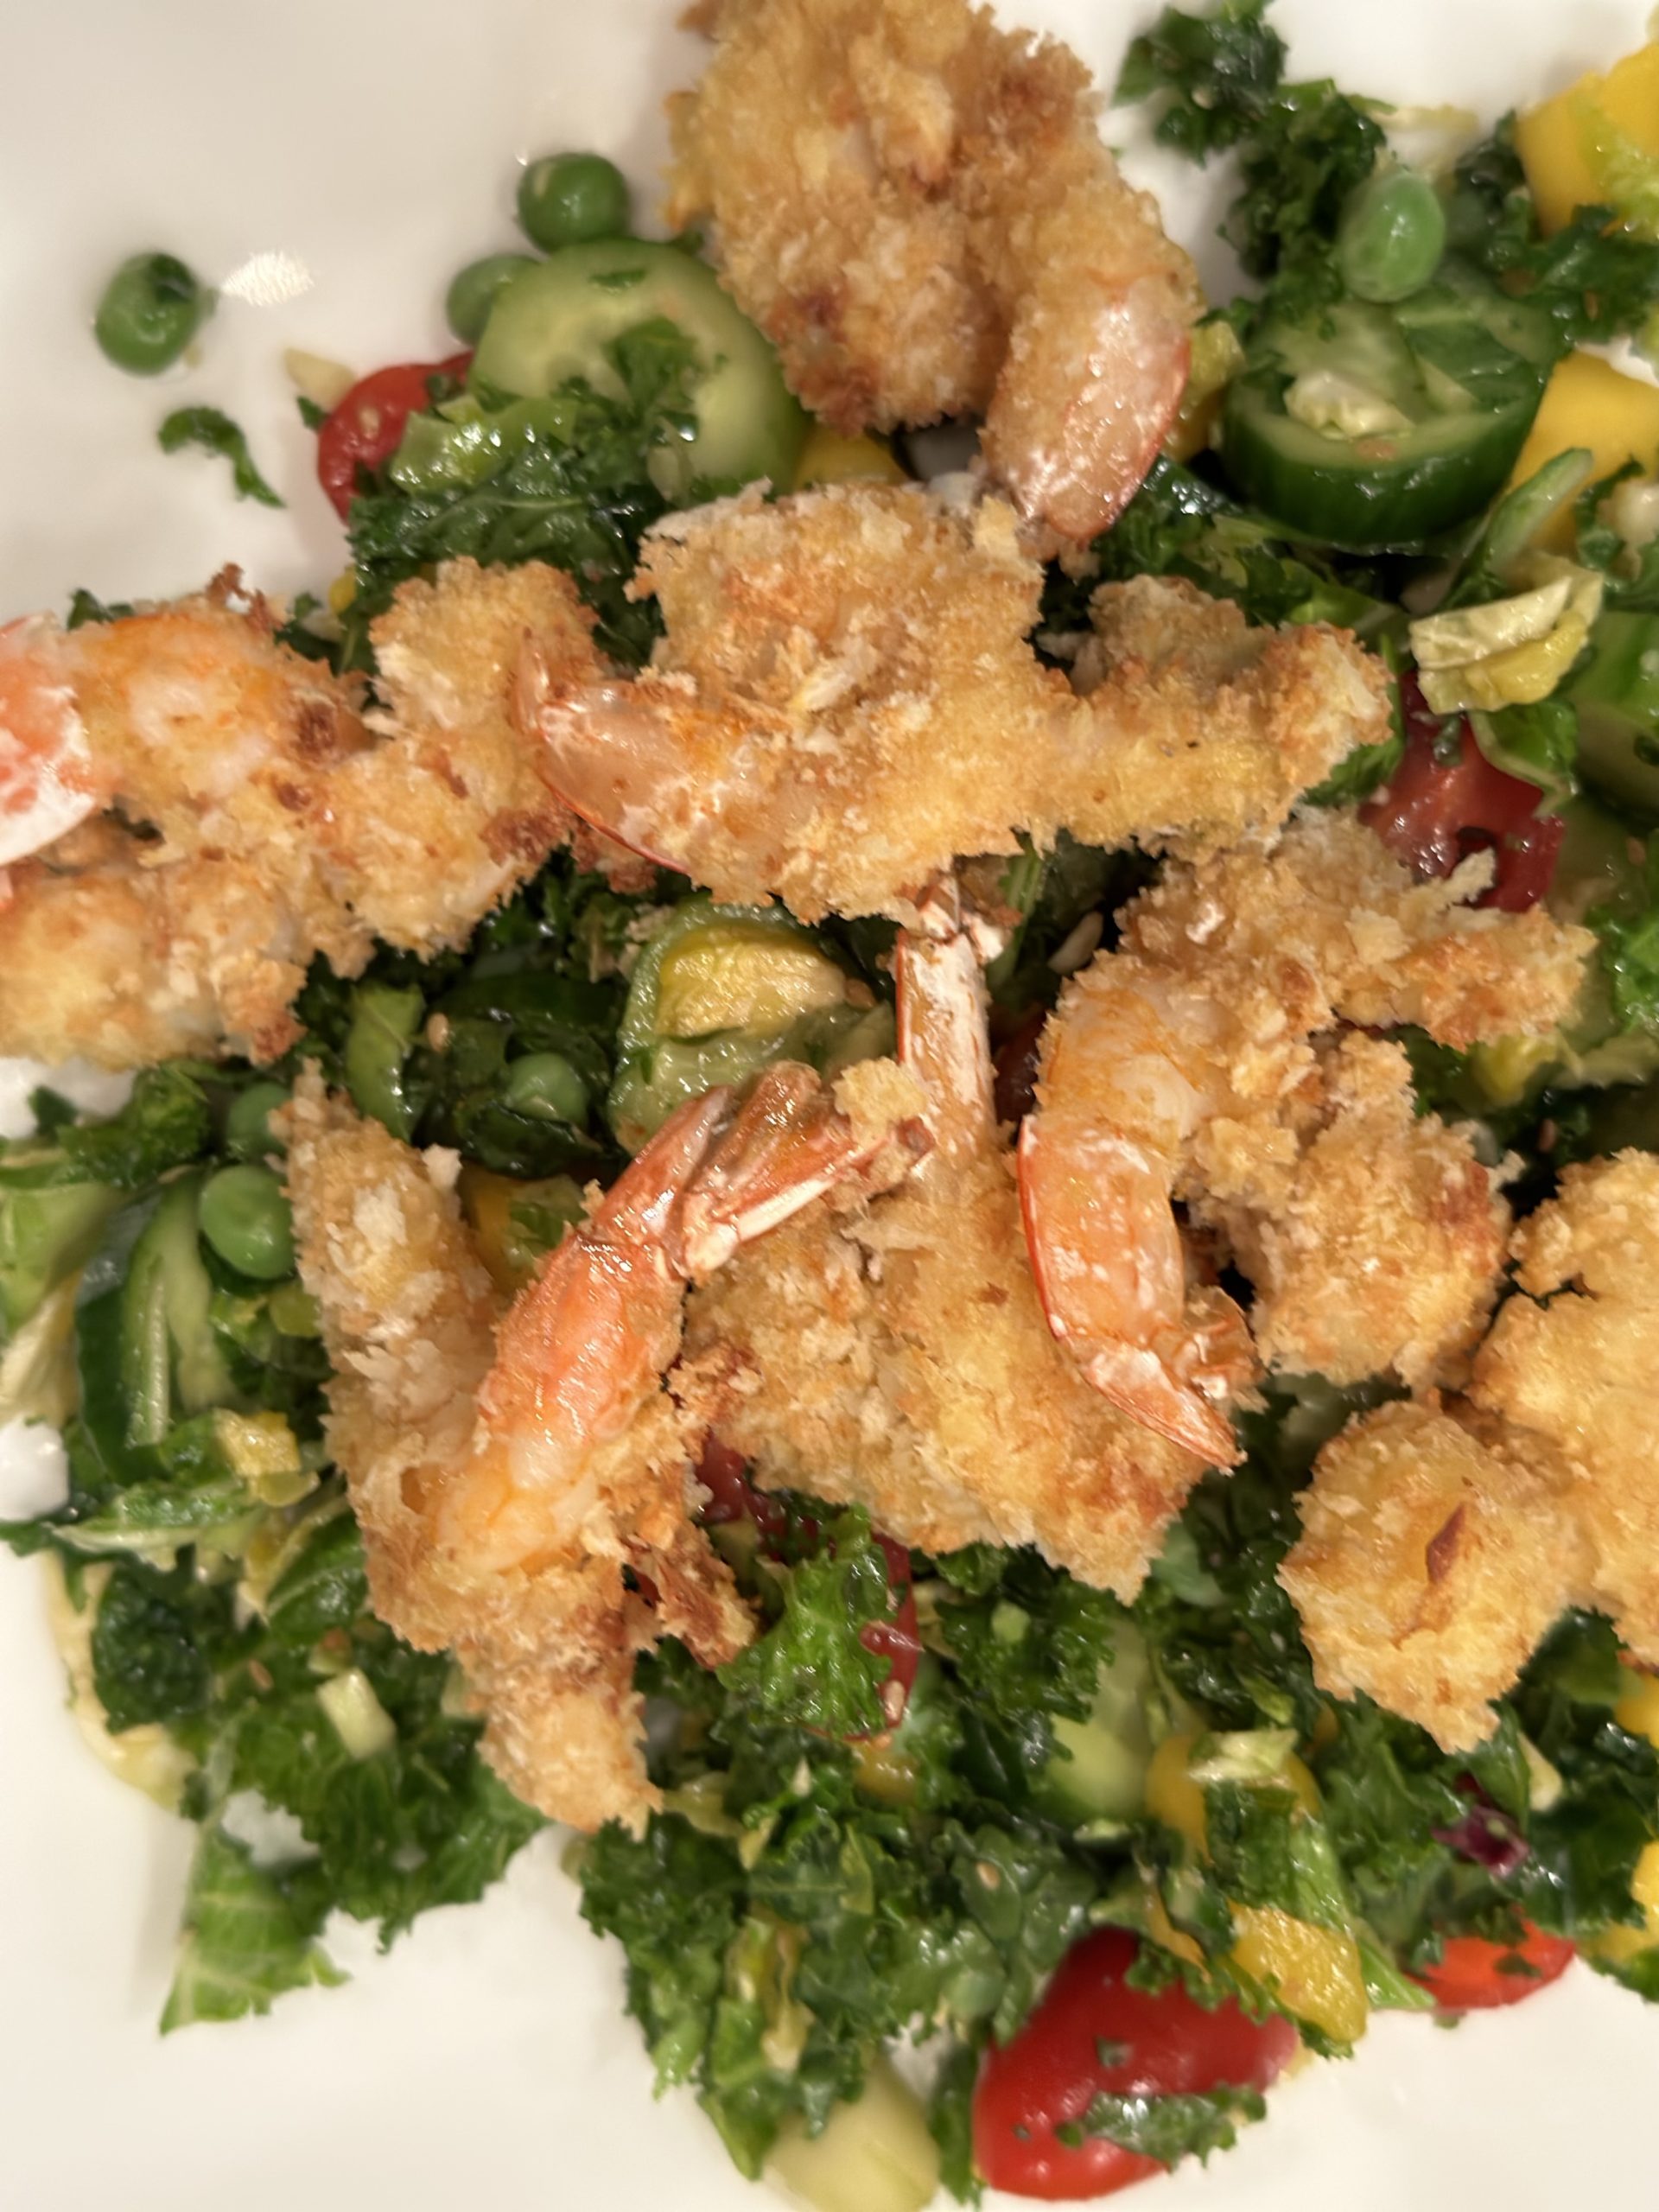
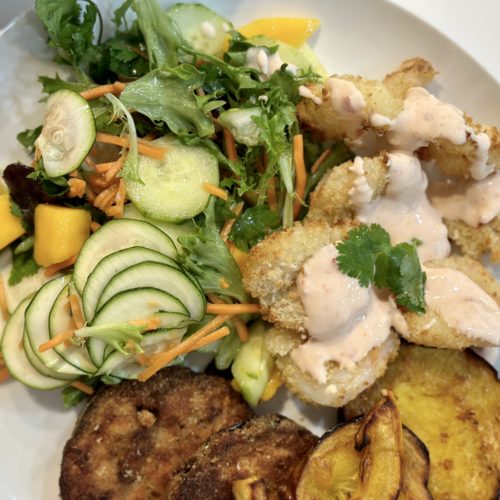
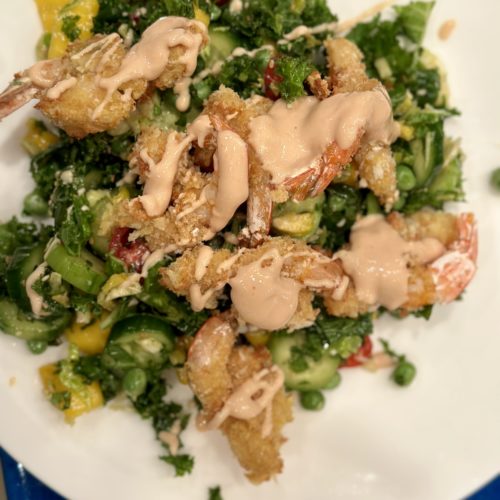
Crispy air fried shrimp, cool yogurt sauce and tart salad – like a symphony in my mouth.   Mango, cilantro, blanched carrots shaved zucchini – have fun!  This is one of my favorites.  Made it for Greg when he was home as it can be GF and DF and again for Rob and I the other night.  Sylvie loved it too – I put hers on some simple healthy fried rice and she gobbled it up!  So yes, serve with plain rice, seasoned rice, salad like me – any which way. 

The air fryer is so easy and I love that I can have crispy food that isn’t sodden with oil.  The shrimp are light and crispy.  The hard part about this recipe is that you have to make it in batches since it’s hard to fit a lot of shrimp into your air fryer.  So I make them all and  when time to eat I pop them back into the air fryer for a minute to heat back up.  I always make an extra serving so I can eat for lunch the next day.  

I found this at I Heart Umami – ChihYu Smith – the chef behind the blog is amazing.  She shares healthy Asian recipes that include Palieo, gluten free and low carb so check it out. 

I followed her recipe – made it once gluten free for Greg (and followed recipe exactly) and once using regular breadcrumbs for us.  Use avocado oil spray as she suggests – or – olive oil spray (I had that and worked great).  You will need tapioca starch btw.  I made her bang bang sauce for Greg and he liked it.  It is gluten free and dairy free.  I also made it with Greek yogurt and it was good too!

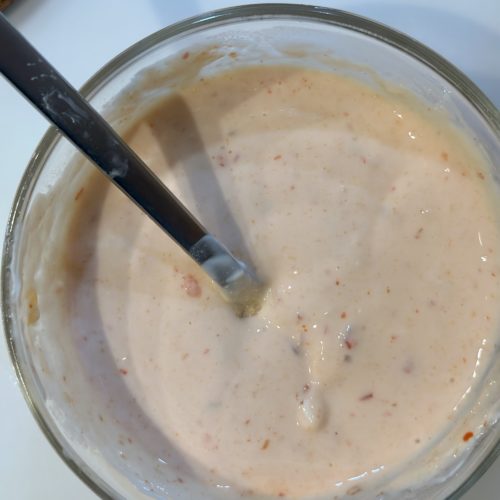
The second time I made the shrimp  I used a different recipe for the bang bang sauce which I liked even more and I will share that with you below (again with yogurt).

The salad I made has shaved zucchini, cucumber, cilantro, greens, and tomato.  I dressed with a simple dressing of white rice vinegar, sesame oil, lime and salt.  Feel free to add blanched peas and carrots, yum.

The recipe takes a little time – like a mini assembly line – so turn on some music and relax and enjoy making it.  Once I know what I’m doing I turn on my audio book and enjoy the process.  

*** Do cut the shrimp lengthwise  as ChihYu suggests – and well, really just follow her detailed instructions here.

Alternative sauce (skinny bang bang sauce from Trialandeater.com):

1/4 cup plain greek yogurt (use full fat if you can2 tablespoons sweet chili sauce 

1-3 teaspoons sriracha sauce or hot sauce (I’m a wimp with spice so you do you)

2 teaspoons rice vinegar

Dash of kosher salt 

Mix well and drizzle on the shrimp.

Enjoy this! 


honey soy glazed salmon

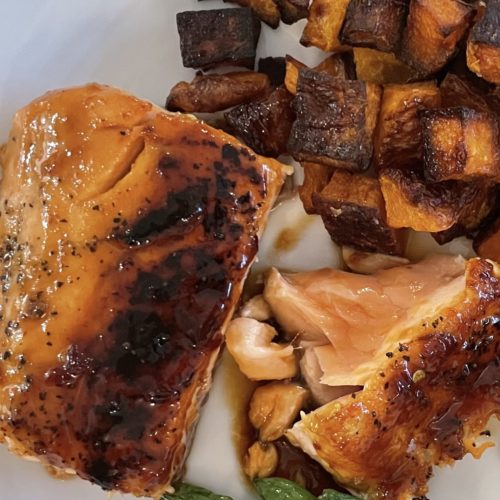
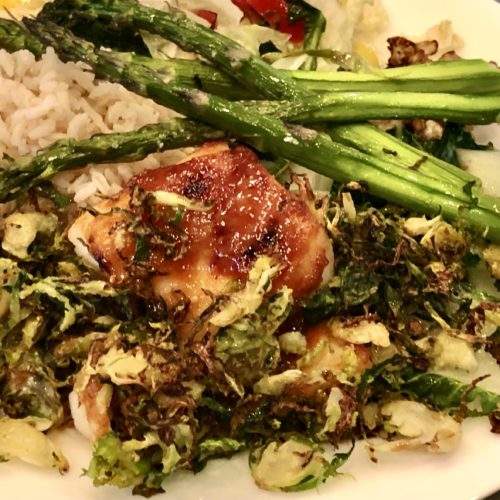
I sent this recipe to Andy and at the end of that very day, he sent me the photo on the right!  He went to the store, bought everything and cooked it straight away.  He told me how good it was so I made it the next day.  We both loved it.  Rob loved it – I made it with shrimp for Sylvie and she loved that too.  I don’t have a ton more to say about this dish save for the obvious – it looks good, is easy to prep and tastes delicious.  Andy added a lot of veggies and scallions and really plated it up well for himself.   I can’t eat scallions so just kept it simple with some squash and string beans.  

The Tik Tok video of this salmon is what caught my eye.   I followed up by looking at the blog Jasmine and Tea for the ingredients and measurements.  

I’m taking the lazy lady way out and I’m going to provide the link to the recipe here.  Jasmine provides tons of tips and really good instruction.  Read through it first.  Then take note of of my clarifications below.

To be clear (as I’m not sure it is) remove the veggies from the pan before you add the sauce to the pan.  After the sauce has reduced (as instructed),  place the salmon back in to the sauce to finish cooking and then add the cooked veggies at the very end (so they don’t get mushy but heat up).

Lastly, I put in half of the recommended amount of chili paste – but if you love the heat, go for it!

Enjoy-

chicken romano meatballs

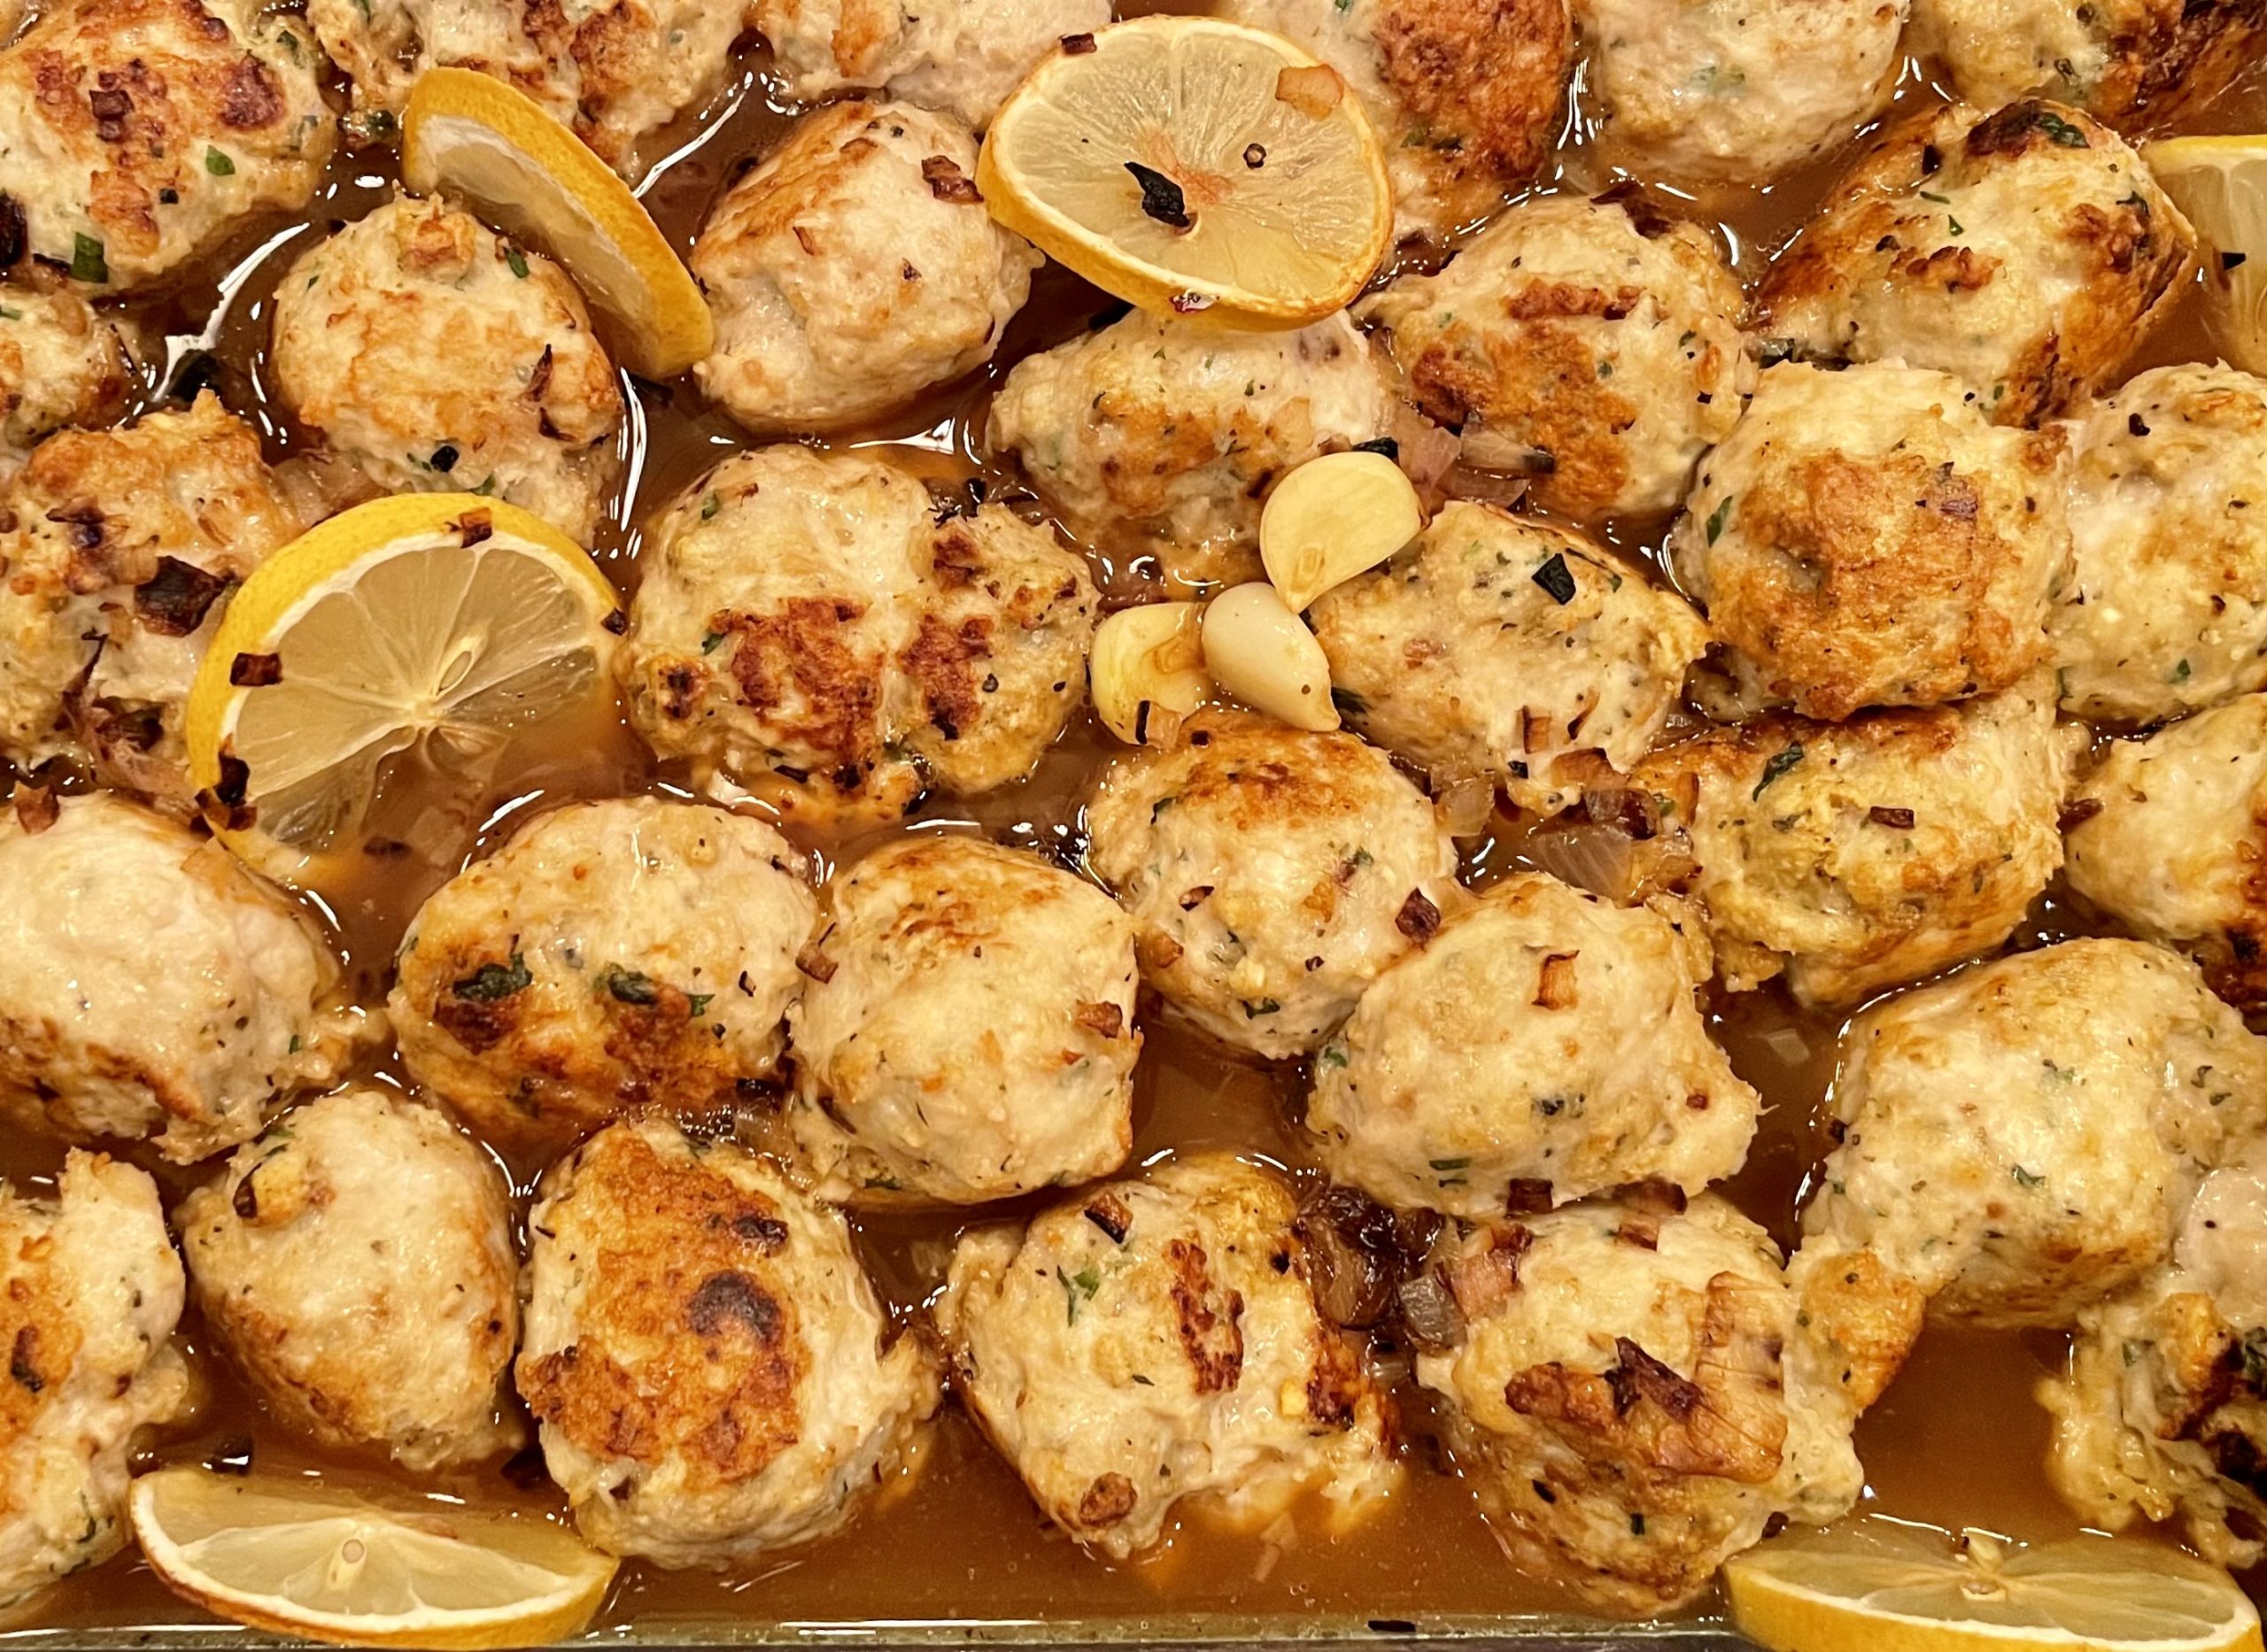
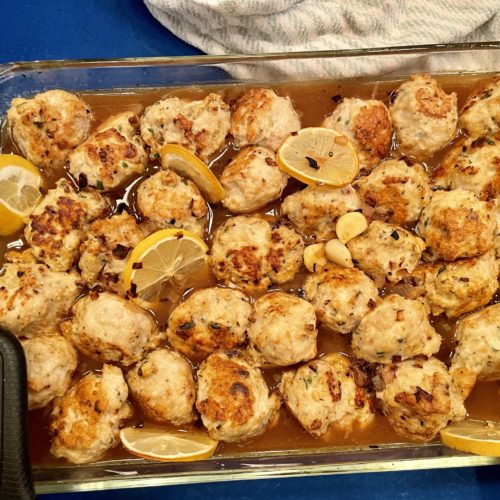
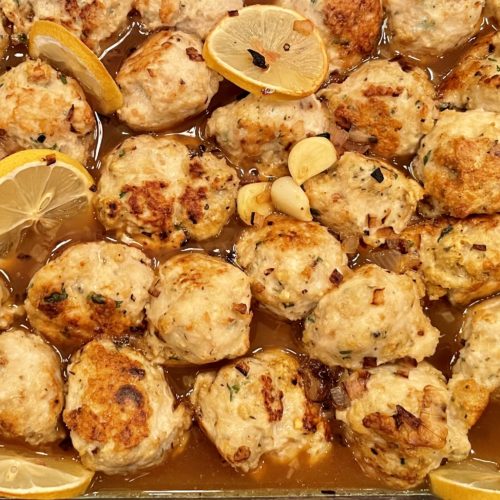
These chicken romano meatballs are delicious.   Little balls of chicken, lemon, garlic, herbs, red pepper flakes and cheese (!!).  Good.  Yummy.  Simple.  Tasty.  Those are the adjectives for today.  Serve over rice, spaghetti squash, pasta or simply on a bed of baby spinach.  The hot sauce wilts the spinach and it retains its shape and crunch a bit.  I happen to love that.  When reheating I add some cherry tomatoes too – and what a delightful lunch it makes. 

The recipe come from Skinnytaste.com and you know I’m a fan.  I have most of Gina’s books and I enjoy her blog.  There is nothing tricky about this recipe.  Follow it and you shall see.  I made the meatballs as instructed – but for the sauce, I  put whole garlic cloves in because I find minced garlic is often too strong for me.  Getting older – the garlic – indigestion.   I also added some Glace De Poulet Gold (very reduced chicken stock) for added flavor and also a bit more salt and pepper than the recipe calls for.  So taste and taste again, re-season and serve!  You can find the recipe here.

Enjoy – 

shrimp egg rolls (air fried)

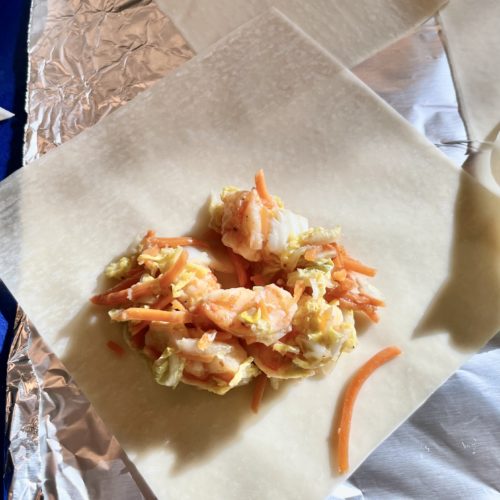
Never thought I’d ever make egg rolls – but I did!  And wow – Andy and Sylvie thoroughly enjoyed and I did too.  Rob – not a huge fan of cabbage wasn’t exactly over the moon but you can’t please everyone.  Although you can add a different vegetable – even a different protein.  Maybe next time for him.  Yes, I will.

I saw these in Skinnytaste and put them on the top of my list.  The recipe hovered there for a bit because 1- was I really going to make egg rolls? 2 – I’d have to find the egg roll wrappers and 3 – they looked like a lot of work.  

After a few months delay, I was ready.  Yes, I was going to make them!   I found the wrappers right where Gina (skinny taste) said they would be (near the tofu and wonton wrappers) and 3 – I was ready to roll and air fry.

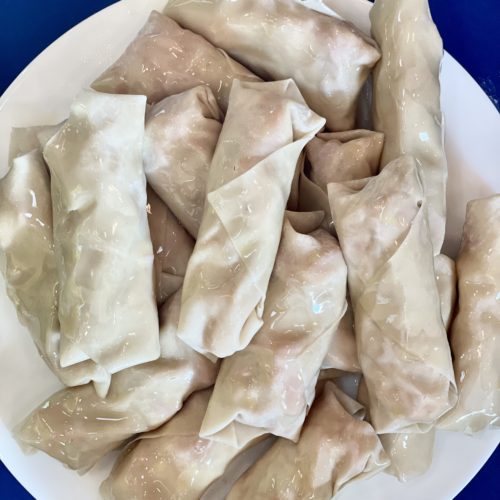
These were not much work!  The filling comes together in minutes and then you just have to roll the shrimp/cabbage up like a baby and pop em in the air fryer.  You can have you kids help to roll and then boom, you are done.  Yes, you have to make it batches but that’s ok – you can also make all of them and reheat when it is dinner (or appetizer) time.   I made a simple dipping sauce of sweet chili sauce and soy sauce and we were licking our fingers.

Enjoy these (should you choose to go for it).  Gina’s recipe is right here.  Oh, I doubled the recipe.

spicy porcini steak rub

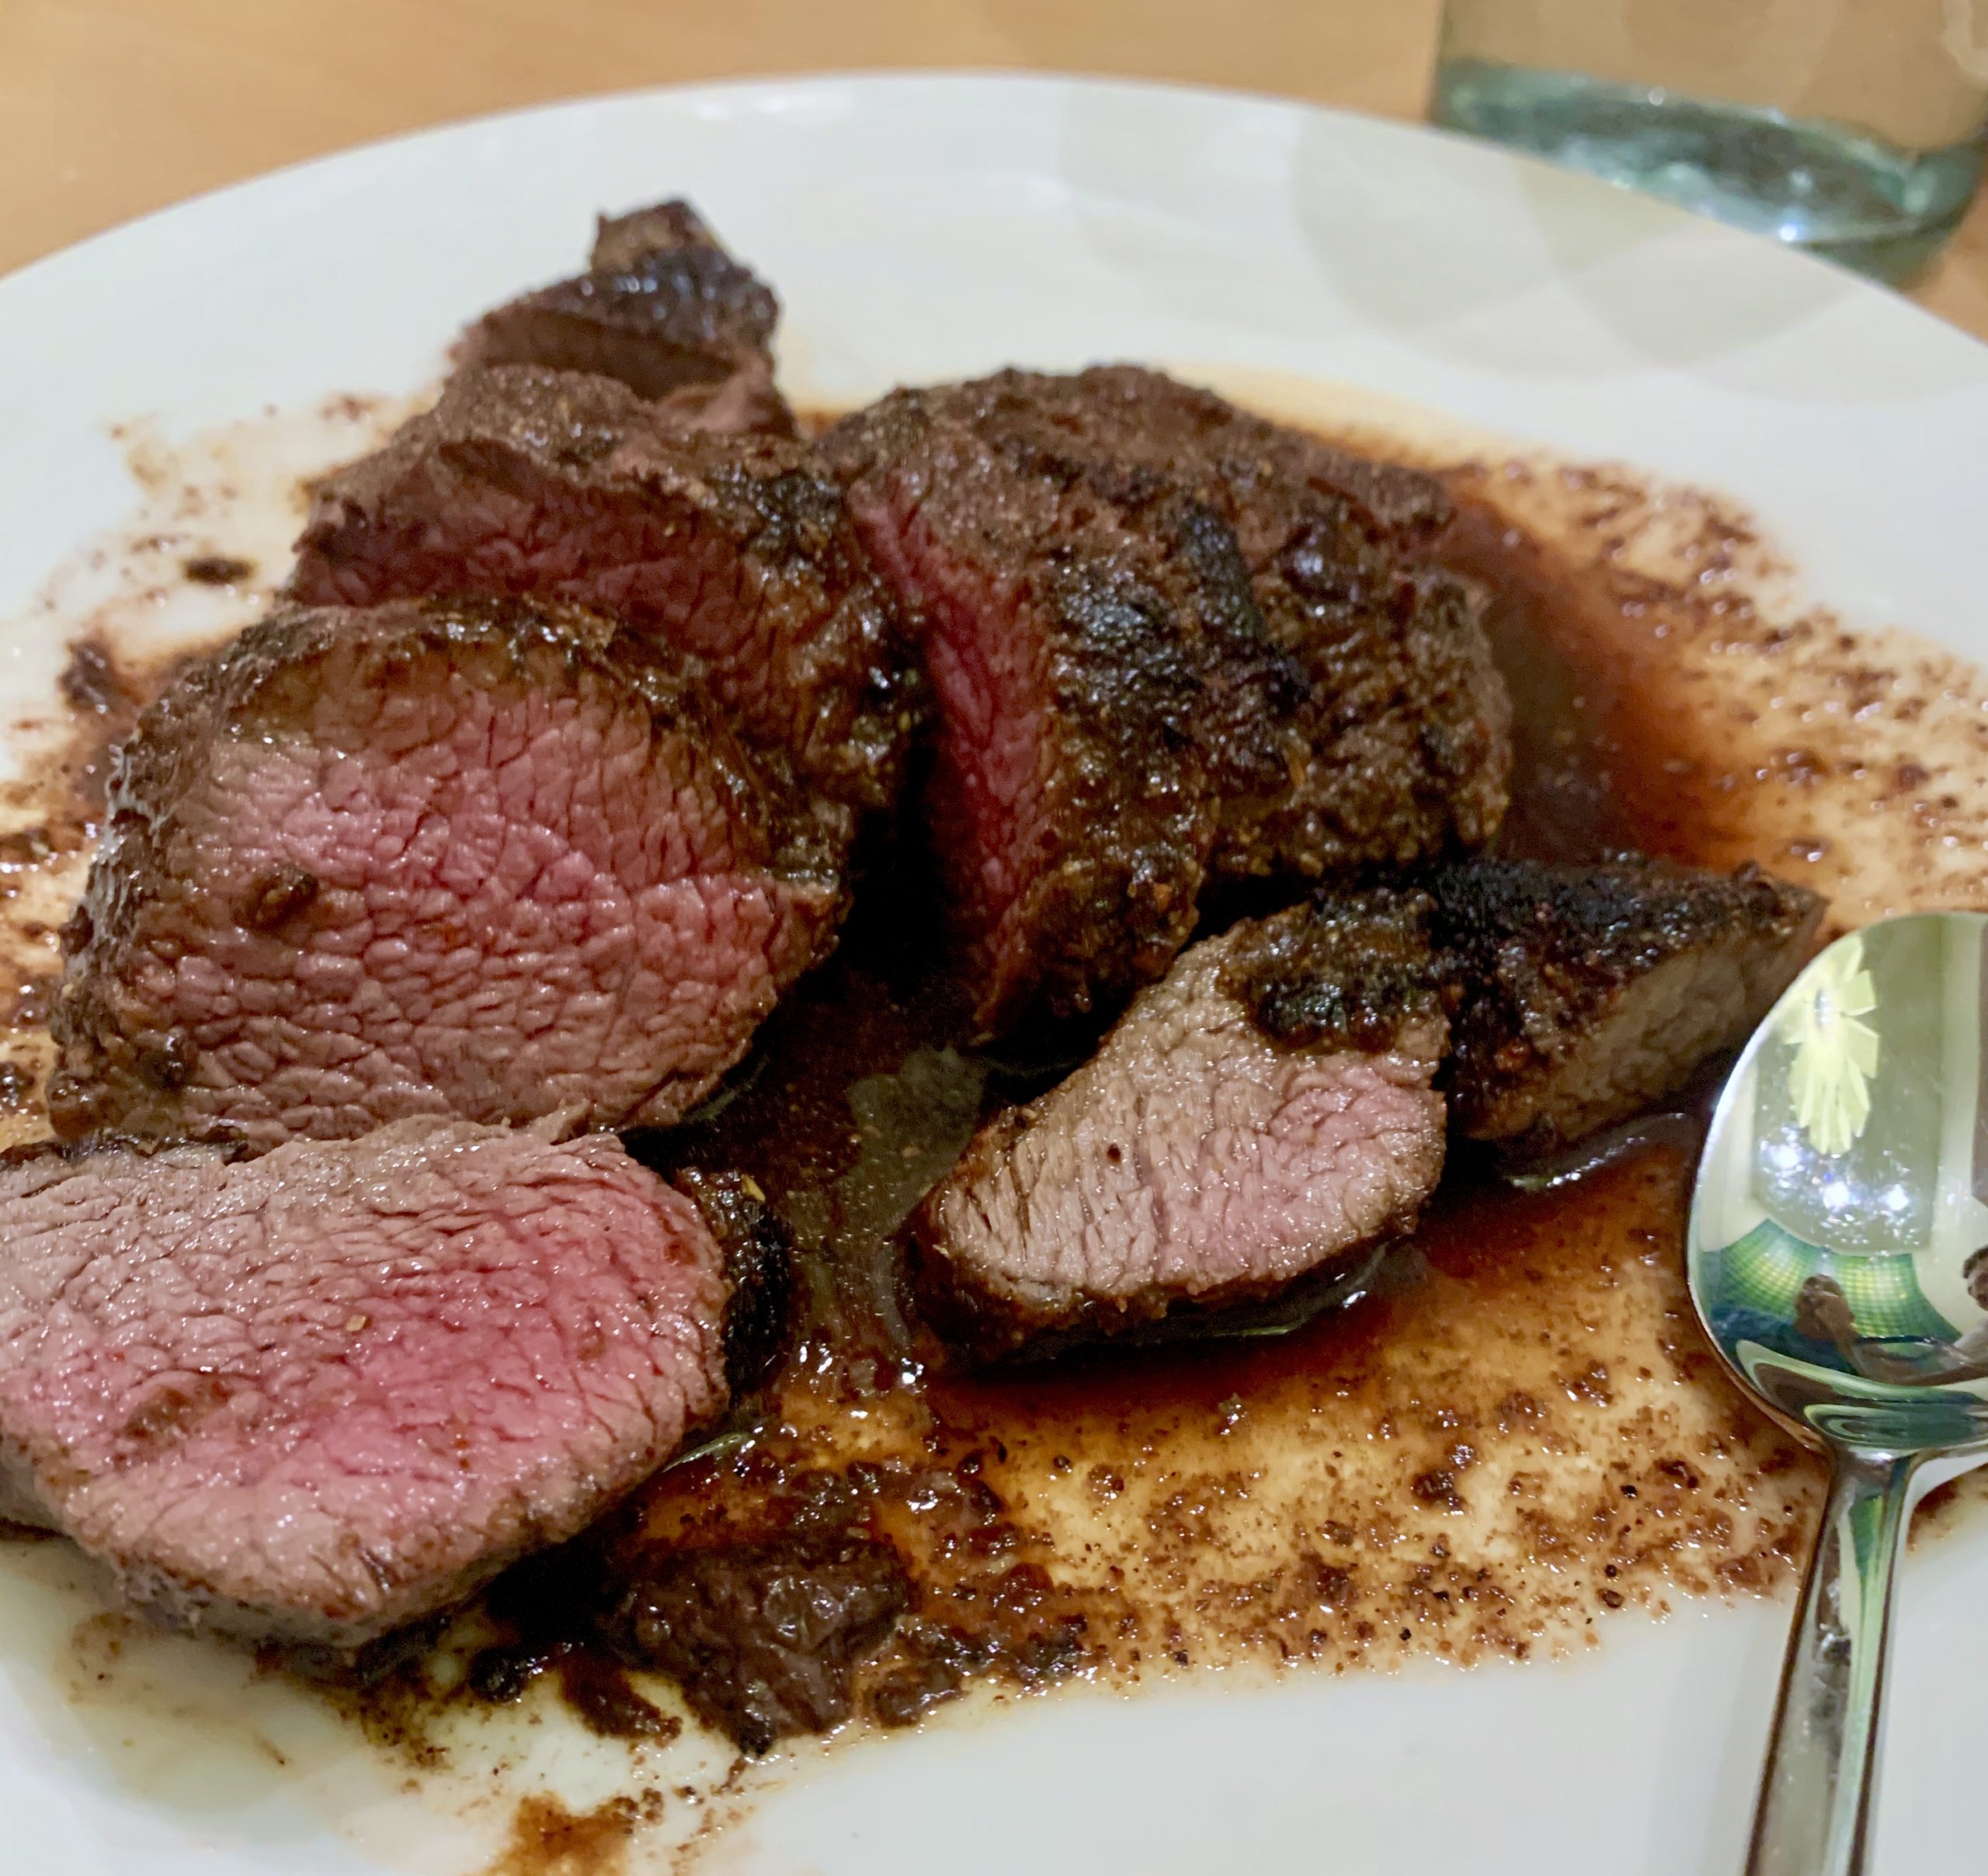
I can’t seem to find all the photos I’ve taken of this steak rub recipe.  It’s weird.  Oh well – you can get the picture with just one I suppose.

You will need a spice/coffee grinder for this recipe.  I use this one.

This porcini steak rub is delicious.  Spicy, sweet, salty and mushroomy.   Greg found this recipe first and shared it with me.  Since then I’ve make it several times – and sent the spice mix to the boys while at school.  They were surprised and happy because once the spice mix is made – well – it is simple to prepare the steak.  

The original recipe is from The Food Network here.  And they make it with rib-eyes.  Our boys happen to love the softness of a tenderloin and this rub adds a depth and flavor to the filets.  The original recipe is truly fire.  I mean spicy fire.  Greg said he made it and couldn’t eat it.  So he cut back on the spices and then sent it to me.    It’s still spicy and delicious but still too spicy for some.  So fiddle as you need depending on your friends and families taste.  The recipe below is the less spicy version.

Leftover steak in a salad the next day is really really beyond good.  I prefer it that way.  A little blue cheese and arugula, tomatoes and cucumbers – topped with a little extra virgin olive oil and a dash of fig vinegar and well…mouthwatering! 

When I make this I multiply by 4 – but it can get confusing.  So consider that or just double it- storing the leftovers in a glass jar or double bag it.

Also – when you make this it can get quite spicy in the room.  The peppercorns, the red pepper – well I sneeze and my eyes tear and I get messy.  However, I’ve learned that if you wear a mask (and we all have these now!) it helps a lot.  I’ll even put on some swim goggles and although I look strange it really saves me from any spice dust! 

Enjoy –

Ingredients

  • 1/4 cup dried porcini mushrooms broken up
  • 2 tablespoons kosher salt.  Get some diamond crystal in your house.  It is the best (in my opinion) do not use table salt for this or Mortons
  • 1 tablespoon black peppercorns 
  • 2 tablespoons sugar 
  • 1 tablespoon garlic powder or granulated garlic
  • 1 1/2 teaspoons red pepper flakes 
  • a little oil to coat the steaks
  • I use 8 oz filets and they are quite thick – what you use will determine cooking time 

Directions

Process the mushrooms in the spice grinder until they form a powder.  Place in a bowl.

Process the salt and peppercorns in the same grinder and add to the mushroom powder.  

Process the sugar in the grinder and add that to the mix.

Process the garlic and red pepper flakes in the grinder and add it to the mix.  

Whisk all together (this is when the mask and goggles come in handy!)

Store in a double bag or glass jars.

You can make the steak any way you want – this is how I do it but I’m a novice steak maker so you do what you know.

Place some powder on a plate. 

Coat steak with a little oil – olive oil is fine 

Push each steak into the rub and make sure you hot both sides and the edges.

Place a little oil in a pan- this time I would use an avocado oil or a cold pressed canola oil –  and sear the steaks on all sides.  2-3 m on each side.  Transfer to a sheet pan with foil on it if you sauté pan isn’t oven temp proof.

Then place in the oven.  I roast the steaks – my oven has a convection roast and I like that.   But you could also broil on medium.  Or set to bake at a higher temp.  

I check the steaks a lot with a thermometer.  Andy and Greg like them medium rare so I pull them when the temp is around 130-135 as they cook a bit more on the counter while they rest for at least 10 minutes.  Cook longer as needed for those who like their steak medium 140 degrees (me) or well done 150 degrees (Sylvie).

Slice and enjoy!  

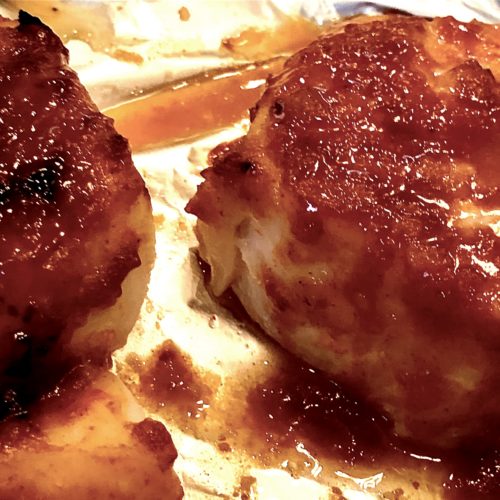
miso glazed spicy honey cod (20 minutes at most)

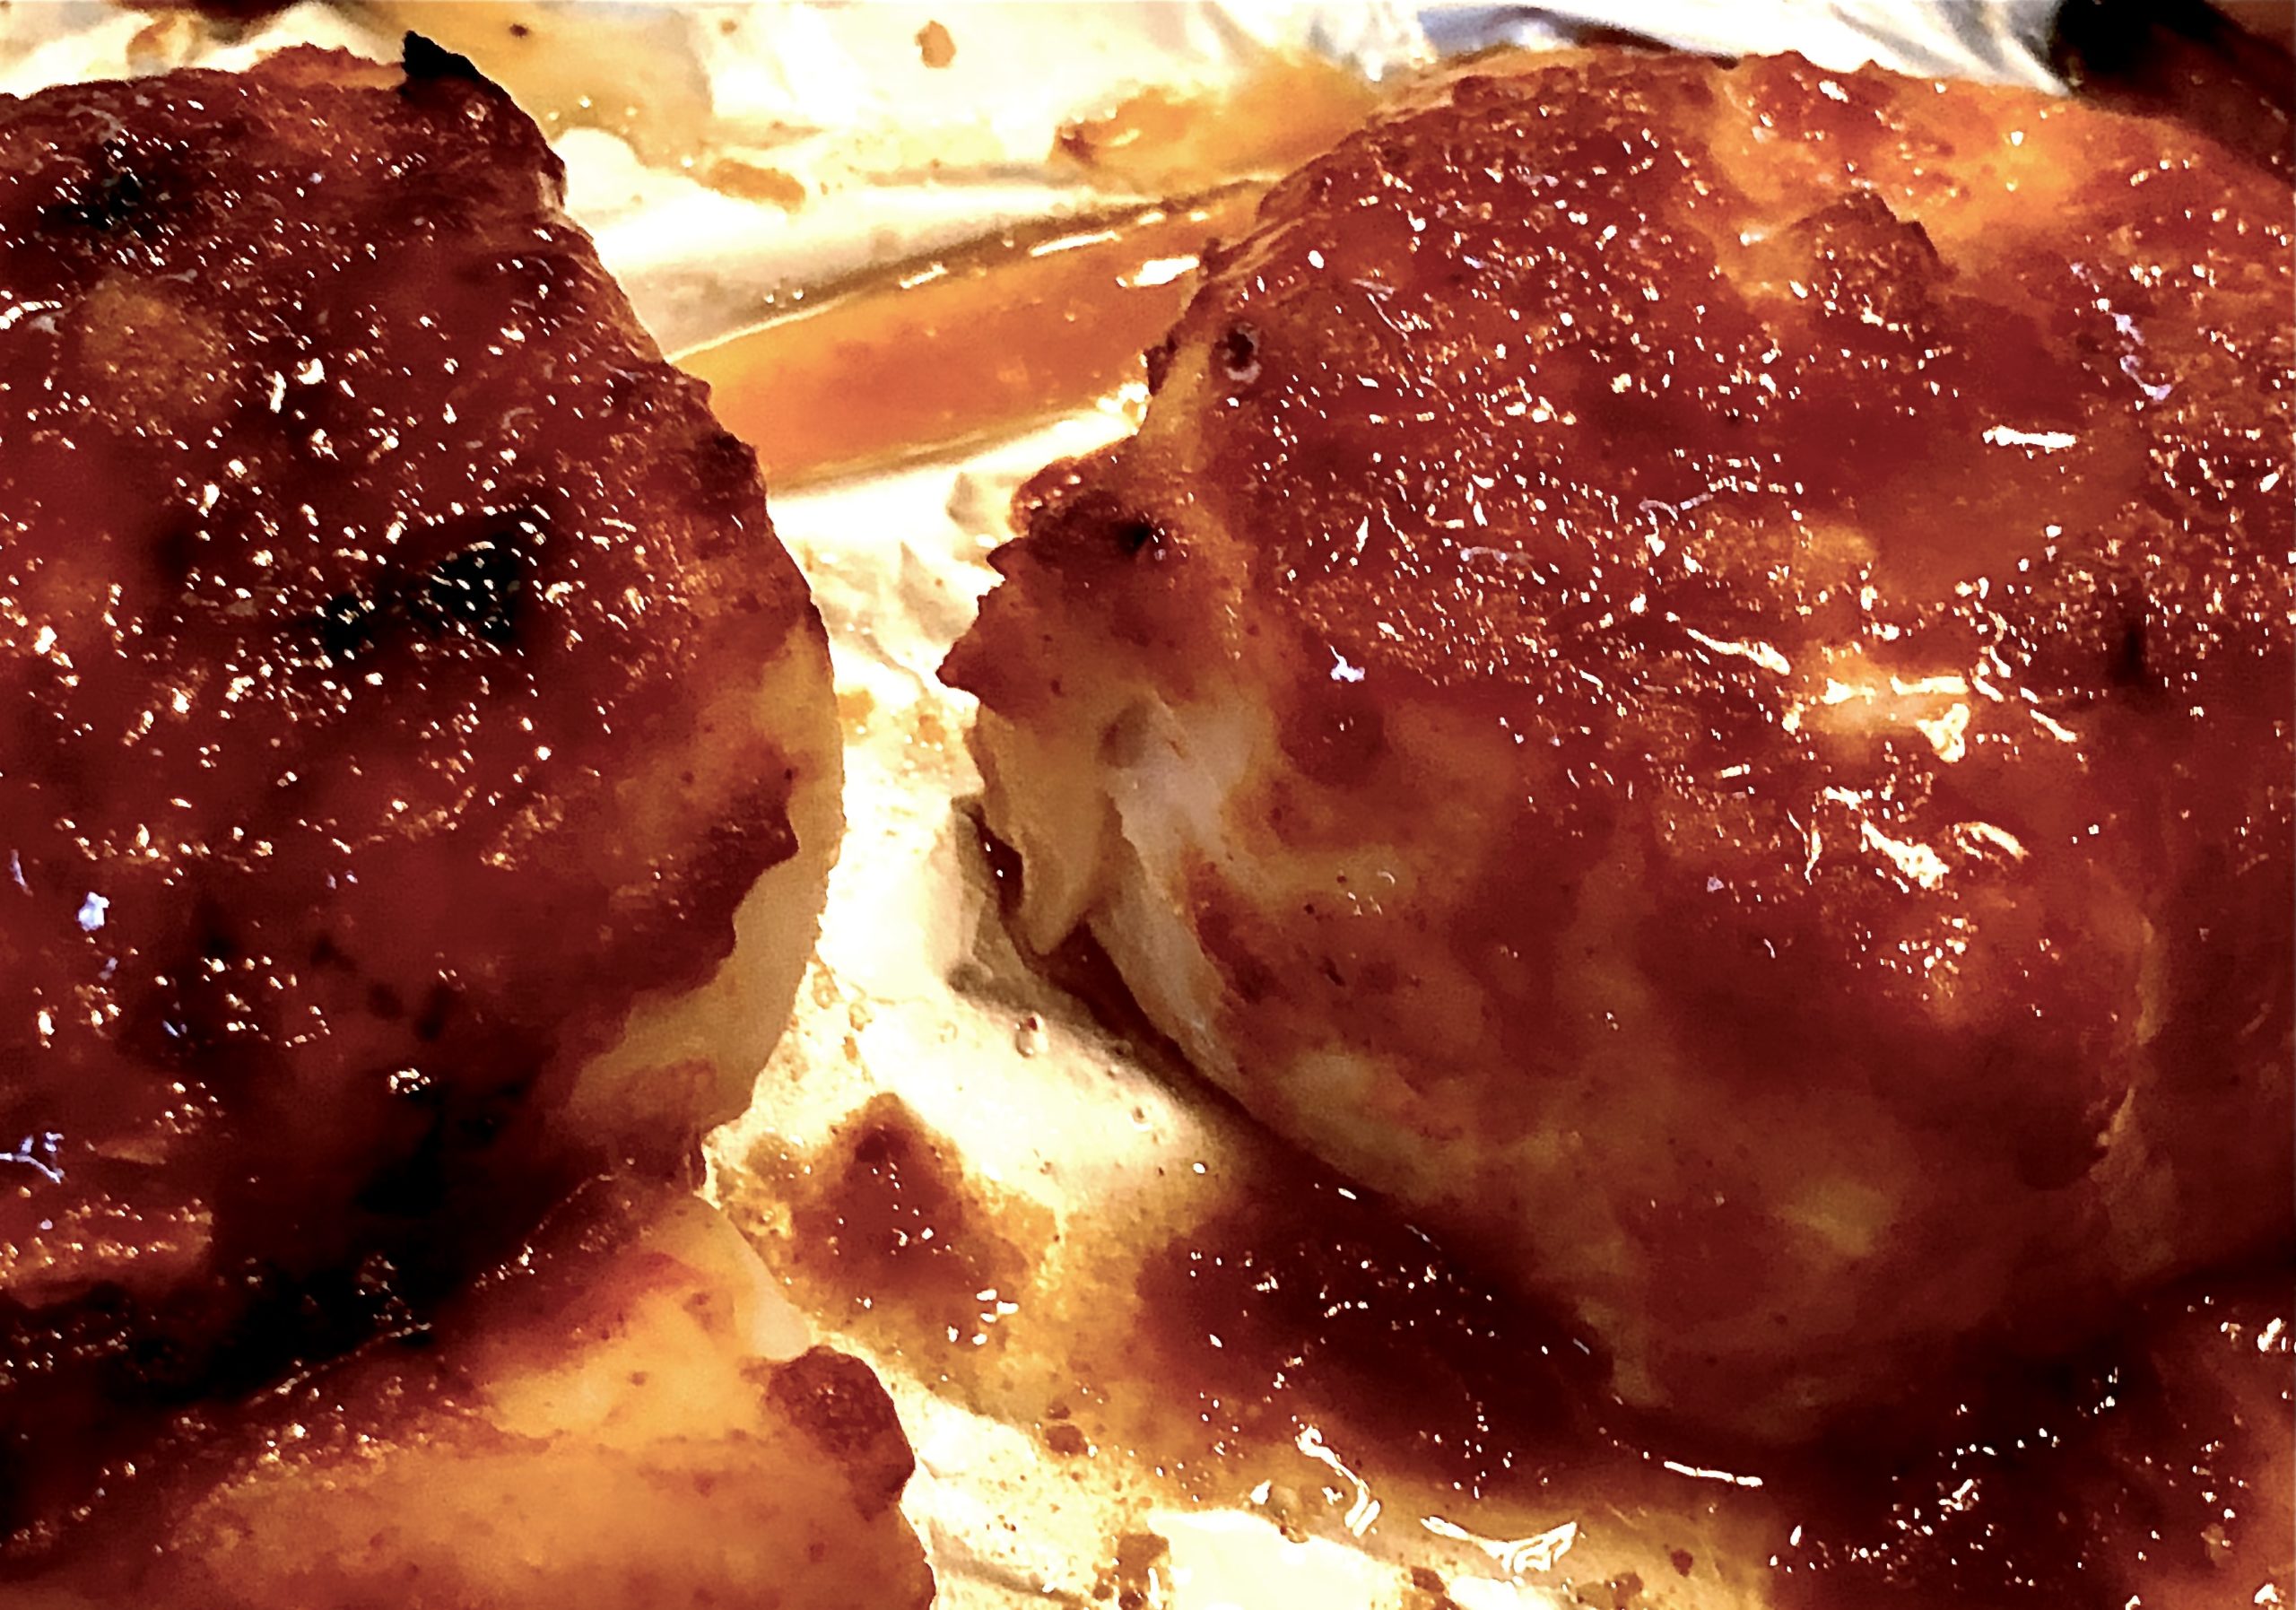
My mother must have exclaimed 23 times throughout the meal that “Lisi, this is DELICICIOUS, seriously Lisi, delicious.”  And then about 3 minutes later “this is my kind of taste, Lisi, this is so good!”  And then, “Lisi, I need the recipe – please don’t forget to send me the recipe!”  And so on…  It was hard to actually have a conversation!  But I was delighted that she loved it so as she is one tough critic and a terrific cook.  Oh and my dad liked it too!  I made it again for friends Geoff and Nora and they too said delicious – repeating it only (ha) about 3 times.  

I can’t say I did anything but follow the recipe so it is really the blogger of Foodie with Family who deserves the credit.   The hardest part is to make sure you cook the fish to just right.  Undercooked cod is a real turnoff and overcooked can feel dry (although I honestly don’t mind it).  Other than that it’s a breeze to make.  

The recipe calls for white miso and gochujang which you can now find at most supermarkets – and also online.  If you hit the link for Foodie with Family (above), Rebecca provides resources to find.  After you open, refrigerate and both keep for a long time.  

If you are someone who likes things saucy then double the sauce – I did one of the times and really coated it.  I prefer it that way…but if you like a normal coating then cook with the amount below.

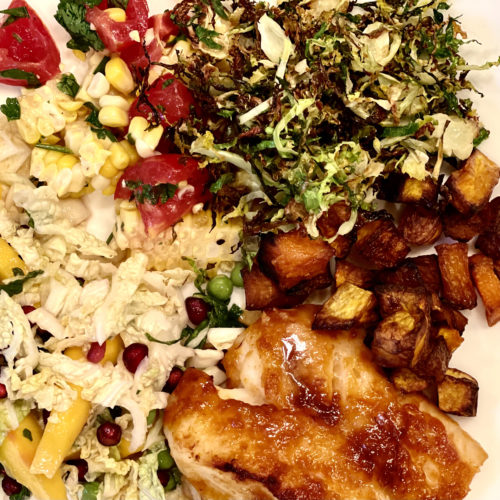
I served this with a delicious napa cabbage/mango/mint/pomegranate slaw that I will write up next.  And also a variety of roasted veggies that I had on hand.  This would also be great with rice, steamed broccoli, and toasted sesame seeds.   

Ingredients

  • 4 cod filets – 5-7 ounces 
  • 2 tablespoons mild honey
  • 1 1/2 tablespoons rice vinegar
  • 1/2 tablespoon gochujang (more to taste – I’m not the spiciest person so add more for more!)
  • 1 tablespoon white miso paste
  • 1 teaspoon soy sauce (or coconut aminos if gluten free)
  • 1-2 garlic cloves, peeled and minced
  • 2 teaspoons grated fresh ginger
  • 1 teaspoon toasted sesame oil
 

Directions

Mix together all of the ingredients and measure out about 2 tablespoons of the sauce.  Brush or use a spoon to coat the cod with the two tablespoons.

  • Set your oven to broil and broil the fish (about 8 inches from heat source) for about 4-5 minutes.  It should look bubbly and a little charred.
  • Change the oven setting to bake 375.  Brush, spoon, pour the rest of the sauce on each filet.  Place in the oven and cook until opaque and easily flaked with a fork.  This can take 5-10 minutes depending on the thickness of your fish.
  • Not in the recipe – but I finished it again for a minute under broil.  I just like that look and taste.
  • You do what you prefer!
  • Sprinkle with sesame seeds or scallions if you like.  
Enjoy – 

mango avocodo corn salsa

I wrote this at the end of the summer – but posting now because summer is around the corner.  I think we are all in the mood for warmth and sunshine, summer salads and grilled meats, and easy gatherings.

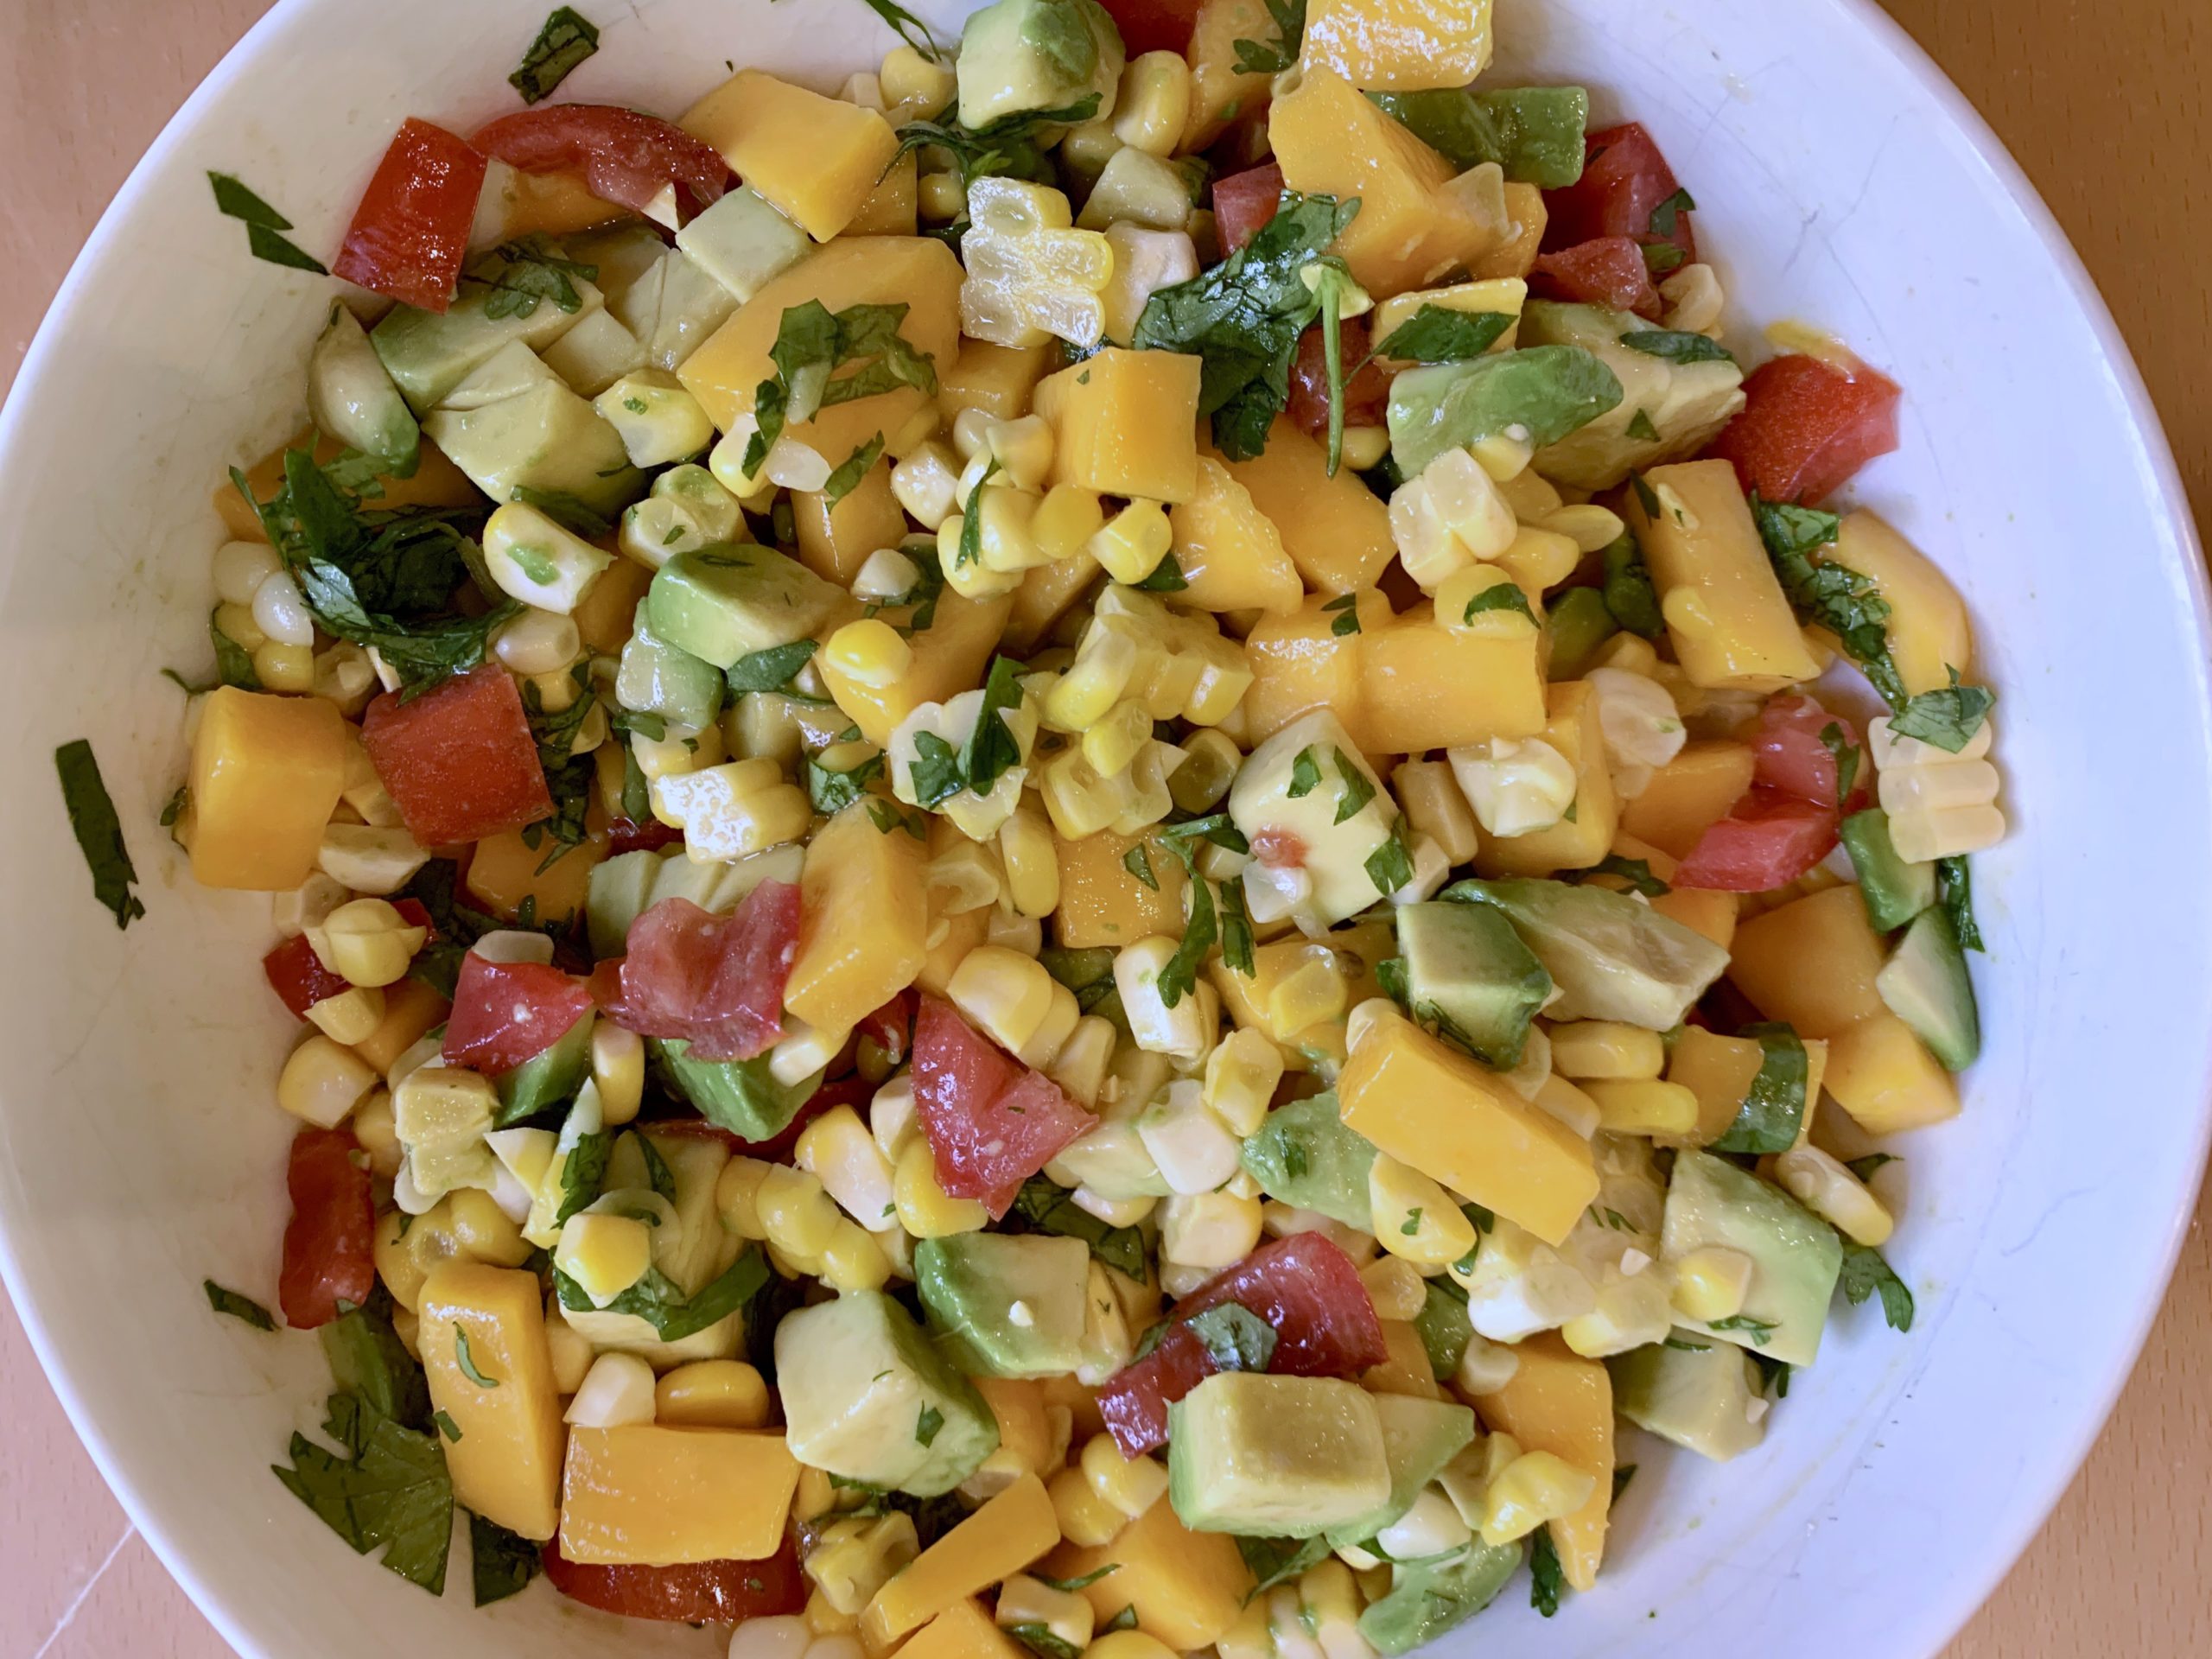
Summer is just about over and it got cool here really fast!  But I this week (here) it’s supposed to get up to 78 degrees so you have a moment to squeeze this in with end of summer tomatoes, ripe avocado and sweet summer corn.  I served this on simple oven broiled cod and it was so good.  Silly good.  I ate it the next day on top of arugula and leftover fish.  I know most people don’t like leftover fish – especially cold, but for some reason I can do it.  A little Maldon Sea salt, fresh lime juice and olive oil and I was content.  This would be great in a taco or with tortilla chips – or even added to a store bought salsa to spruce it up.  Enjoy.  

Like anything you make – adapt to your liking.  You can change all the amounts below – I prefer more mango than avocado – but you may prefer it the other way.  Most recipes like this have added chopped red onion which is delicious – but it just doesn’t agree with me sadly.  But go for it if you can!

Oh, and please remember to look at notes on cilantro to learn how to properly clean.  

Ingredients

  • 1 cup frozen or 2-3 ears of cooked fresh corn 
  • 2 -3 mangos, peeled and diced 
  • 2 avocados, diced
  • 1/4 cup cleaned, chopped cilantro
  • 1 cup chopped tomatoes – if using bigger tomatoes squish out the seeds 
  • 1 tablespoon rice vinegar
  • 2 teaspoons olive oil
  • 1 lime – juiced
  • sea salt
  • red onion (optional)

Directions

  • Defrost corn and cook as instructed.  With frozen corn though, I prefer to pour it into boiling water and cook for 2-5 m or so (sometimes undercooked corn – esp previously frozen is a bit better in these types of salads – adding more of a bite and texture rather than a mushy kernel). But you can do what you prefer and to your taste.  Remove corn from stove and quickly drain and run continuous cold water on the corn to immediately stop the cooking.  
  • If using fresh corn, place corn in a pot that has about an inch of boiling water on the bottom.  Add the ears and simmer, covered for about 6-7 minutes.  Again, I prefer this a tad undercooked as well.  Remove ears (tongs are easiest) and place under running cold water to stop the cooking.  Once cool, cut kernels off of cob with a serrated knife.  
  • Wash, peel and dice mango
  • Wash, peel, pit and dice avocado
  • Wash cilantro – remember to look that up!   Chop.
  • Chop tomatoes and onions if you are using.
  • Add olive oil, rice vinegar, lime and salt.  Taste and re season as you like –  I happen to love lime so I will always add a bit extra!
  • Soon I will post on the basics of chopping the above – but in the meantime just google if you need some immediate instruction.

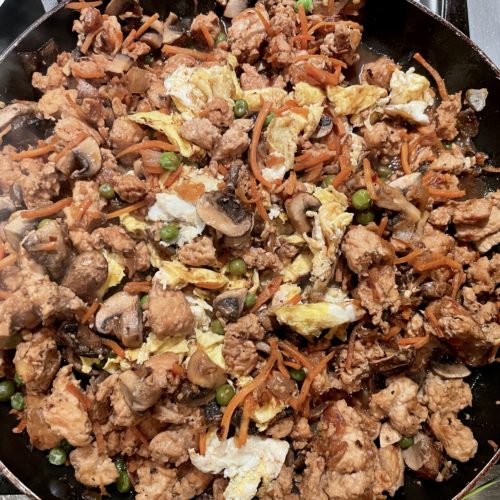
simply delicious ground meat/(optional)egg stir fry

This recipe is soooo easy.  Simple.  And you can change it up so easily picking a different protein each time.  Veggies too.  Egg or no egg.  

Everyone loves this.  Mark loved it, Greg and Sarah asked for the recipe the last time they ate it.  Beth said “thumbs up all around.  Will add to the rotation!”  Sylvie was home this week and asked if I could make a lot so she would have enough for leftovers the following day.  I too am a big fan of this dish.  Oh and Rob and Andy too!  (He makes it frequently at school.)

The recipe calls for coconut aminos which is an alternative to soy sauce for those who can’t tolerate gluten.  I find that I like the coconut aminos more (in this recipe) than soy sauce as it is a littler lest pungent or harsh on the tongue.  It sounds hard to find, but it is right there next to the soy sauces. 

I found this in Juli Bauer’s Paleo Cookbook.  I tweaked it a bit and changed the the order of operations and added egg to mine – as well as all the other veggies.  Have fun with this – play around and enjoy – if you add a lot a lot of veggies you should probably double the sauce.  Additionally – I usually double this recipe for my family – then add a lot of veggies, I then triple the sauce.

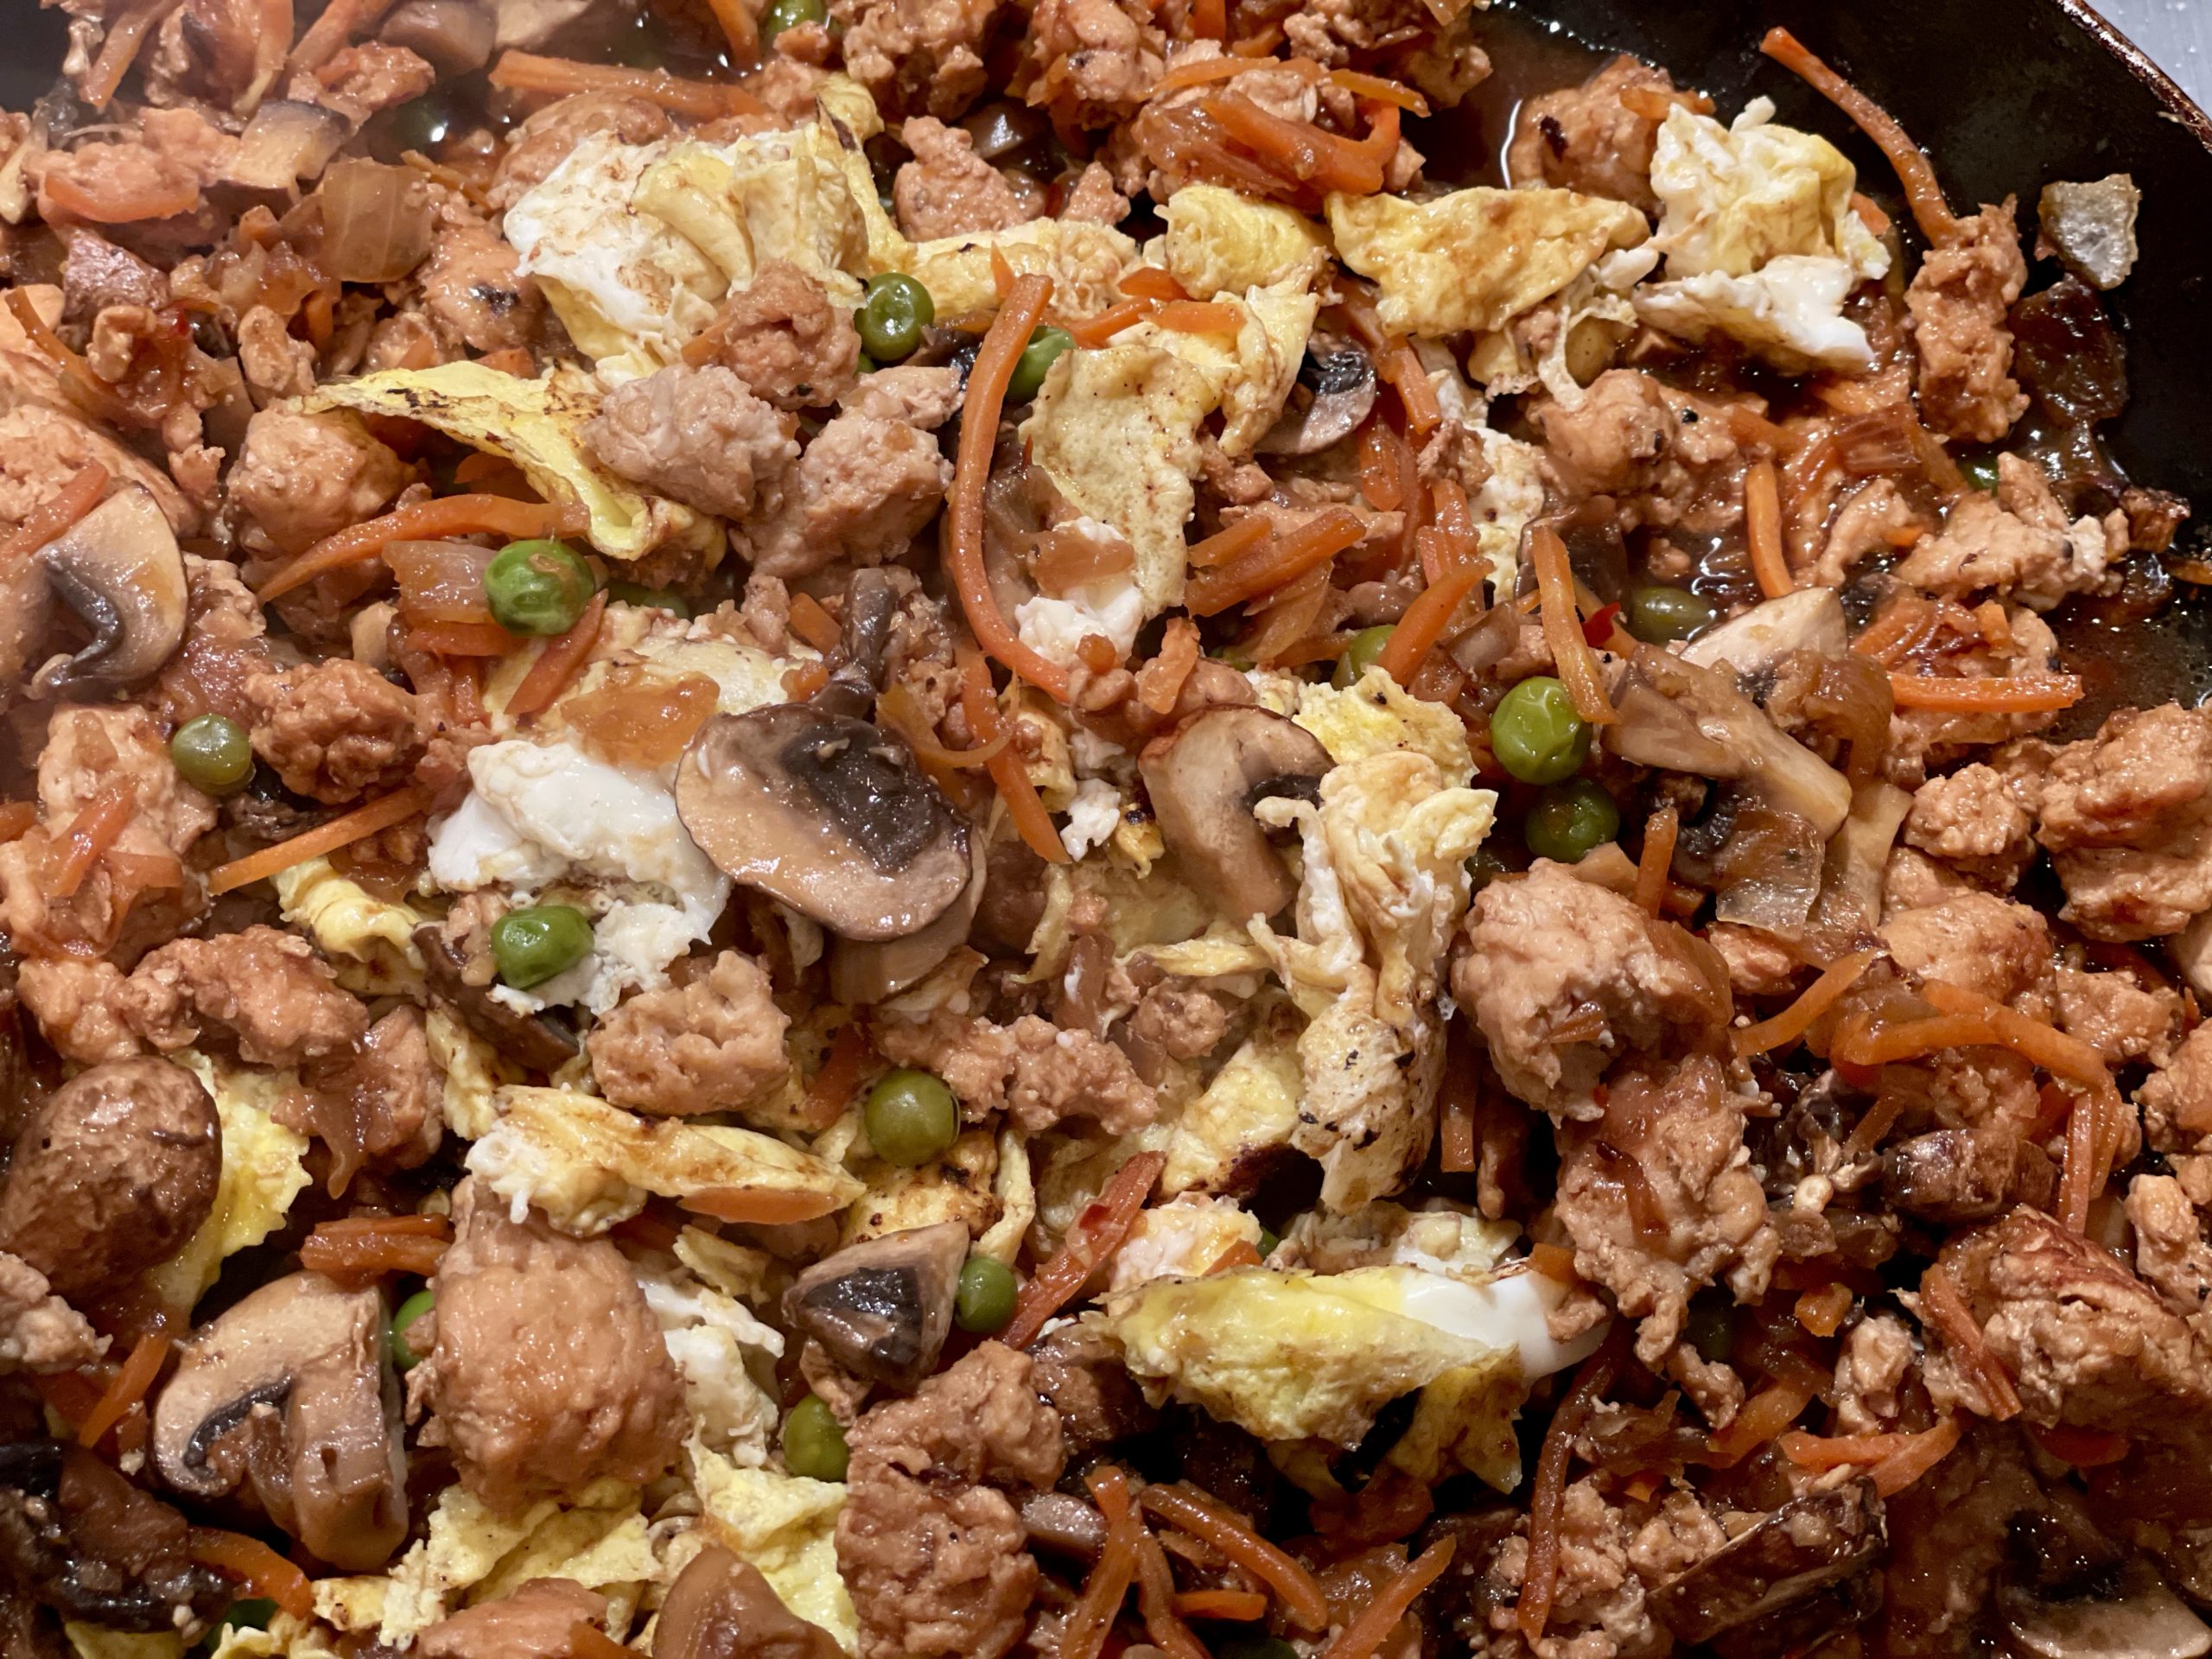
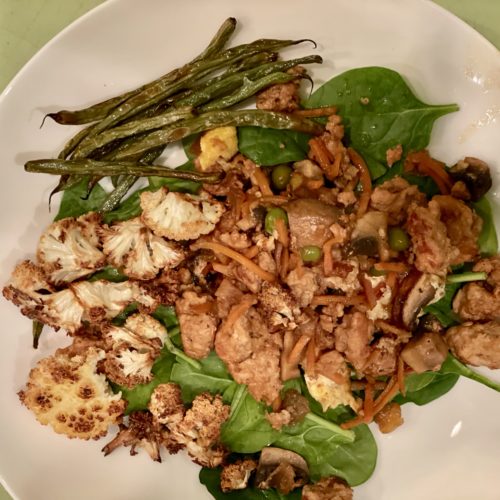
Serve with brown rice, light brown rice, white rice or cauliflower rice.  Or something else entirely.  As you can see I plated mine with baby spinach, roasted cauliflower, and string beens and it was good!

Ingredients

  • 2 tablespoons ghee, butter, coconut oil or canola oil.  I like to use butter when Greg isn’t around but really good with ghee and any oil really
  • 1 medium onion – chopped
  • 1-2 cloves garlic minced
  • 1 pound ground meat (beef, turkey, chicken) 
  • kosher salt
  • 1/3 cup coconut aminos (gluten free), or low sodium soy sauce 
  • 1-2 tablespoons honey
  • 1 teaspoon red pepper flakes (plus or minus depending on your taste) 
  • 1 tablespoon minced fresh ginger 
  • 2 eggs (optional) 
  • chopped scallions for garnish (not me as I taste them through the night)
  • a squeeze of lime juice if it needs it
  • pepper
Other veggies to add/try:
  • diced mushrooms
  • string beans cut small
  • shredded carrot or very thinly sliced carrot
  • red peppers
  • frozen peas
  • frozen edamame
  • baby spinach or baby kale
  • broccoli florets (if you use broccoli blanch first) 
Double the sauce if using a lot of veggies!  (I do) Triple the sauce if using more meat and more veg

Directions

  • Sauté the onions in a large pan (12 inch is good for this) using one or two of the fats above.  I like onions to be nice and golden for my dishes because I find I can digest them better and well, I like them better like that.  But you do you as they say.
  • Add the meat and salt it after you put it in the pan.  Let it sit for two minutes and flip the chunk of meat so that it browns on both sides first.  The onions will get even darker underneath.  Then break it up and continue to cook until no more pink remains. 
  • While the meat cooks, make the sauce by combining the aminos, honey, ginger and red pepper and set aside 
  • and then gently beat the eggs in a bowl and set aside
  • Add the garlic to the meat and onion mixture and stir in for a minute
  • Next add mushrooms if you are using – saute for a few minutes.
  • Add the sauce to the pan and cook until the liquid has reduced by one third – about 10 minutes.  
  • Half way through add the other veggies 
  • Cook your eggs in a separate pan and chunk up with a spatula.
  • Add to the pan when it is just about ready.  
  • Carefully mix up the ingredients and taste.  If it tastes too sweet (you overdid it on the honey) I find a squirt of lime juice helps.  I like lime either way as I like the little zing it adds.
  • pepper it if you like and top with cut scallions (if you like)
  • enjoy – 

Vietnamese baked fish

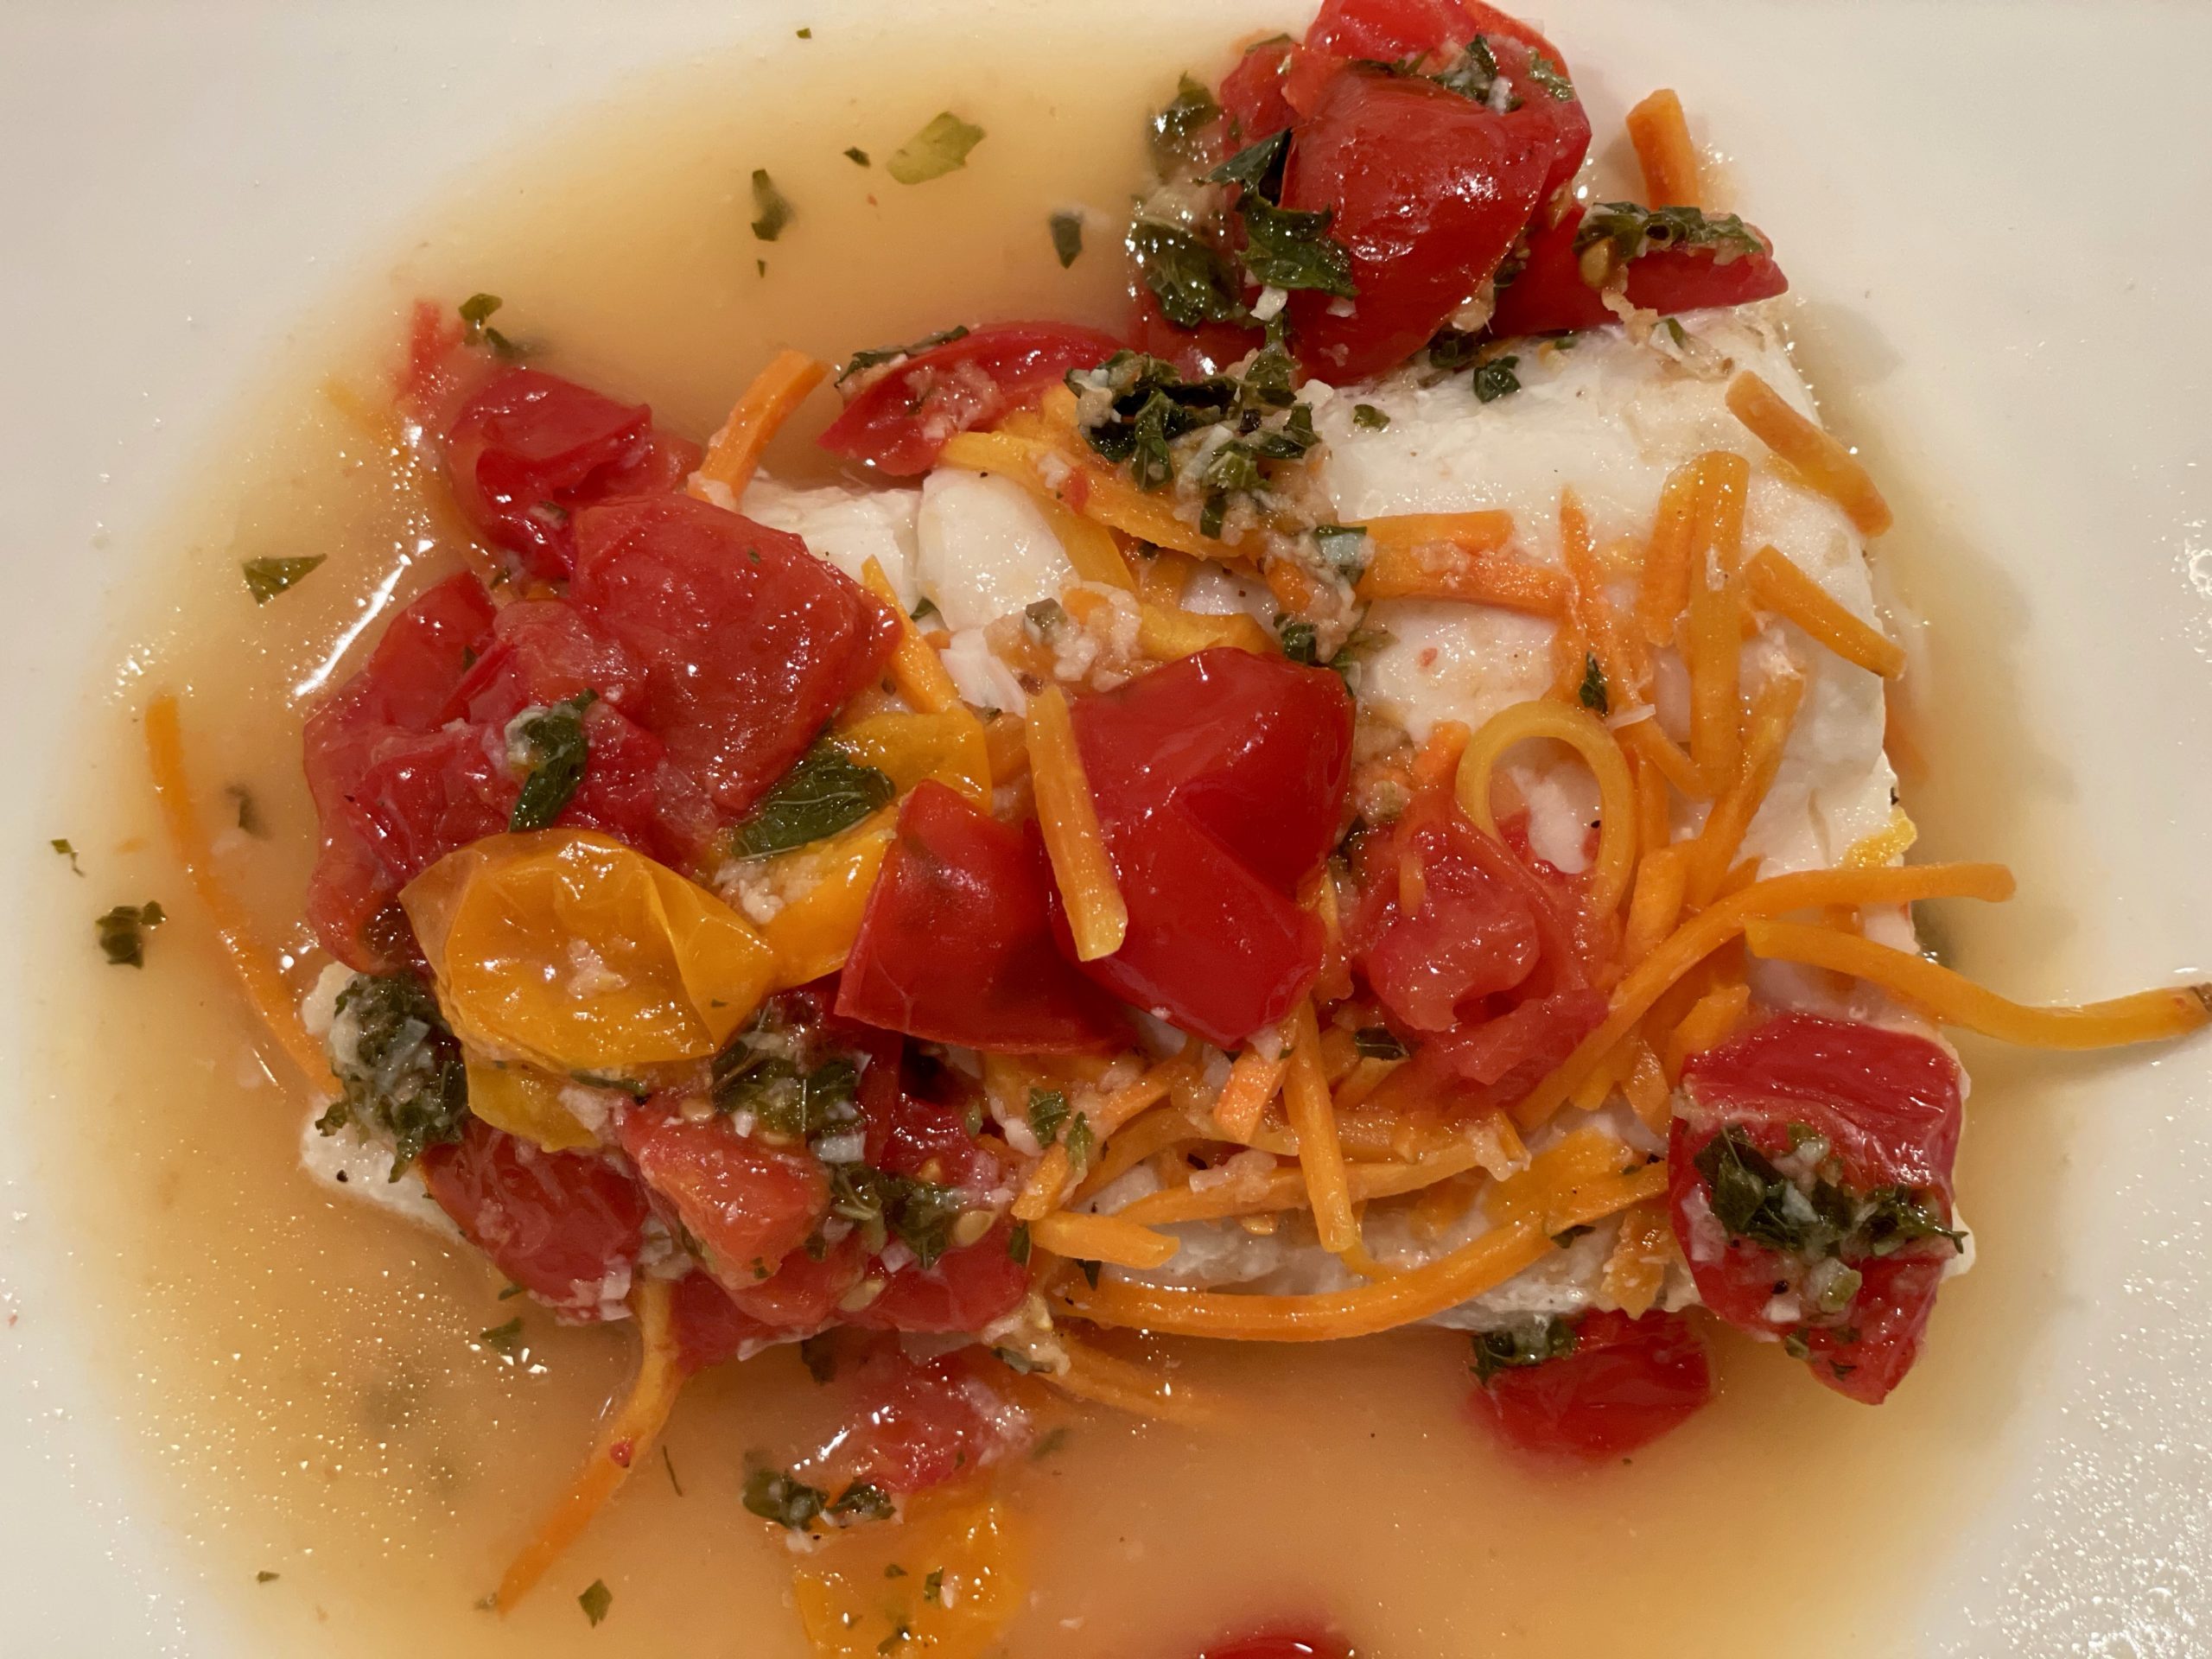
Bursting with flavor this fish dish is my new favorite.   I love love love it.  It is bold and intense with garlic, ginger, fish sauce and mint.  All of these ingredients meld together in and on top of the fish in a little foil packet that you cook for only about 16 minutes.  Seriously easy once you have the ingredients in the house.  Do not add any salt to the dish as the fish sauce does the trick.  And again – please don’t be afraid of fish sauce.  But also, maybe don’t smell it from the bottle.  Here is some fish sauce brand info.  I just learned a lot from the article myself.

I made this recipe with flounder (it fell apart but tasted great!), halibut, cod and haddock.  All so so good.  Of course the thicker the fish the longer it takes to cook so use 16 minutes only as a guide.

This is delicious with rice although I happen to just like it as it is – I added more tomatoes and carrots because I’m a little veggie crazy.  The last time I made this dish I used fresh peas instead of carrots and it was a hit.

This recipe, like the Thai Fish Curry is from my Mediterranean Way cookbook.  One day I’ll venture out of the Asian and into one of the Mediterranean dishes.  Maybe.  

This recipe calls for 6 pieces of fish but feel free to double or cut in half (as I do).  

Trying to think if anything else…but I think that is it!  Enjoy –

Serves: 6

Prep time: 15 minutes

Cook time: 16-20 minutes

Medium

Ingredients

  • 4 ripe tomatoes, diced (and more if you like)
  • 4 tablespoons fish sauce
  • 2 tablespoons lemon juice
  • 2 teaspoons sesame oil (I use a tad less as I find the flavor very strong – but do as you wish
  • 4 teaspoons freshly grated ginger
  • 2 cloves garlic, minced (I use a little less but if you are a garlic fan go for it all
  • 2 tablespoons chopped mint
  • 1 teaspoon sugar
  • 1/2 teaspoon ground pepper or more to taste (I like more) 
  • 4 6-ounce firm white fish fillets (haddock, snapper, cod) 
  • 2 julienned carrots (I used grated carrots)
  • another time I used fresh peas 

Directions

Preheat oven to 440 degrees. 

In a medium bowl, mix together the tomatoes, fish sauce, lemon juice, sesame oil, ginger, garlic mint, sugar and pepper.

Take a decent sized piece of tin foil and make a little boat for the fish.  Set the open foil packets on a baking pan.  You want plenty of extra foil as you need be able to seal the foil at the end.  This may take a few tries.  Next time I’ll take a photo of mine.

Put a fish fillet into each packet of foil.  Top with the julienned or shredded carrots.  Follow with the tomatoes and marinade portioning it equally among the fish. 

Cook for 16 minutes.  Take a peek inside but be carful as the steam inside the packets is hot.  Super hot.

If the fish is thick and looks too opaque, cook a few more minutes. If not, slide the fish and all it’s cooking liquid onto a plate and enjoy. 

I do hope you like it as much as I do!