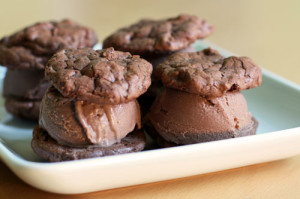
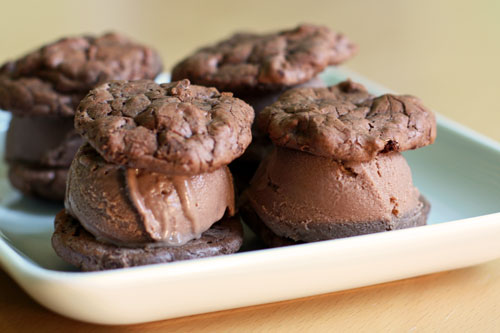
 These ice cream sandwiches are delicious. My son Greg asks for them often – and since it is a little work (not crazy work) to make the ice cream, I often blow his request off. But he was very happy last night. He turned to me… gave a quiet groan of delight, looked me in the eyes and simply thanked me. My dad who really only likes Haagen Daaz choc choc chip also loves these little sandwiches. He seemed surprised that he liked them so much – especially given the milk chocolate title. But the addition of bittersweet chocolate and malt really make the ice cream special and not too sweet. The cookies are extra delicious too. A little espresso deepens the flavor and I happen to love the texture of the mini chips. And they are very easy to make. My husband Rob can’t eat/drink milk (sadly) but is very content with these brownie-like cookies alone. I am too! I’ve also made the sandwiches with chocolate sorbet which he truly appreciates. This recipe
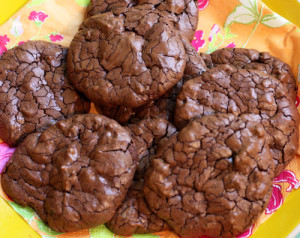 originated from Claudia Fleming – the former pastry chef of Gramercy Tavern. The cookbook is lovely. She suggests adding dried cherries to the cookies which I did (only to a quarter of the batter because my family would not be happy). And they too were yummy. Oh and by the way, you can also crumble the cookies and mix them into the ice cream which is also verrry good!
chocolate brownie cookies (barely adapted from The Last Course by Claudia Fleming):
1/4 cup all purpose flour
1/4 teaspoon baking powder
1/4 teaspoon kosher salt
2 large eggs, room temp
2/3 cup sugar
1/2 tablespoon brewed espresso
1 1/2 teaspoons vanilla extract
2 tablespoons unsalted butter
5 oz extra bittersweet chocolate, chopped
2 oz unsweetened chocolate, chopped
3/4 cup mini chips
toasted nuts or dried cherries (optional…to taste)
Preheat oven to 375 degrees. Whisk together the flour, baking powder and salt in a small bowl and set aside.
With whisk attachment, beat the eggs for a few seconds then add the sugar, espresso and vanilla. Beat until this turns thick. It should take about 15 minutes on high speed.
In the meantime, over a pot of barely simmering water (or double boiler) – melt chocolates and butter. You only need about an inch of water in the saucepan, bring it to a boil, and reduce to simmer. Place a metal bowl on top of the saucepan making sure that the water does not touch the bowl of chocolate. Once melted, remove from heat. Do not cook the mixture, just melt it.
Remove the thick egg batter from the mixer and gently fold in the melted chocolates and butter. Fold about half way – you should still see streaks – and then fold in the flour mixture and mini chips. Fold all until just incorporated. (Add dried cherries or chopped nuts if desired.)
If batter seems runny at this point, let it sit for about 5 minutes. If thick, you are good to go. Drop by rounded teaspoons onto parchment lined baking sheets and bake until puffed and cracked about 8-9 minutes – you can rotate the pans mid-way. Try not to over cook these cookies…otherwise they will dry out.
Cool and enjoy! If you plan to make ice cream sandwiches with these (either with the malted ice cream or store bought ice cream), I find it is easier to handle the cookies if you freeze them first. This prevents them from breakage when trying to squish the cookies and ice cream together when making the sandwiches.
milk chocolate malted ice cream (adapted from The Last Course by Claudia Fleming):
3 cups milk
1 cup heavy cream
1/2 cup plus 2 tablespoons sugar
12 large egg yolks
3 oz milk chocolate, chopped
1 oz extra-bittersweet chocolate, chopped
1 1/4 cups chocolate Ovaltine mix
1/4 – 1/2 teaspoon salt to taste
In a medium saucepan mix together the milk, heavy cream and 1/4 cup sugar. Heat the mixture over medium heat and bring to a simmer. Watch it carefully – you don’t want it to boil.
In a medium bowl, whisk together the egg yolks and remaining sugar (1/4 cup plus 2 tablespoons). Chop the milk and bitter chocolates and set aside in a large bowl.
Now you will “temper” the eggs which means warming them slowly so that they do not turn into scrambled eggs! With a ladle, spoon a small amount of hot cream/milk into the eggs. Continue slowly ladle by ladle and constantly whisking the eggs while you do this. Keep going until you’ve incorporated about 3/4’s of the hot milk into the eggs.
Pour the warm egg and milk/cream mixture into the remaining cream and milk on the stove. Over low heat, mix the custard constantly with a wooden spoon keep the mixture moving at all times. The custard should thicken so that it coats the back of the wooden spoon. It should take about 7 minutes. Do not boil. Cook slowly and carefully.
Immediately pour custard over the chopped chocolates. Mix and stir until the chocolate is melted and smooth. Add the Ovaltine and stir until combined. Strain through a fine sieve and into a container or bowl. Cover and chill in refrigerator preferably overnight but for at least 4 hours.
Freeze in your ice cream maker and enjoy!!

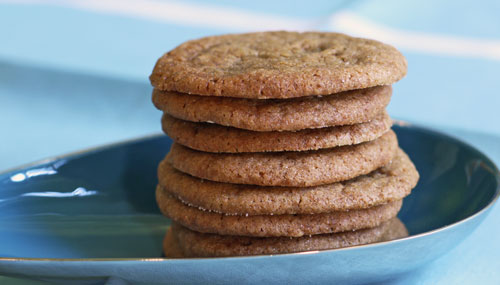
 My friends Joy and Lauri absolutely rave about these cookies. I must say they are my favorite ginger cookies as well. No big story here…everyone just loves them. Greg, Andy, Sylvie, and all of their friends. Most of my friends. I usually double the recipe and freeze some dough for later because we go through them so fast. (Look at the
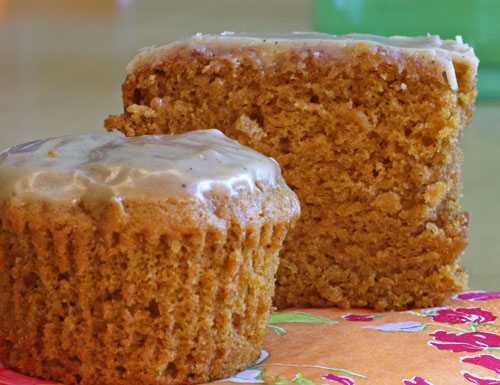
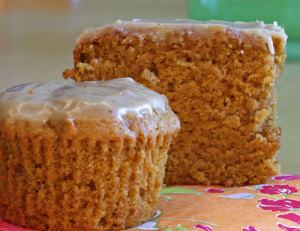 So if you’ve been reading my blog – you’ll remember that although we all really liked the
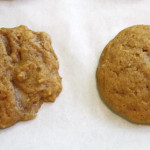
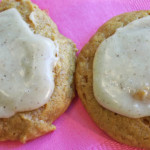 some people. Soo…now you have your muffin pans or loaf pans! Problem solved. Or…drop by spoonfuls onto parchment. I did a side by side comparison to show you the difference – the right side is the cookie that was piped, the left dropped. Honestly no biggie here…right? Plus, once you add the icing it makes even less of a difference. 🙂 If you do decide to pipe the cookies, here are some tips: 1 – do not overfill piping bag. You will lose control of the batter. 2 –
 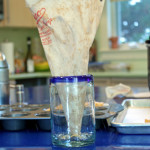 to fill the bag, place it in a large container – a glass or measuring cup or vase – so that you have two hands to fill it. 3 – twist the end of the bag and with light pressure, squeezing from the twist, gently pipe the cookies. Use a round 1- 1 1/2 inch tip – I just used the coupler but do what makes you happy.
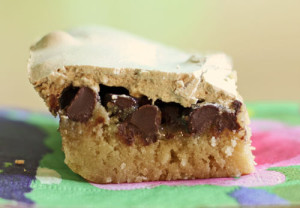 These bars were my favorite childhood dessert. I recently asked my mom for the recipe – but being that she is so neat and tidy (which is great), she often throws things away (not so great). I suffer the same affliction at times. Anyway, luckily my very good friend Michelle also loved these as a child (we were family friends so she was treated to my mom’s sweets). And Michelle held onto the recipe! It is a weird recipe and I had some doubts as I made them – but they were the same ones from my childhood. I should tell you that these are very very sweet. Not for the tame hearted sugar eaters here – but oh…for me – they are decadent and heavenly. Rich and gooey. I cut one up and put it in my vanilla ice cream last night and really, I felt so content. My kids wouldn’t eat them the first night. I said ok everyone – time for something new…my favorite… and I was met with groans of “more dessert?” And “can’t we just have a little candy tonight” Oh boy. The second night they tried it – and loved it – especially Sylvie and our neighbor Danika. Greg said it tasted like cookie dough. My friend Suzanne said a tiny square with her tea was all she could eat because she felt the sugar on her teeth (although she reported she’s excited to eat another small bite with lunch). And her husband Jamie said yes, sweet, but good – and ate a hearty slice. Again, this is not for everyone.
 The week of my daughter Sylvie’s school bake sale, my son Andy was sick with fever. I normally go cookie crazy the days leading up to the sale because as I’ve mentioned, I like baking! But this week was a little different – dividing my time between keeping him company, taking him to the doctor, talking to my friends about him, asking my dad and brother (who are docs) about him, and worrying about him (was it swine? no, it wasn’t, well, not sure). Luckily I made a large sheet pan of brownies last week – and froze them in preparation. I had the Halloween Peeps as well. I planned to make my soft meringues the day of the sale but really wanted to do more but keep it simple. I found what looked like a good recipe in
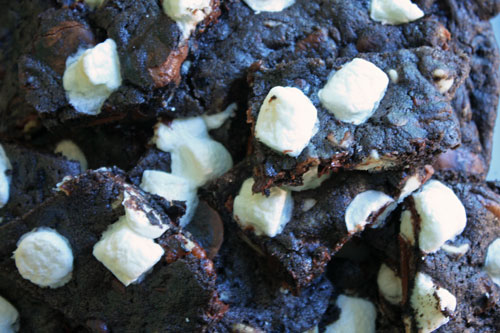
 This stuff is heaven. I really truly mean it. Moist, very chocolaty cookies, filled with various chips, nuts and marshmallows all creating a mouthwatering texture and taste that seriously rivals most cookies I’ve eaten. The free form shape adds to my delight (for reasons I can’t explain). I made these for the last school fair and they were a serious hit. I always double the recipe (the recipe below is doubled) and freeze a bunch for my son Greg who is normally not a crazy chocolate lover. He takes these from the freezer and pops them in the microwave and eats them warm and gooey. He groans with pleasure and raves and raves and thanks me for making them. Gotta love that at 13. I like them with vanilla ice cream (what else is new). This recipe is adapted from The Baker’s Field Guide to Chocolate Chip Cookies by Dede Wilson. She calls them Heavenly Hash Break-up Bars, but Greg (my son) quickly named them Cookie Bark but no matter what you call them they are good. Seriously good. So bake them soon and enjoy!! *Reader – order the
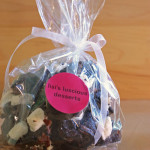
 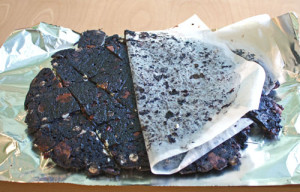 nderbaked this last batch and they were really really good, although a little bit harder to handle. Getting them off of the parchment was a little tricky, so I picked the whole piece of parchment (with cookie attached) and flipped it over a piece of tin foil and just peeled back the parchment. That did the trick. You can cut before or after. These are great gifts as well. I was baking for Gilda’s Club and decided to package them up in a little bag – nice for the holidays or just a little treat for a friend or family.
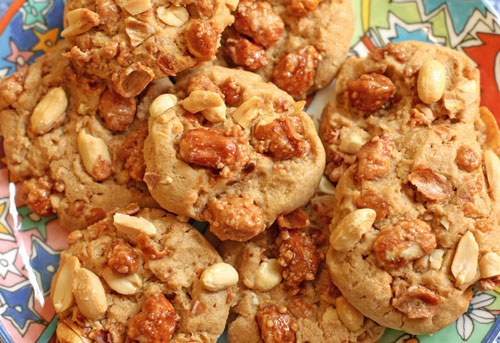
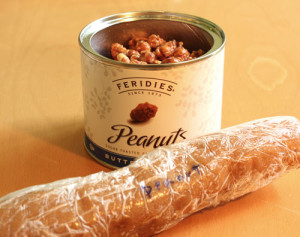
 The recipes in Alice Medrich’s cookbook Pure Dessert are so innovative and fresh. I read through the book dog-earring many pages vowing to bake from it. I finally made the time even though I knew that these cookies would be a tough sell for my family. No peanut lovers here (except for me) and my brother-in-law Patrick turns his nose with disgust whenever I make anything with peanut butter (he’s French and says the French just don’t get peanut butter). But I forged ahead because I knew I’d like them and I just needed to try. Well…yum! If you like peanuts and peanut butter – then this is a cookie for you. My friends Ali and Jonathan generally get to try and enjoy most of my sweets (they are neighbors so they get it all) but claim to not be critical enough. But I’ll take Ali’s concise comment – “loved them.” My daughter Sylvie surprised me by telling me that they were yummy – that the nuts reminded her of the chou-chou nuts that they sell on the beach in France. Oh, and by the way, these cookies are truly beautiful to look at.
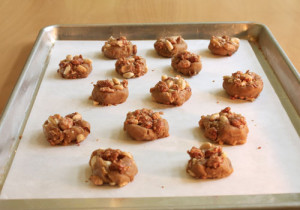 h for each cookie and roll in a ball and then into the nuts. Press in the pieces that fall off. I like to cram as many as I can into the cookies. Place on cookie sheet and bake for anywhere from 14-19 minutes. Baking time will vary and depends on the size of the cookie, where they are placed in the oven, and how you measured your ingredients that day. The humidity and weather can also affect baking time. So please check the cookies often so as not to over bake. They should look very lightly browned on the top. Let cool and enjoy! Turn into a peanut cookie ice cream sandwich with vanilla ice cream. A little messy but delicious.
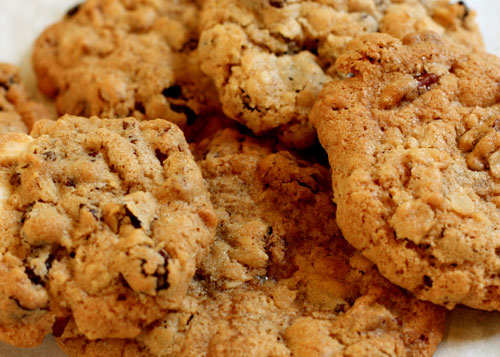
 I cannot believe that my first post is for oatmeal raisin cookies! I have to blame it on our friend Jason – who is coming to dinner on Saturday night. Unlike Rob and I, Melissa (his wife), and all of our (6) collective kids, Jason is just not happy with a chocolate cookie, cake or dessert. Crazy, but true. Since I’m pressed for time and already have chocolate chip cookie dough in the freezer I figure an oatmeal raisin cookie will do the trick. This recipe was given to me by my friend Jill who said it is The Best oatmeal cookie she’s ever eaten. And Jill knows her cookies. The recipe calls for plenty of butter so I knew it would be good. But as I was finishing with the batter, I just couldn’t help myself…I had to add some chocolate chips to the dough.
 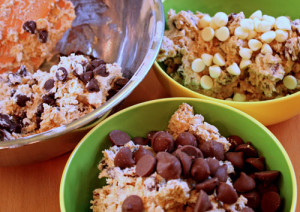 I reserved some plain Jason dough for Saturday night, but experimented with the rest – dividing it into three bowls and adding semi-sweet, milk chocolate, and white chocolate chips to each. The result was great. Saturday night came and went. Jason actually loved the white chip cookies. And my chocolate-loving son Andy said that the plain oatmeal raisin were one of his favorites! Success. Thank you Jill.