a note on cookies and baking time

The first photo of these cookies is right out of the oven.  Second photo are the exact same cookies 10 m later.  This is just an fyi – showing you that cookies continue to bake after you take them out of the oven.  That’s all 🙂 

baking tips

I’m going to update and add to this list but for a start…

Baking smart:

Pre-heat the oven!!  This is very important.  Do not put your cookies/cake/tart in the oven until it is fully preheated.

Avoid dry and crumbly cookies by the way you measure flour:

The difference between a heavily packed cup of flour and a lightly packed cup of flour can be even more than an ounce.  That is a lot in the baking world.  Do no pack flour into the cup and shave with a knife.  Also, don’t shake the flour in the cup to flatten it.  Instead, aerate the flour with a spoon or whisk then spoon the flour into the measuring cup until full.  Just filling it.  A cup of flour should weigh about 4.5 ounces – (always check the conversion chart in the cookbook and use that.)  If nothing there go with 4.5 ounces.  

Do you know how to easily weigh your flour?  Use the tare button (check out this video) it is simple.  And it is worth buying a small digital scale for this purpose.  Some cookbooks list the ingredients in ounces and some even in grams.  It is amazing.  Especially for “packed” brown sugar which is so irregular and dependent on the baker.  Overmixing your batter after the flour has been added to the moist ingredients can also result in a tough cookie or a heavy crumb in a cake.  It can also produce a cake with a big domed top.  Just mix/fold in flour and really try not to overwork the batter.

Butter:

Use good quality unsalted butter.  That way you can control the amount of salt in your recipes.  If a recipe calls for softened butter it means softened, not melted.  Butter should be malleable – not so soft it looks greasy.  If you leave butter out for too long or melt it too much, your cookies will spread and flatten.  For best results leave out for 20-30 minutes before you bake.  Otherwise carefully, and in increments, microwave the butter until soft.  Also, don’t rush the “creaming the butter” stage in cookies and cakes.  It is vital in making a light and fluffy batter or dough. 

If you need small pieces of butter (for pie dough or streusel), a bench scraper does the trick.  A scraper is great for clean up too.  Use it (horizontally) to clean up crumbs and flour before you wipe down your countertops.  

Vanilla

Use good quality vanilla extract.   They sell quality vanilla now almost everywhere.  I love the double strength vanilla extract from Penzeys.com but also the Madagascar vanilla that you often see in gourmet stores.

To scrape and seed a vanilla bean, place the long bean on a cutting board.  With your paring knife, slice the bean lengthwise – from top to bottom all the way down and through.  Open it up and you will see the soft brown inside.  With the back (dull side) of your knife, scrape the bean gently lifting the seeds as you run the dull knife down.  Here is a quick visual.  These pods contain so much flavor and deliciousness.  Buy  pods in bulk (less expensive) and you can store them in an airtight container.  I often put that into  the freezer. 

Apples:

One of my first jobs at the bakery was to peel and core a big box of apples.  Well, you learn quickly when you have that many to do.

I know when you see  – “8 apples roughly chopped”, your heart might sink a bit with the prep work.  So, here is the plan of attack.  First, put on some really good music.  These days I happen to prefer audiobooks but pick your passion

I’ll try to make a video fo this soon.  In the meantime, cut the top and bottoms off of the apples.  All of them.  Then peel each apple with a sharp paring knife (I do this) but try not to take too much of the flesh off.  If you are lousy at this – use a peeler.  Peel them all.  Slice the apples in half.  Cutting along the center, the stem.  All of them.

Taker your apple corer (you should get one) and scoop out the center core by gently pushing the scooper in and twisting.  Then use the scooper to take the little extra rough bits around the core.  Core them all.  Take each apple half and slice.  Now you have slices.  Turn apple, slice again – now you have roughly chopped apples.

Chocolate:

Melted chocolate means melted chocolate – not hot or heated chocolate.  Be careful with this because your chocolate can “seize” and you will have scorched and unusable chocolate.  

Purchase good quality chocolate.  I like Guittard and Callebau.  Also don’t melt chocolate chips when you are meant to be melting chocolate.  But a bar as the chips are made up differently and won’t give you what you probably need. 

general thoughts for the young/Inexperienced cook

IN GENERAL

Please try to read all of this section.  It will just take about 4 minutes and you might learn something.  You never know. 

There is a separate section with baking tips.

Decide what you will make for the week over the weekend or when you have extra time and start a grocery list – look at ingredients, make a list, then go to the store for whatever is missing from the pantry or fridge.

Always preview a recipe – sometimes you will need to marinate overnight. It’s good to know that the day before!

Before you cook, read the recipe through first and a second time so you have a basic understanding of what has to happen.

Try to get all ingredients prepped before you start (esp as a beginner). Dice, chop, mince, etc.

Ignore cooking times. Well – ballpark is good – but otherwise, check your dishes by using your own senses (smell, taste, touch) to decide when they are done. Use a meat thermometer for safety with poultry.

You can always google questions like “what is a good substitution for xxx?” It’s all at your fingertips.

I often double the sauce or spices in a recipe because it often needs more sauce (esp. Asian) and I like things with extra flavor. I also tend to add more kosher salt. And I finish my recipes with Maldon Salt which is delicious. (You can find this in “my favorite things”.  

Experiment. Recipes are only a guideline. Feel free to substitute ingredients that you prefer. And always taste your dishes before serving. Then you can adjust your salt/pepper, or add a splash of lemon juice if too sweet.
And remember, If you don’t like your food too spicy you can always ADD spice but you cannot take it away!

This is a good one that I learned in cooking school.  Anchor your cutting board to the counter with a wet paper towel under it to keep it from moving around – this will steady the board and it will be safer and easier for you to chop.

Prevent bacteria growth by cooling hot food in a shallow dish in the fridge – or break into smaller bowls.

You can substitute ground turkey, chicken and beef for each other. Do not buy the “leanest” chicken or turkey – or “plain white meat” as it needs a bit more fat to be tasty.

OVEN

Learning how your oven works will take time. Although if it is very basic it shouldn’t take too much time. I’ve had ovens that run hot and cold also differing in temp between the front and the back. This can result in uneven browning so I usually rotate my sheet pans half way through cooking.

Remember to let the oven preheat fully before you cook. This is very important. Don’t rush.

Most recipes will say “bake”  and you can certainly follow that. Bake is when the bottom heating element in the oven heats up.

Convection – newer ovens have a convection button that you can add to bake or roast. Convection means there is a fan inside the oven blowing the air all around – this can make the food cook faster and more evenly. If you are using two racks at the same time, it might be good to put convection on.  Lower the oven temp if switching to convection by 15 degrees or so.  And check on your food earlier than stated in the recipe.

Roast – This is like bake, but it adds heat from the heating element on the top of the oven along with the bottom element. So you have heat coming in both directions. Your food will likely cook faster and brown both the bottom and the top.

Convection Roast – both the top and bottom heating elements are on as well as the fan that blows the hot air. I often cookie sheet pans of vegetables this way as we like them crispy.

Broil – is when only the top heating element is on and it is very hot. This is how you quickly brown your meats, or crisp up that chicken skin – or produce that yummy crackly sugar on a creme brûlée.

SAUTE

When sautéing, it is important to first heat the pan, then heat the oil, then add the ingredients.
Never overcrowd your pan/skillet with food. The heat will not distribute evenly.  And instead of sautéing the food it will almost boil in their own juices which isn’t terrible but way less appealing.  
When you sauté – make sure the oil is hot before adding all of your ingredients. Throw a small piece of something in the oil and make sure it sizzles before adding the rest.

SEASONINGS

Seasonings are up to you – if you know you like hot spice, add a little extra of it. If you know you don’t like oregano (me), then omit it. I often add a bit more kosher salt in the recipe. Usually a lot more – and then I finish with Maldon Sea salt which is delicious.

RICE

If you are using a rice cooker, the brown rice takes almost an hour to cook and it can stay in the rice cooker for a while. It will automatically stay on “warm” until you unplug it. White rice cooks a bit faster. Rice cookers make life easier because once you set it up, you are done with it until you eat.  

OILS

Sauté with regular olive oil or canola oil or another high spoke point oil. Use the extra virgin olive oil for finishing a dish – like drizzling it on salad or meat – or naan – or for roasting veggies.

EGGS

Usually it is large eggs in a recipe unless otherwise noted

BUTTERMILK

If your recipe calls for buttermilk, you can use regular milk with lemon juice – google that.
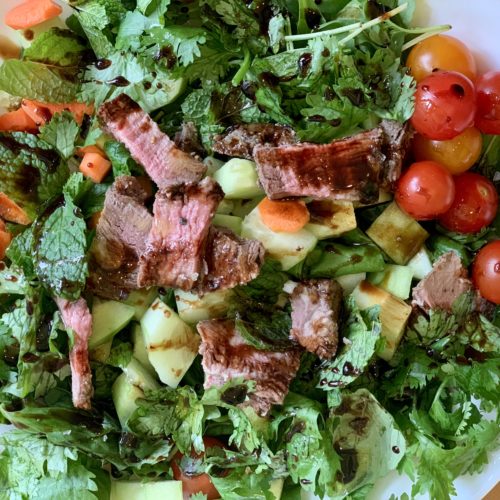
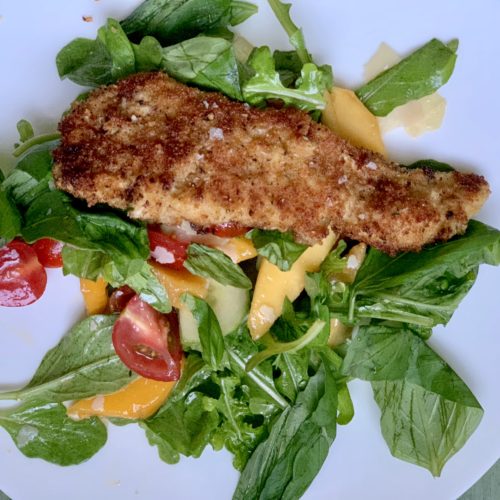
STEAK/Poultry

Let raw steaks come to room temperature before seasoning and grilling. Allow cooked or grilled meat to rest at room temperature for 10 minutes before serving.

SALT

(I’ve quoted from others…) Embrace salt. Don’t be afraid to use salt; it pulls the flavors out of your dishes. Cook with kosher salt and season with sea salt. Season! your! food!

Salt is the key to making food’s flavor jump around on your tongue. Most recipes will mention when you should add salt (and probably pepper as well), but it’s a good rule of thumb to add at least a pinch or two when you start cooking and again at the very end. Your palate will be the ultimate guide here, so taste often.
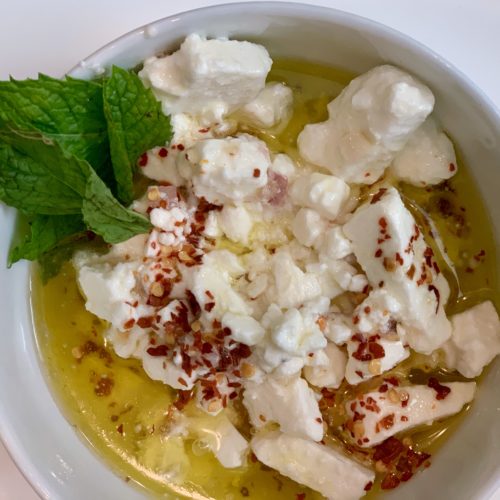
GREEK YOGURT

Use plain Greek yogurt as a healthy substitute for mayo, sour cream, heavy cream and more. 

Gianni Calogiuri Fig Vincotto Vinegar

Not certain what I would do without this vinegar.   It is great right out of the bottle – haha – no – I don’t actually do that, although truthfully I do lick my fingers sometimes.  If on a desert island I might just have to bring it – with one of the salads above and some ice cream :). 


As you can see above it is wonderful on my salmon salad and my steak salad.  I basically make a variation of this salad almost every day for lunch.  Today it was leftover chicken.  I add herbs too and usually a diced apple.  If I don’t have a leftover protein I’ll add a fried or boiled egg and add a few pistachios.  Mmmm.  Oh, and cheese is especially good on that steak salad.  I’m sure most of you know all of this and I’m just rambling. 

So, I drizzle this all over, add a tad of good quality extra virgin olive oil, Maldon sea salt and pepper and well….scrumptious.  I’ve been using this vinegar for many years now and I do not tire of it.

It is also great drizzled on roasted brussel sprouts.  Greg likes it mixed with honey and then drizzled on the sprouts.  I used to buy this at a local specialty store but now I can get it online.  Just google it and there are several choices – not just Amazon!

It has been a while…

It’s been a long time.  Too long.   Life got a little complicated about four years ago so I put the blog on hold as I wasn’t baking as often.  But I’m back!  When the kids left in the fall of 2019, Rob and I became free birds (empty nesters).  During the winter I started to gather new dinner recipes to try – recipes for two that were clean, healthy and hopefully tasty.  I realized I wanted to start blogging again, but this time include my “free bird recipes” as well as sweets.  Additionally, I had a whole bunch of other thoughts and ideas because last summer I started to teach Andy how to cook.  He was planning to live in an apartment and needed to prepare his own meals.  All of them!  We worked at it and continued our efforts throughout the fall and winter with phone calls and texts.  The “young adult recipe” became an obvious category to be included when I thought about blogging again. 

I got some help from my blog friends and was ready to go – but then there was COVID-19 and all of the kids came home.  I was back to cooking for five – really six because Andy eats double and even more because everyone wanted leftovers for lunch!  Now I can also include some large easy meals since I’ve had lots of practice.  Greg and Andy and Sylvie left so I’m free to start writing again – and to  include all of these new categories.

I don’t bake a ton these days, but I did bake a lot this summer for a local hospital – bringing treats and pleasure to essential workers – and a few of the treats are blog-worthy.  I plan to bake this fall for a local shelter and for Gilda’s club – so I will explore more recipes in the near future.

 I don’t have a ton of free bird  recipes because well – the pandemic and I was far from a free bird!  

Please don’t expect  wonderful prose or photos – expect  a truly tasty recipe that is delicious and therefore blog-worthy.  

apple custard cake

This cake is so pretty and I love the idea of pouring heaving cream over the finished batter.  It got me all excited.  It is supposed to turn into a custard-like cake, and it did.  But I’m not sure that custard on the bottom of a dense cake and softish apples on top is for me.  Or you.  It is so pretty, and I love the concept, but I guess I can’t really rec the cake.

So, why write?  Well, lately I’ve been making a lot of flops and well, I just didn’t want you to forget about me.  So enjoy this pretty pic and hopefully I’ll be back soon –


jimmies (chocolate sprinkles)

By now you know that I love ice cream and jimmies.  And not just any jimmy but real jimmies.  I’m sharing this with you so you too can enjoy the happiness I derive from my ice cream eating experience.  A lot of it has to do with the ice cream I know…but seriously (as serious as I can be about ice cream toppings) what you normally get at the supermarket or ice cream parlor is really not what I’m talking about when I say jimmies.

Soo…I did a taste test of my 3 favorites and I can’t choose.  I love them all so pick one and try.  You may find it hard from then on to enjoy a chocolate sprinkle anywhere else but in your home (or mine!)

Ingredients in a typical sprinkle are sugar, veggie oil, corn starch, corn syrup, soy lecithin, salt, natural and artificial flavor, confectioners glaze, and carauba wax.

Ingredients in these jimmies are all similar but generally lists sugar (yeah, sorry that is first), cocoa liquor, cocoa powder, butter oil, milk powder, natural vanilla.

callebaut Belgian Chocolate

cocoa barry jimmies

guittard jimmies 

The links will take you to where you can buy – but search around for the best price.


be prepared to bake

Your shopping list might not seem as overwhelming if you generally stock some of the following items.  Just pay attention to how much you bake.  Many items in pantry and refrigerator expire (some sooner than later) so if you are not baking often, wait and shop as you need.  But if you are an avid baker, go for it.

Pantry: flour, sugar, brown sugar (more light than dark) baking soda, baking powder, salt, cocoa (natural and unsweetened, black cocoa), chocolate chips and chocolate bars (milk, semi, white, bitter, extra bitter, unsweetened) cornstarch, whole wheat flour, cake flour, oatmeal (quick cooking and old-fashioned), canola or vegetable oil, dried fruits, a variety of nuts, molasses, graham cracker crumbs, marshmallows, shredded and flaked coconut, spices (cinnamon, ground ginger, allspice, ground cloves, cardamom, ground nutmeg), instant espresso powder, vanilla extract, and vanilla beans, sweetened condensed milk, evaporated milk…

Fridge: large eggs, unsalted butter, sour cream, plain yogurt, buttermilk, milk, heavy cream, block cream cheese, lemons and other assorted fruits

Freezer: frozen berries and stone fruits, puff pastry, fillo dough, ice cream

vanilla

Use good quality – and not artificial vanilla.  I love the double strength vanilla extract from Penzey’s spices.  You can order it on-line from penzeys.com.  (As well as many other spices and salts).  It is probably better to skip the vanilla if you don’t have the real thing.

To scrape and seed a vanilla bean, place the long bean on a cutting board.  With your paring knife, slice the bean lengthwise – from top to bottom all the way down and through.  Open it up and you will see soft brown inside.  With the back of your knife, scrape the seed gently (while holding the end of the pod) collecting all the goodness from inside.  These are the seeds and they should be on your knife.  The pod contains more flavor and seeds and is often added to marinating liquids or ice creams – and pulled out later.  You can purchase at the grocery or get a bunch from penzeys.com – store  them in an airtight container or they dry out.