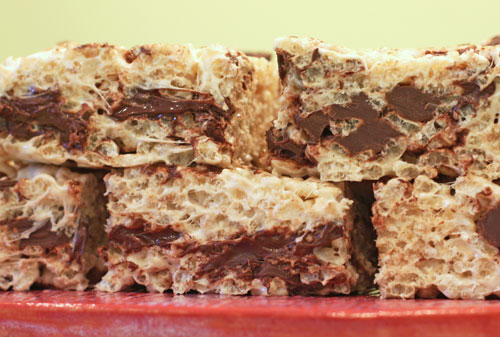
 OK, yes we all know how to make these – but my kids (or their friends) sometimes mention that mine taste better than those they buy at the bake-sale. I often say it’s because I bake with looove and give them a big smile. Truthfully though, the love comes from a little kosher salt and vanilla – and the added chocolate chunks (although if you’re a purist even just the vanilla and salt will heighten your pleasure). My whole family enjoyed these yummy treats, even Rob who surprises me here. I haven’t made them in a while – Greg just said…”mom, I’m so glad you made these again. They are so good.” I usually cut them up into reasonable portions (otherwise we are all slicing away day and night), wrap them in plastic wrap, and pop in an airtight container. Good for a while although they do disappear fairly fast!
chocolate chip rice krispie treats(adapted from the Kellogg’s Rice Krispie cereal box recipe):
3 tablespoons unsalted butter
1 package mini marshmallows (10.5 oz)
3/4 teaspoon pure vanilla extract (please high quality here)
1/3 – 1/2 teaspoon kosher salt (or just about)
6 cups rice krispie cereal
(about) 1 cup semi-sweet chocolate chunks (I happen to prefer Nestle’s chunks here. Of course you can use chocolate chips instead.)
Spray or butter a 9×9 inch pan. (I usually double this recipe and use my 9×13 inch pan.)
In a large saucepan, melt butter over low heat. Once melted, add the marshmallows and stir and until they too have melted. Watch them – they burn easily.
Add the vanilla and salt, mix to incorporate. Add the rice krispies and mix. Add the chocolate chunks and mix in. (If marshmallow mixture is very warm, some may melt, but that is OK too!) Pour onto prepared pan. Flatten and push down with the back of a large spoon (easiest if you spray spoon with non stick spray).
Let set for about 45 minutes to an hour. (Or longer). Cut into squares and enjoy!
 As mentioned – I cut, wrap and place in an airtight container. But eating right out of the pan is good too.
Another note – sometimes I add some mini chips to the melted marshmallows. Mix and melt them too – this makes the marshmallow mixture brown and changes the whole look of the bars. Fiddle a bit. See what you like to do. Add peanut butter chips or milk chocolate chips, or maybe even a natural peanut butter laced throughout…next time…


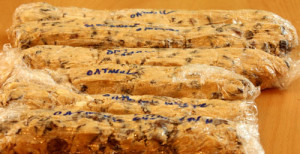
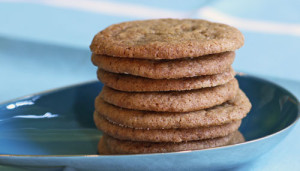 My friends Joy and Lauri absolutely rave about these cookies. I must say they are my favorite ginger cookies as well. No big story here…everyone just loves them. Greg, Andy, Sylvie, and all of their friends. Most of my friends. I usually double the recipe and freeze some dough for later because we go through them so fast. (Look at the
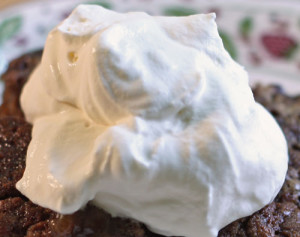
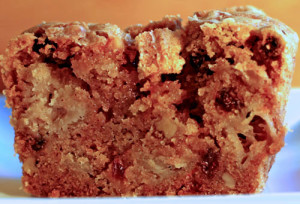
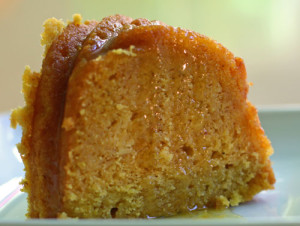 I noticed this recipe in Fine Cooking’s Sweet Cakes magazine because of the beautiful photograph of the cake – it looked delicious and pumpkiny – perfect for fall. I was also curious about the mix of orange, pumpkin and cornmeal. So off I baked. This cake is rich in color and texture and so very very moist. I will say that it is not as pumpkiny as I hoped. But agreed by all – especially the kids – that it was yummy. I asked Greg’s friend Alex if he tasted the pumpkin and he replied “well, what does pumpkin taste like?” Greg then followed with…”it doesn’t matter – it is good!” Friends (kids) Lauren and Zach had equally positive things to say – but again, not about the pumpkin more like “oh, is it lemon?” and “oh, I like carrot cake!” and more…”doesn’t matter, it’s good.” Another taster commented how long the
 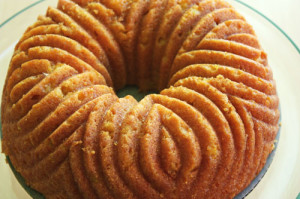 cake stayed moist and that it was perfect in the afternoon with her tea. Regardless of the pumpkin business…it is good. (Just wanted full disclosure.) This recipe has a few different steps, but each fairly easy. Enjoy this fall treat with surprising notes of citrus. Serve with vanilla yogurt to add another dimension to this sweet.
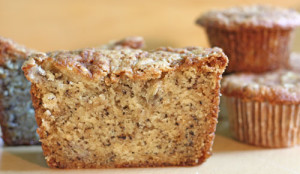 This recipe was given to me by my sis-in-law Sandy and it is a keeper! I make it for bake sales, morning coffees, afternoon snacks and dessert. I make it with or with out chocolate chips or nuts and in various sizes and shapes. My kids seem to love them in a muffin shape and that helps with quantity control – otherwise they just might eat the loaf. Zach and Lauren were over and that trick didn’t work, as Zach who’s 13 tried to convince me that I should cut into the loaf and that he should get thirds. I gave in!
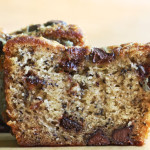 Pre-heat oven to 325 degrees. Butter or spray your loaf pans and line bottom with parchment. (As you are cutting, cut some extras for the next time you bake.) If using muffin pans, line with cupcake liners.
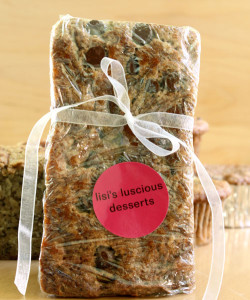

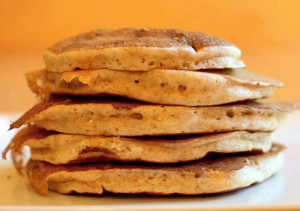 I think because my mom often sent me to school with a kiss and a cold pop-tart (sorry mom), I am now one of those moms who really insists that we all eat something healthy in the mornings and that we all sit together to eat it! It can be a challenge to make it happen since all three kids have school at different times, but we usually can manage 5-7 minutes together. The harder problem is Andy — who unlike his brother Greg and sister Sylvie, really dislikes cereal. Not only that, he refuses most breakfast items unless they happen to have chocolate or chocolate chips in them. That being said, I’m always on the look out for healthy pancakes. Of course I mess that up a bit with some added chocolate chips but I hope that the benefits of merely eating, and eating together will somehow win the fight over the chocolate in the AM. So I decided to try Ellie Krieger’s Whole Wheat pancakes for a change. They were a hit! Especially with the chocolate. Oh, and Andy just read this and said, “I’m eating whole wheat pancakes?!” – guess they are good. Ellie serves these with an delicious looking strawberry sauce, but Andy eats them plain (well with chips) and no need for syrup.
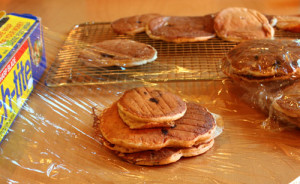 I like to double the recipe and make many extra. Once cool, I wrap the pancakes in groups of 3-4 pancakes and place in a plastic bag or airtight container and freeze. (I just read about


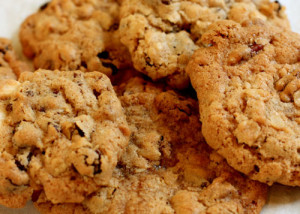 I cannot believe that my first post is for oatmeal raisin cookies! I have to blame it on our friend Jason – who is coming to dinner on Saturday night. Unlike Rob and I, Melissa (his wife), and all of our (6) collective kids, Jason is just not happy with a chocolate cookie, cake or dessert. Crazy, but true. Since I’m pressed for time and already have chocolate chip cookie dough in the freezer I figure an oatmeal raisin cookie will do the trick. This recipe was given to me by my friend Jill who said it is The Best oatmeal cookie she’s ever eaten. And Jill knows her cookies. The recipe calls for plenty of butter so I knew it would be good. But as I was finishing with the batter, I just couldn’t help myself…I had to add some chocolate chips to the dough.
 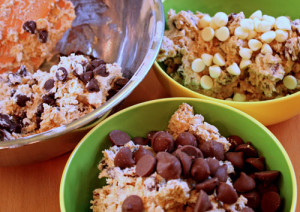 I reserved some plain Jason dough for Saturday night, but experimented with the rest – dividing it into three bowls and adding semi-sweet, milk chocolate, and white chocolate chips to each. The result was great. Saturday night came and went. Jason actually loved the white chip cookies. And my chocolate-loving son Andy said that the plain oatmeal raisin were one of his favorites! Success. Thank you Jill.